
Bowfell - Lake District Walk
Monday 30th July 2007
A walk that had been planned for my birthday a month before but was cancelled due to heavy rain and low cloud, today's weather more than made up for the wait. It seemed like we had the whole of the Lake District in view at one time or another today so there are a few more pictures than usual. The numbering system I have used for the Crinkle Crags is based on the one Bill Birkett uses in his book 'Complete Lakeland Fells' and is also the order I tackled them in. I'm not sure if this is the usual way they are numbered as other sources number them the other way round.
Start: Cockley Beck (NY 2468 0165)
Route: Cockley Beck - Little Stand (183) - Stonesty Pike (184) - 1st Crinkle (185) - Long Top, 2nd Crinkle (186) - 3rd Crinkle (187) - 4th Crinkle (188) - Gunson Knott, 5th Crinkle (189) - Shelter Crags (190) - Bowfell (191) - Moasdale - Cockley Beck
Distance: 8.75 miles Ascent: 957 metres Time Taken: 9 hours 5 mins
Weather: Warm and sunny with a cool breeze on top.
Pub Visited: The Newfield Inn, Seathwaite Ale Drunk: Jennings Cumberland
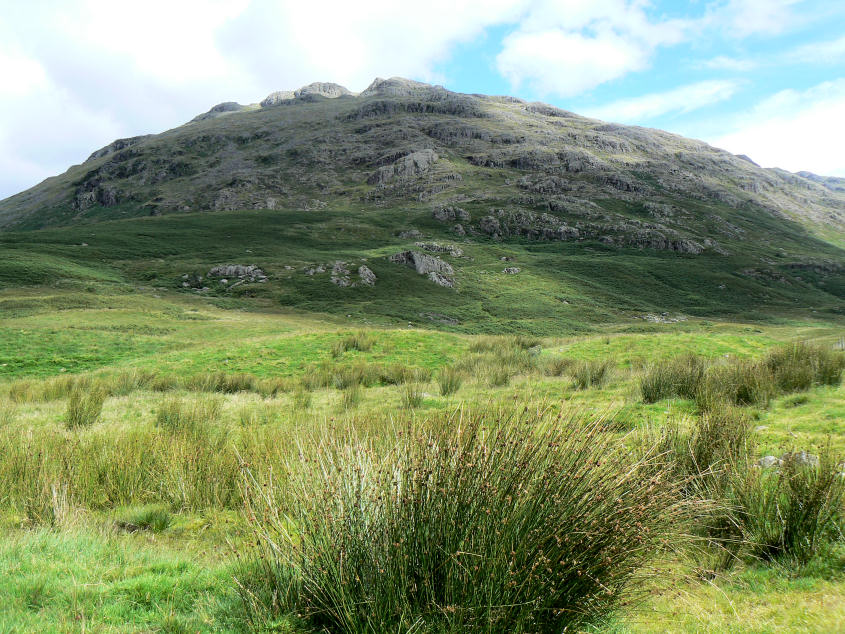
Little Stand from Cockley Beck. I had been warned that it was a steep climb up and so it proved to be.
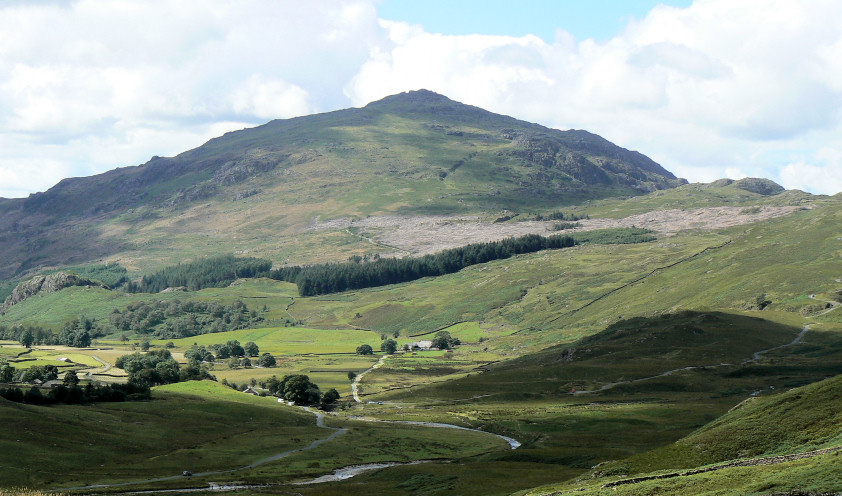
Harter Fell from the start of the climb up Little Stand.
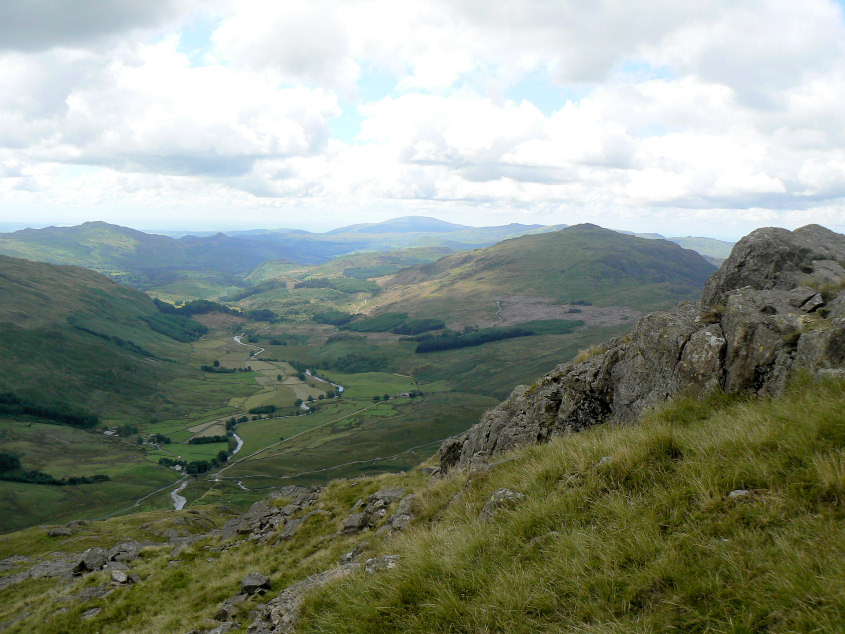
Looking along the Duddon Valley from Little Stand. Caw, Stickle Pike and Black Combe are all visible in the distance.
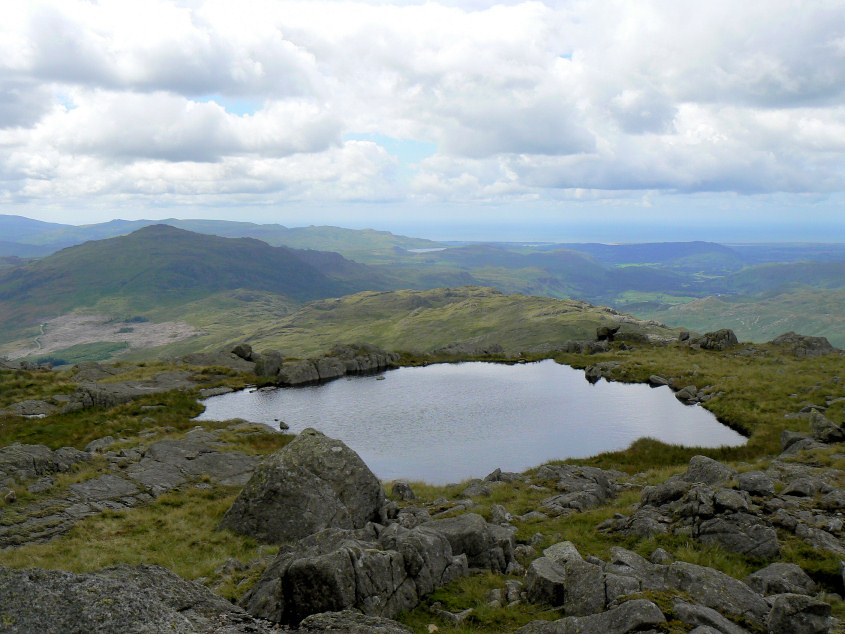
One of the small tarns just below the summit of Little Stand. Devoke Water can be seen in the distance behind Harter Fell.

A fine view of the Scafell range from Little Stand's summit.
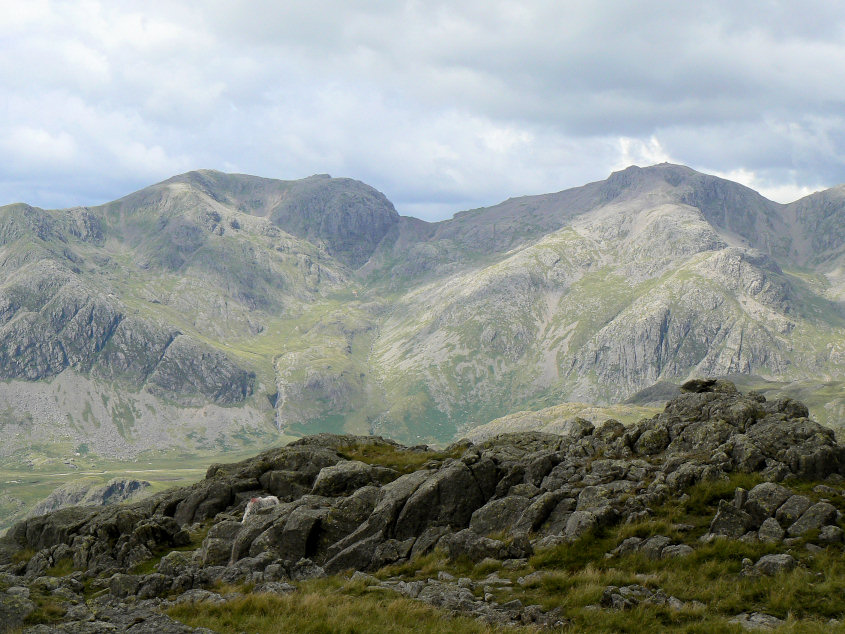
Close-up of Scafell & Scafell Pike.
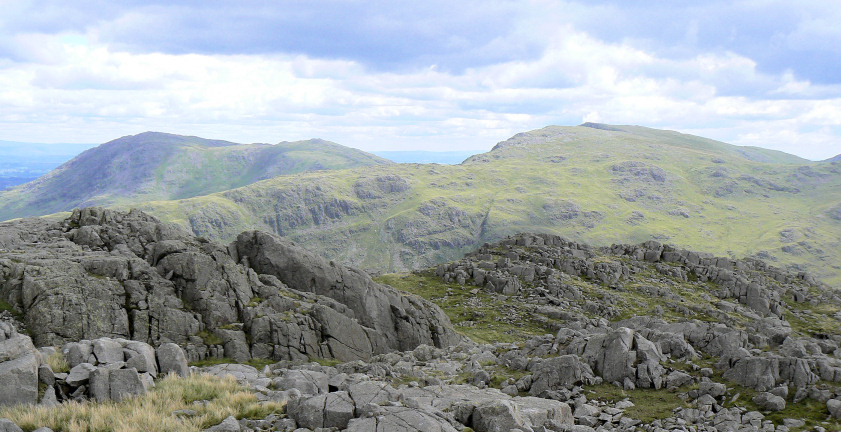
Looking in the opposite direction Wetherlam, Black Sails and the Great Carrs Ridge are visible.
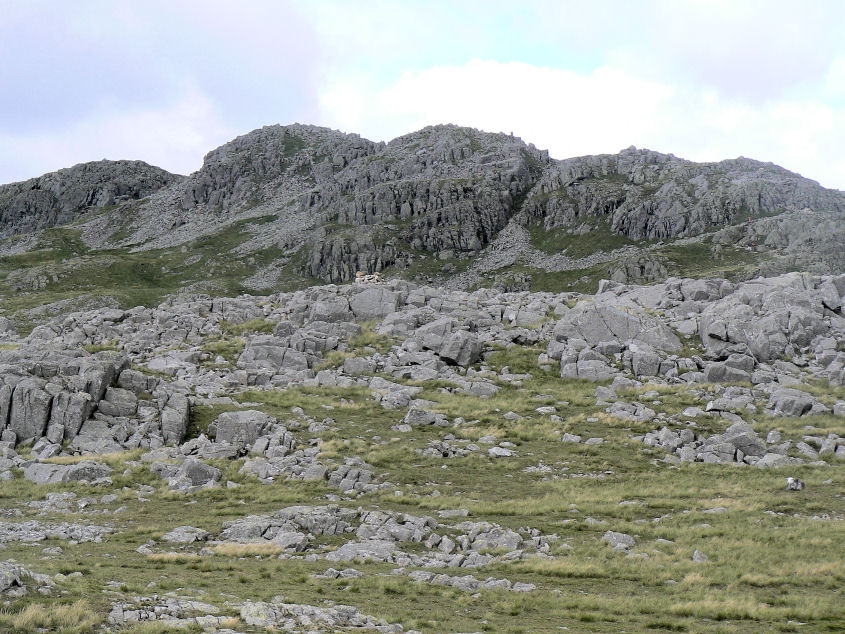
Heading towards Stonesty Pike's summit cairn with the Crinkle Crags in the background.
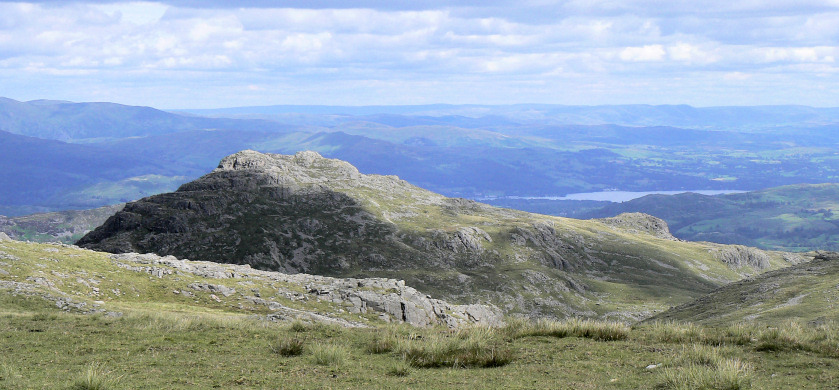
Pike o' Blisco and Windermere from Stonesty Pike's summit.

Long Top and our first view of the 'Bad Step' from the 1st Crinkle.
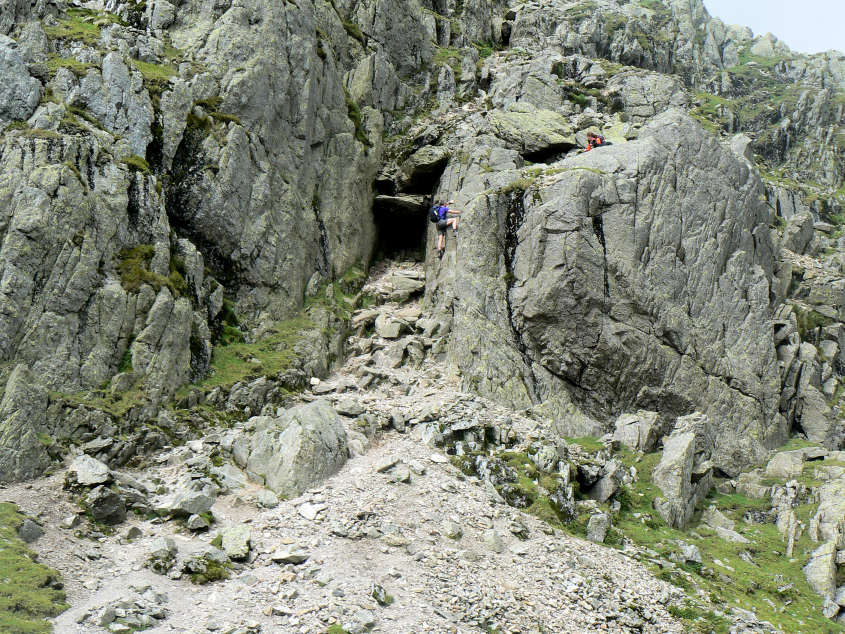
On closer inspection we decided to opt for the path round the Bad Step.
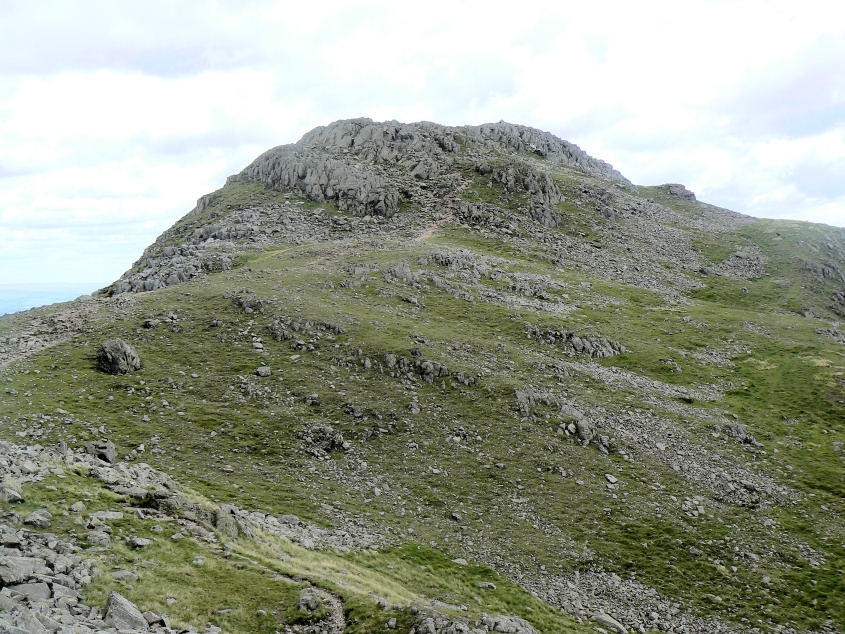
Looking back at the 1st Crinkle.
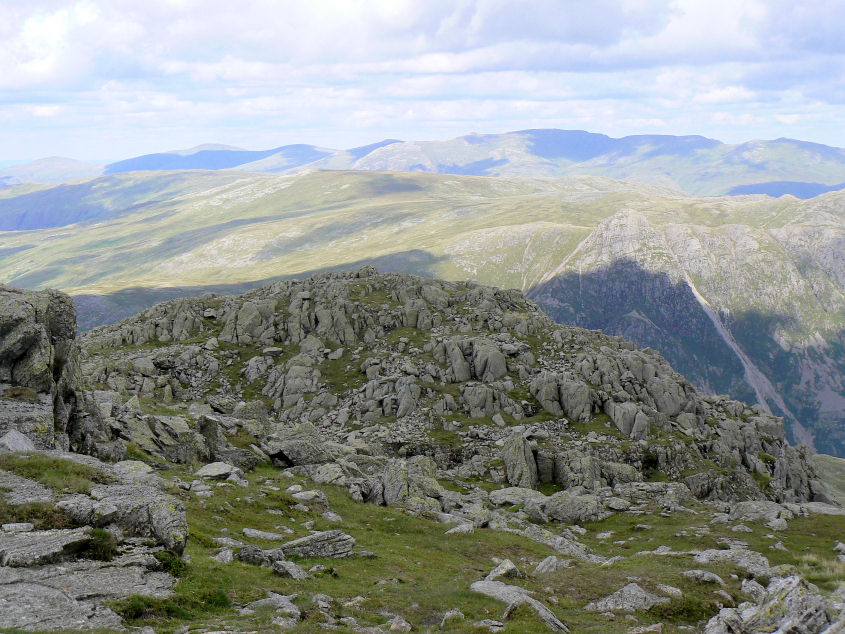
Looking across the 3rd Crinkle from Long Top's summit with High Raise centre and Helvellyn and Fairfield two of the many summits in the background.
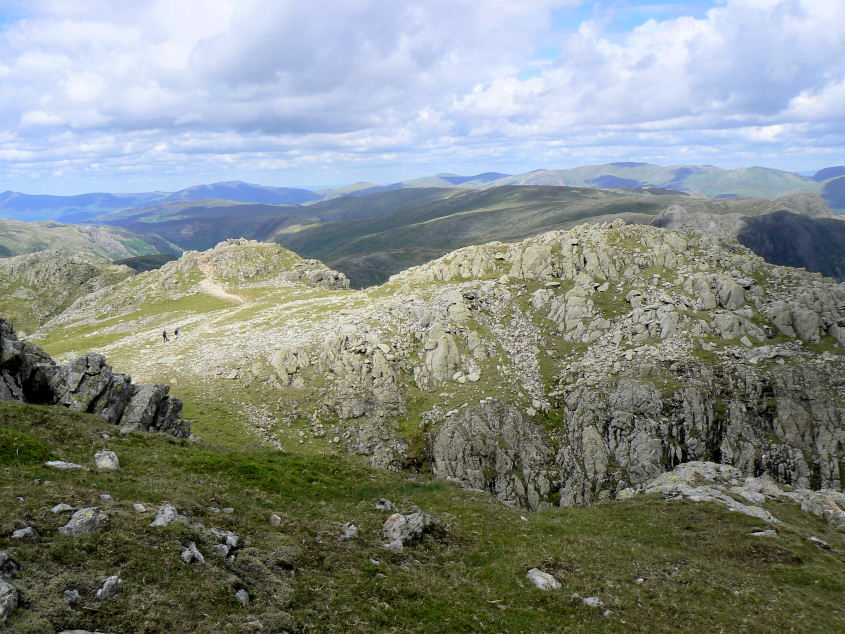
The 3rd and 4th Crinkles from Long Top.
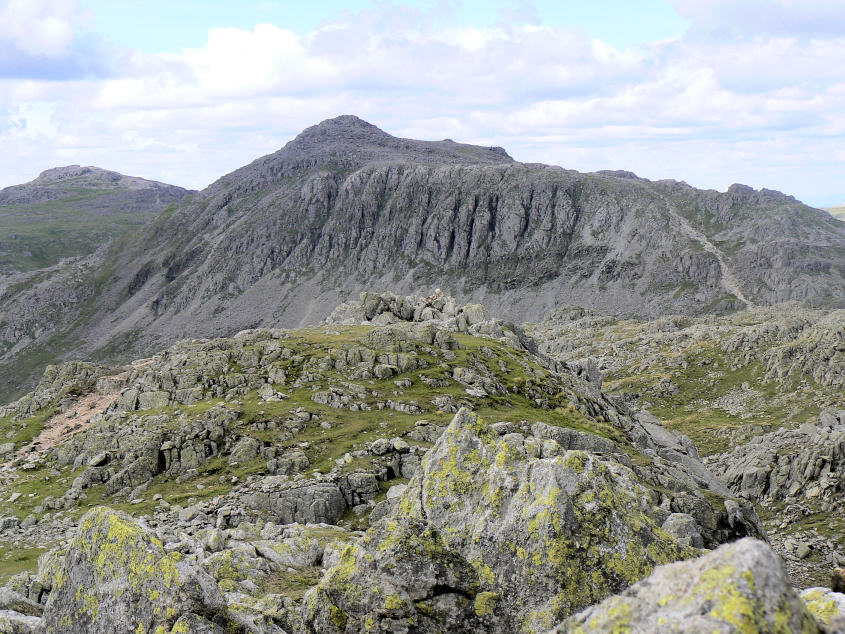
Bowfell and Esk Pike across the 4th Crinkle, from the 3rd Crinkle.
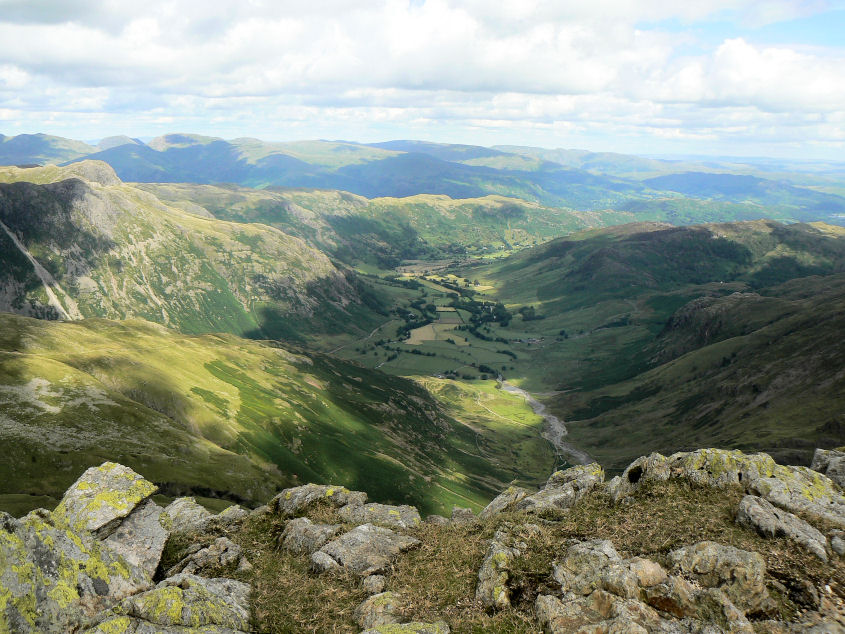
Oxendale from the 3rd Crinkle.
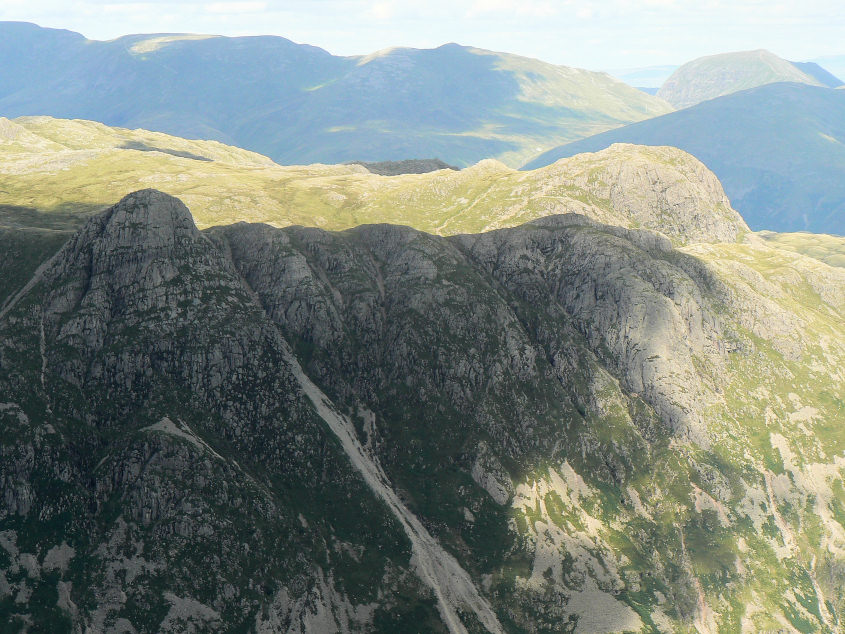
Langdale Pikes from the 3rd Crinkle.
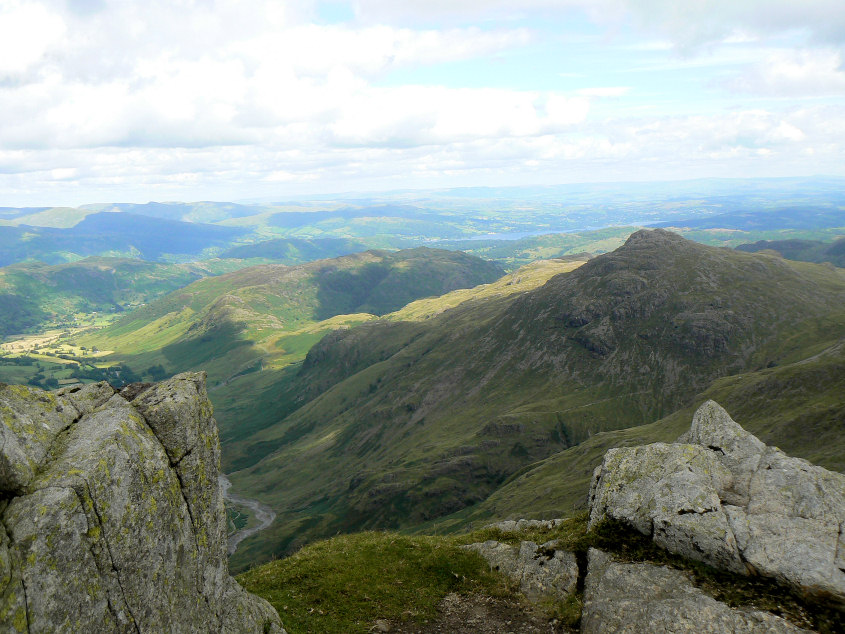
Pike o' Blisco and Lingmoor Fell from the 3rd Crinkle.
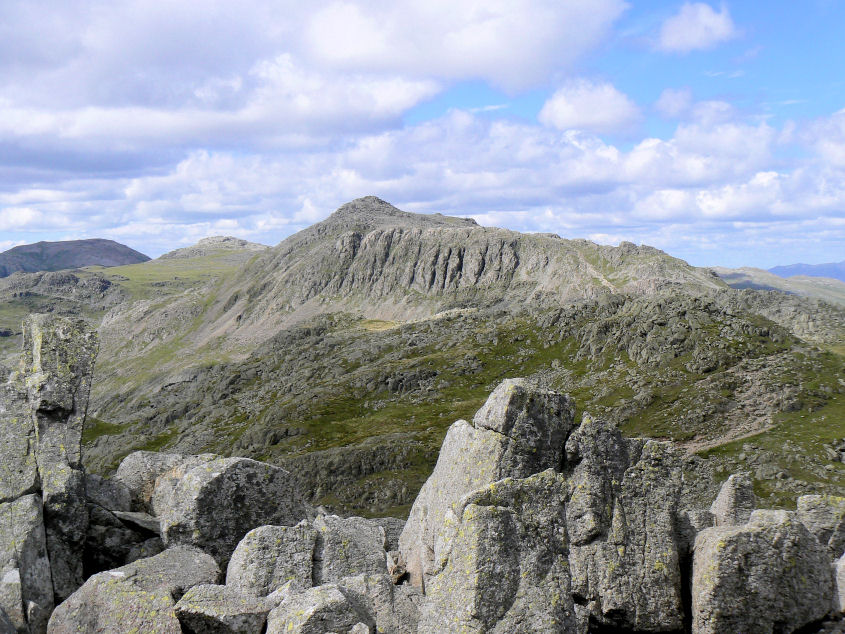
Bowfell, Esk Pike and Great End from Gunson Knott.
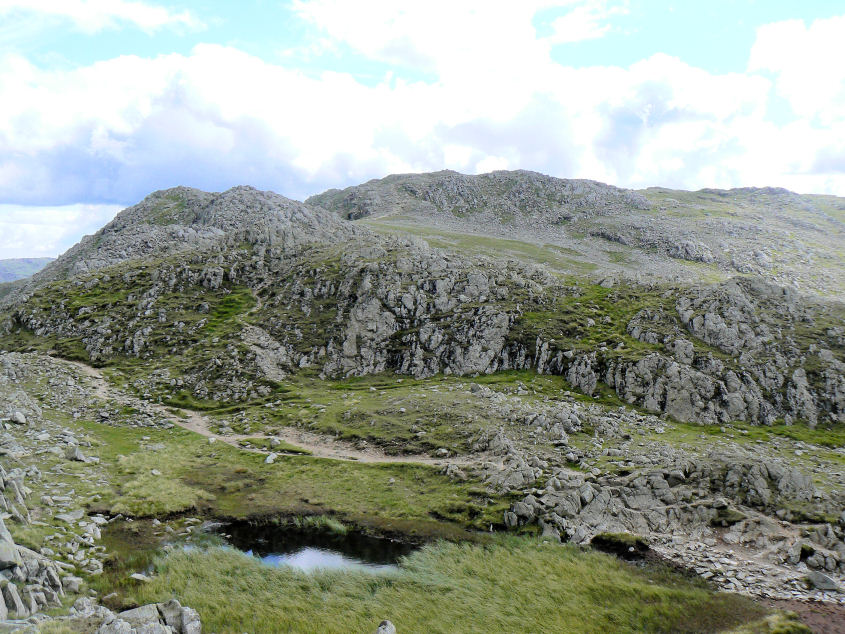
Looking back to Gunson Knott from Shelter Crags.
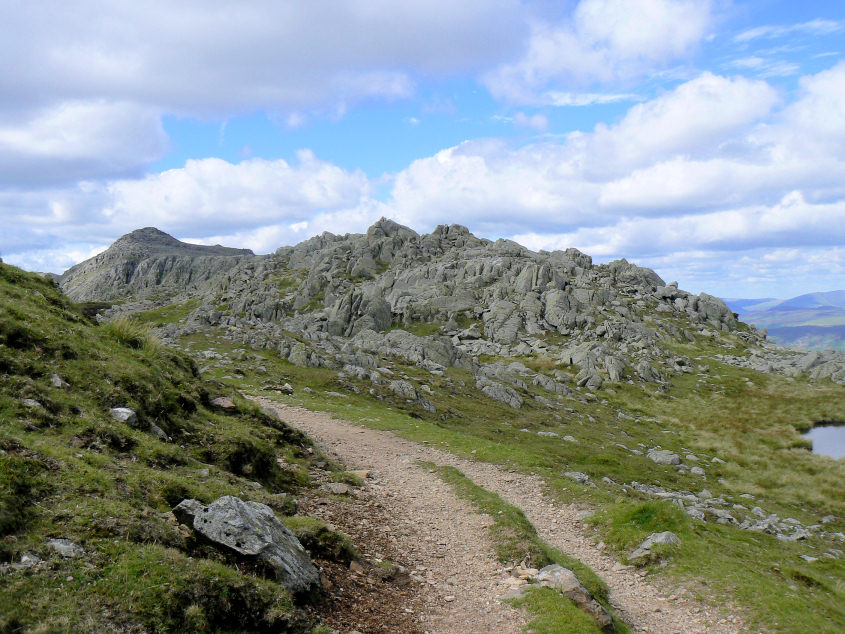
Shelter Crags with Bowfell in the background.
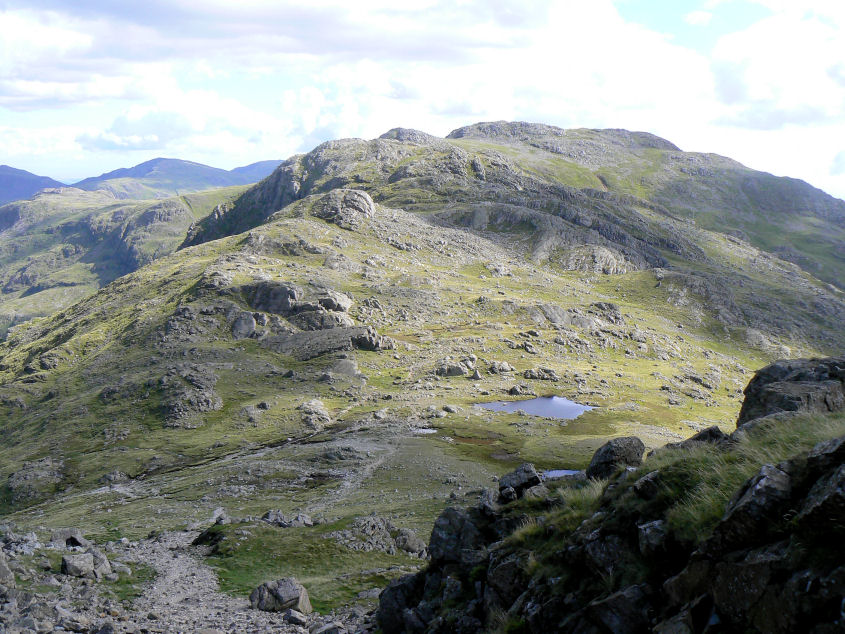
Looking across Three Tarns to Shelter Crags from the start of the ascent of Bowfell.

Looking east from Bowfell's summit across Shelter Crags to Great Knott. Red Tarn is the tarn in the distance with the Coniston Fells forming the background.

Looking north from Bowfell's summit. Skiddaw is seen across Glaramara, with Blencathra visible behind Bleaberry Fell.
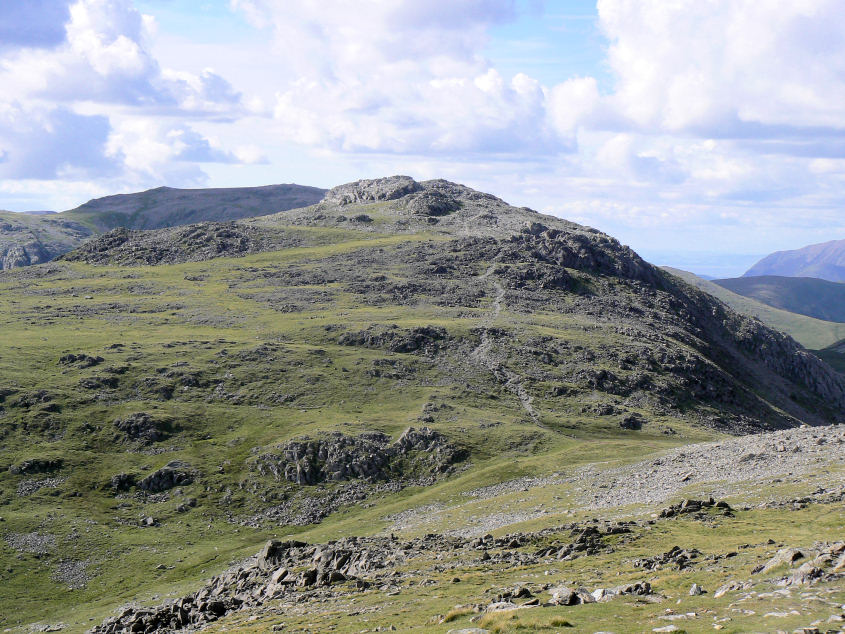
Esk Pike from our descent to Ore Gap.
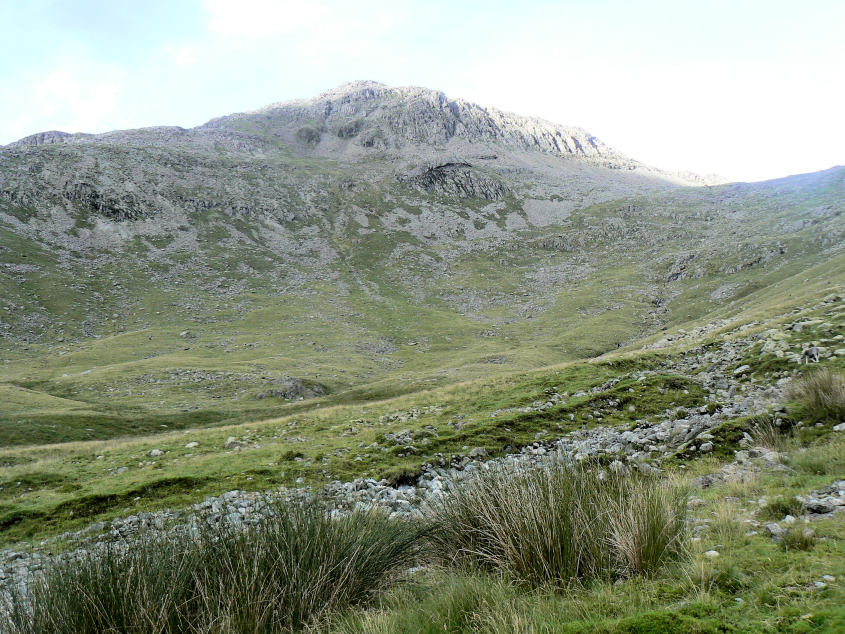
Bowfell catches some evening sun as we head down towards Moasdale.
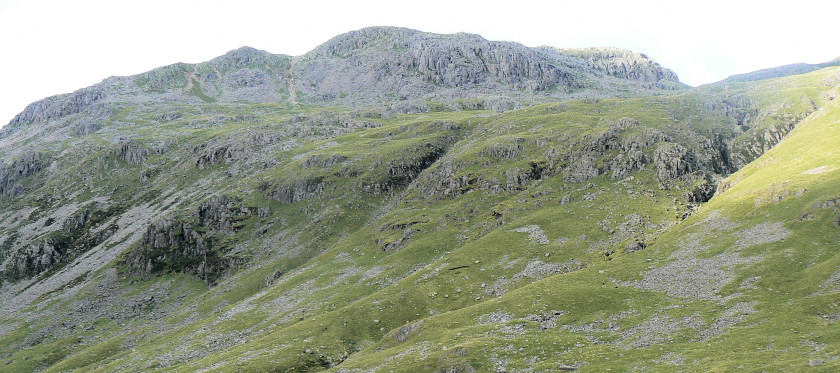
Crinkle Crags from Moasdale.
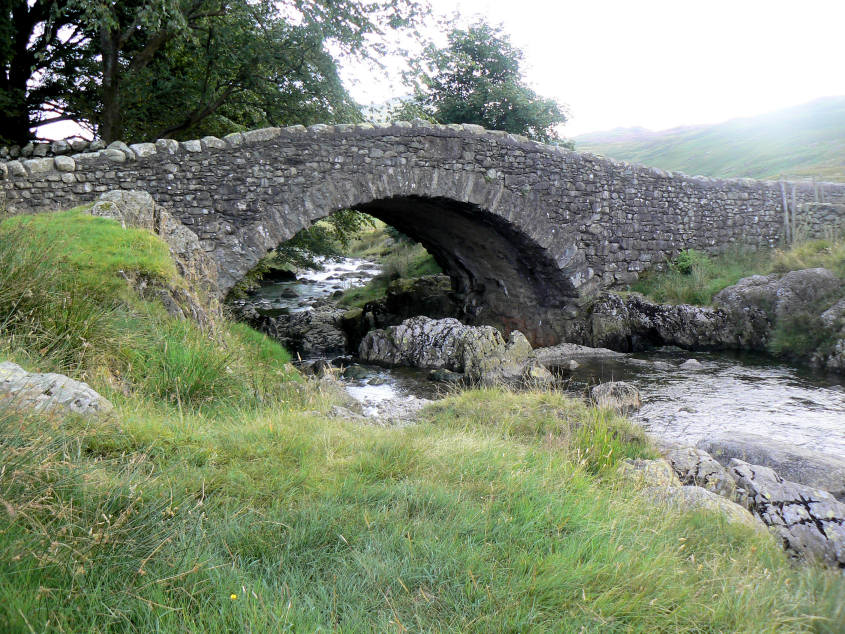
Back at Cockley Beck all that is needed now is a pint and a meal to round off a great day.
All pictures copyright © Peak Walker 2006-2023