
Loughrigg Fell - Lake District Walk
Wednesday 17th October 2007
After yesterdays walk a shorter and less strenuous walk was called for today so we made a return visit to Loughrigg Fell on a route that was planned to take in Elterwater, an area of the Lakes which we hadn't visited before. We had previously visited Loughrigg Fell in 2002 on a cold and grey October day when we enjoyed limited views but, unlike now, didn't know which hills were which. Today the sky remained blue with views that extended far and wide and what was even better we could actually identify most of the lumps and bumps on the horizon.
Start: Langdale Hotel (NY 3254 0514)
Route: Langdale Hotel - Walthwaite Bottom - Grasmere - Loughrigg Terrace - Loughrigg Fell - Little Loughrigg - Skelwith Force - Elterwater - Langdale Hotel
Distance: 7.75 mils Ascent: 504 metres Time Taken: 5 hours 20 mins
Weather: Blue sky but a cold wind on the summit.
Pub Visited: Britannia Inn, Elterwater Ale Drunk: Britannia Inn Special Edition, Coniston Brewing Company
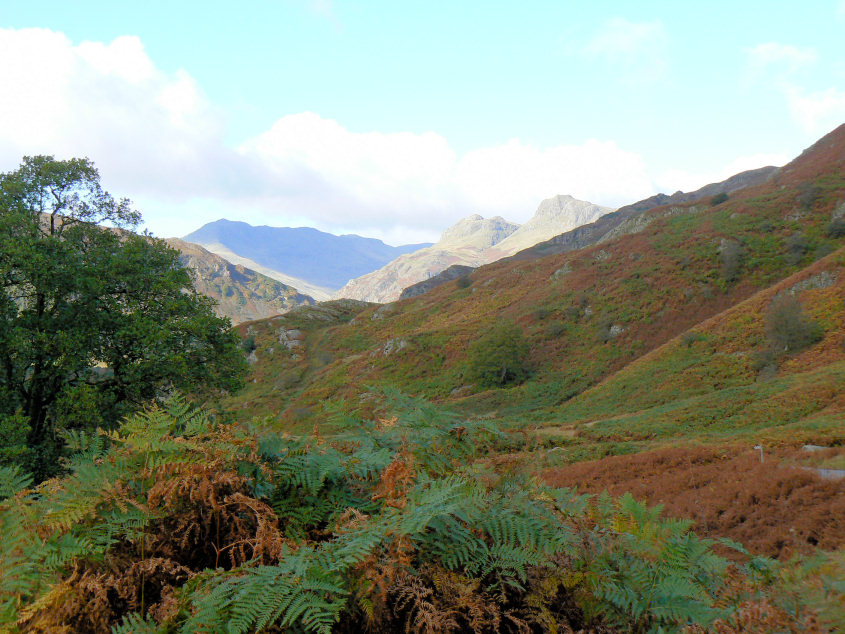
An early glimpse of Bowfell & the Langdales as we head across Walthwaite Bottom.
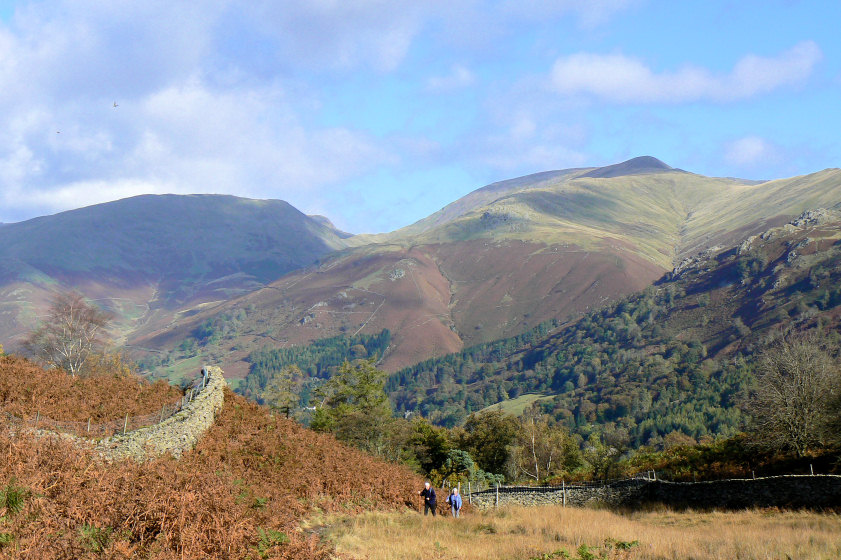
The first view of Seat Sandal and Great Rigg.
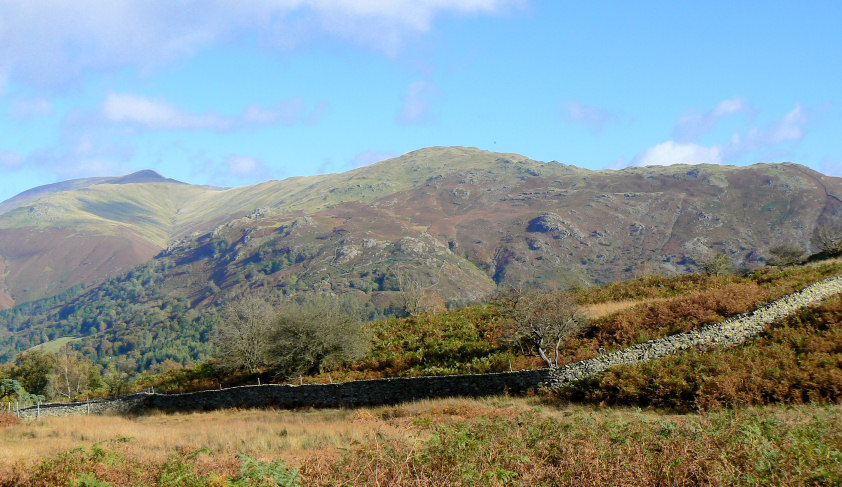
Moving round to Heron Pike and Nab Scar.
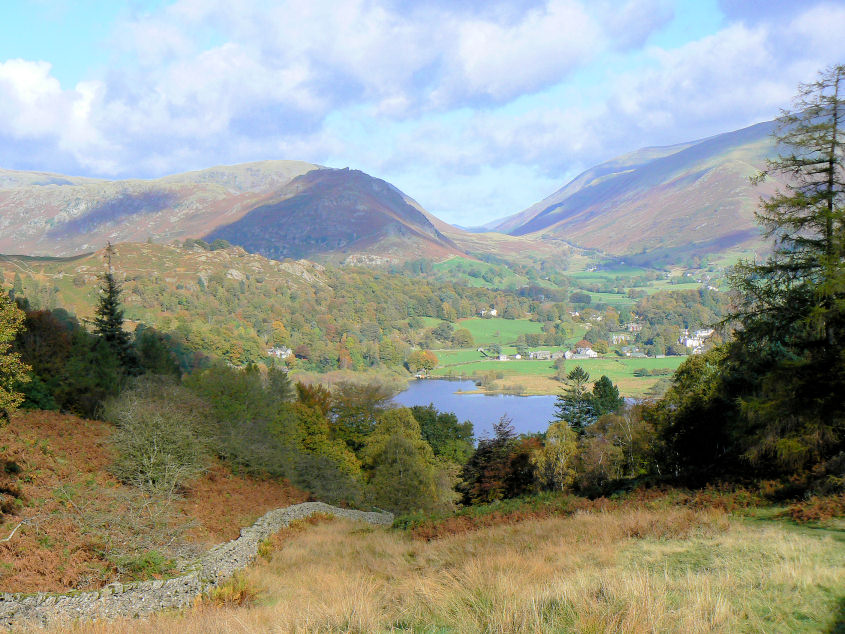
Looking across Grasmere to Helm Crag and Dunmail Raise.
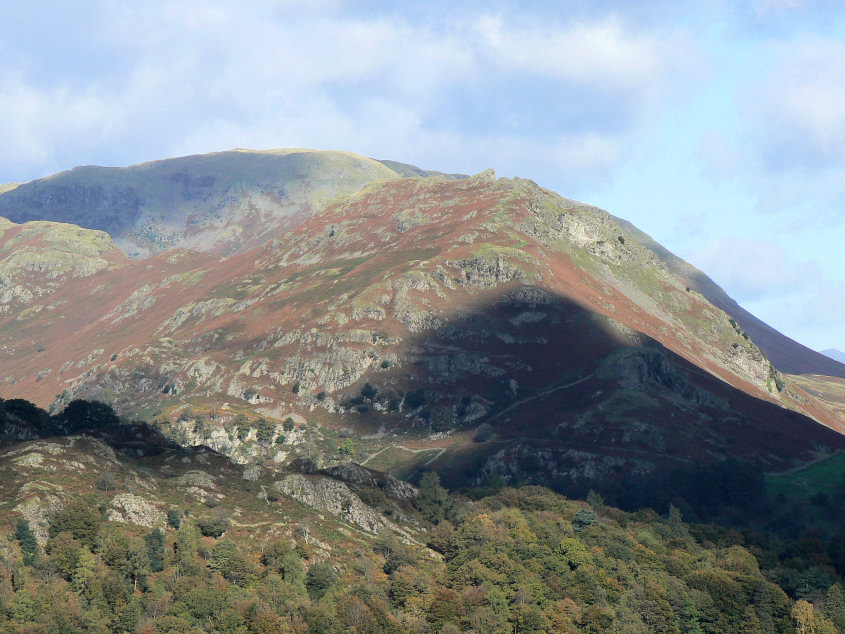
Helm Crag with Steel Fell behind.
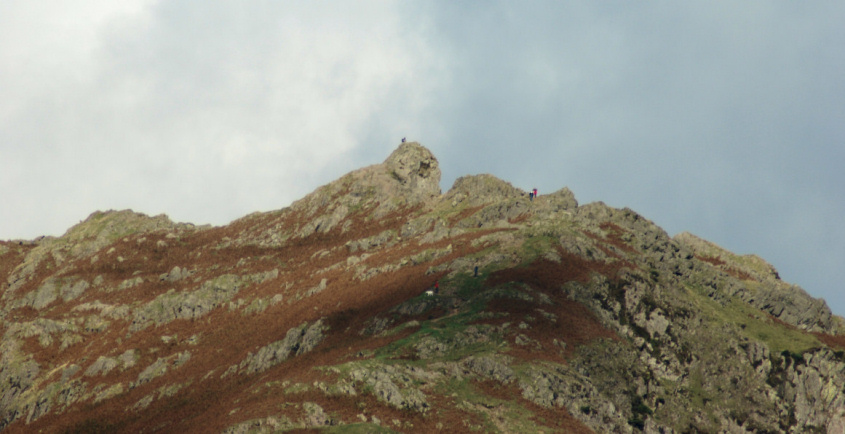
John has a new camera and the zoom isn't bad as his shot taken across Grasmere of the Lion & the Lamb on top of Helm Crag shows.
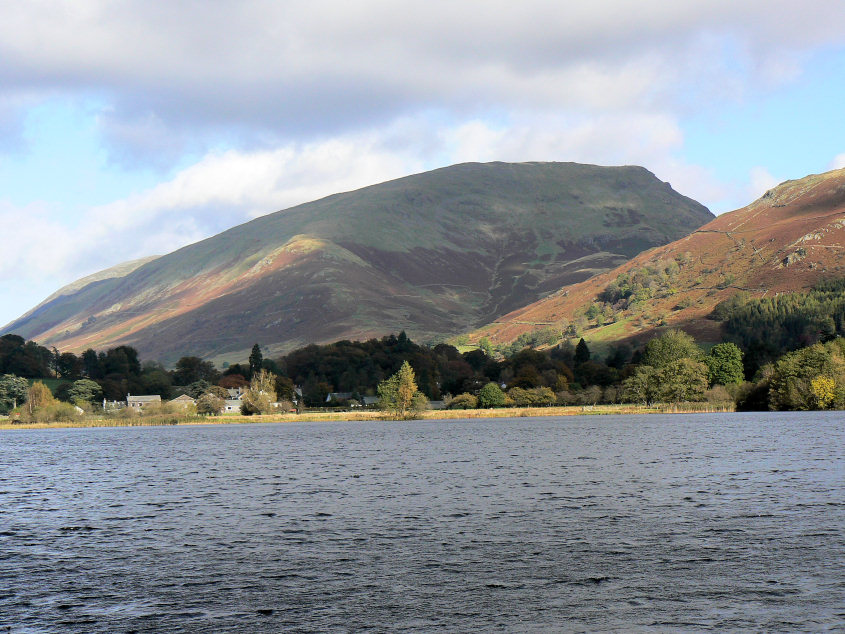
Seat Sandal across Grasmere.
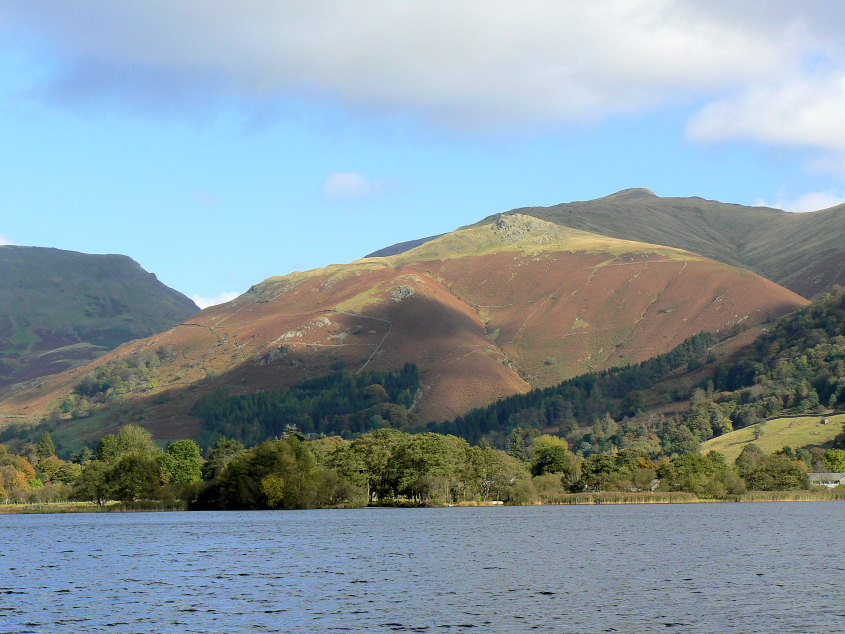
Stone Arthur and Great Rigg.
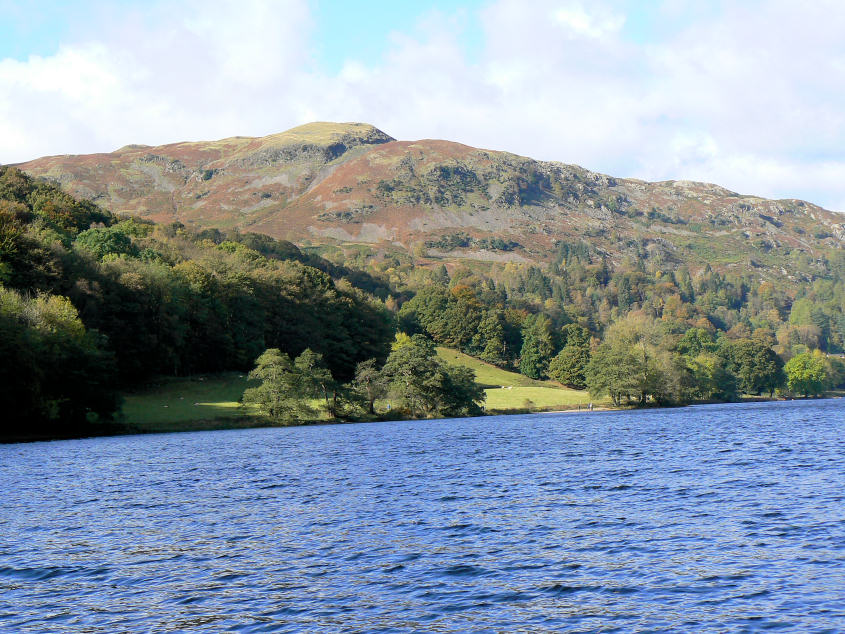
Silver How, one of the first fells in the Lakes John and I ever did together.
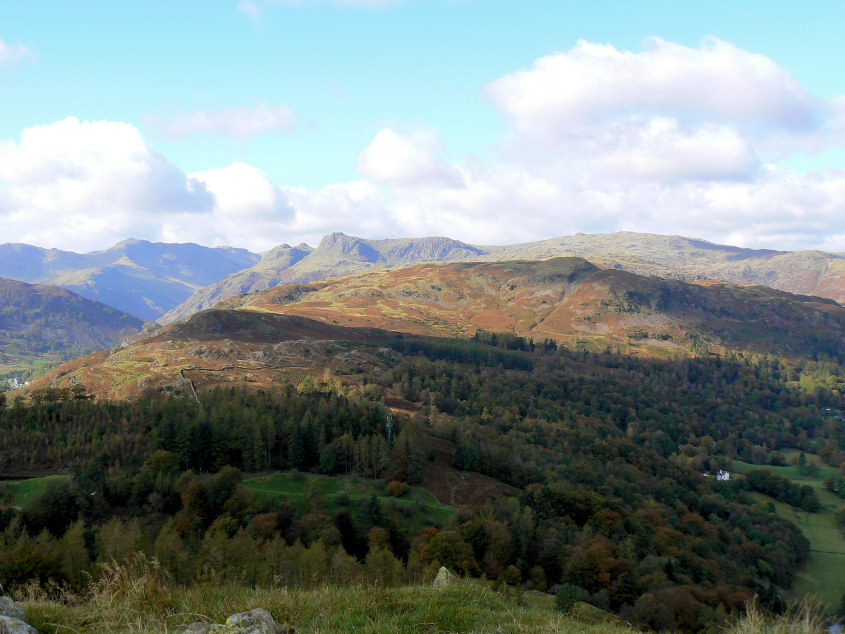
Looking across to the Langdales from the slopes of Loughrigg.
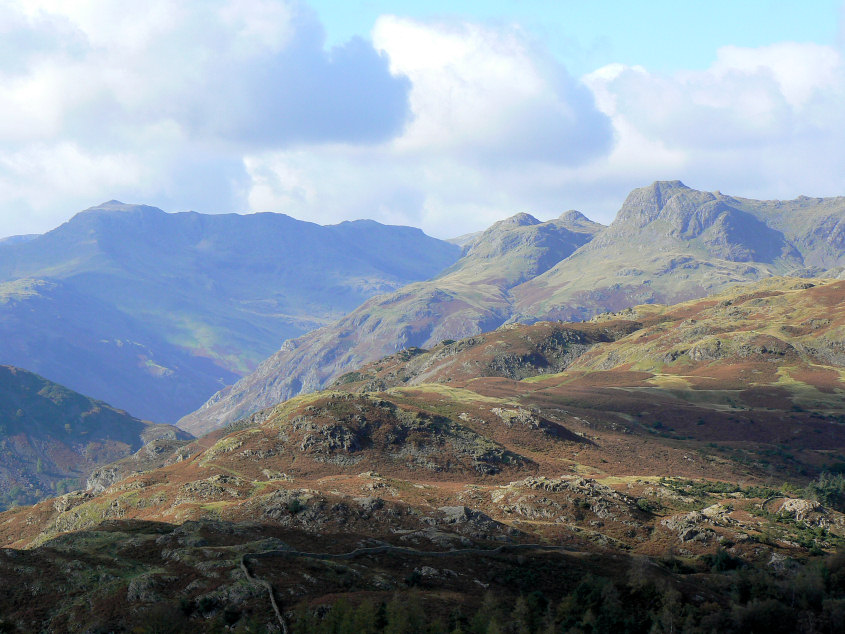
Zooming in on Harrison Stickle and the Pike O'Stickle, amongst others.
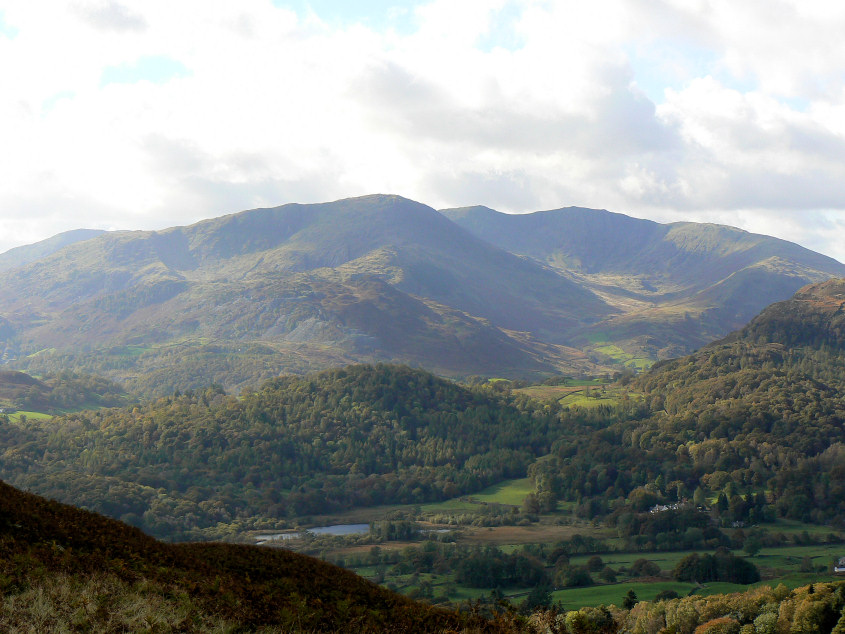
Looking across to the Coniston Fells.
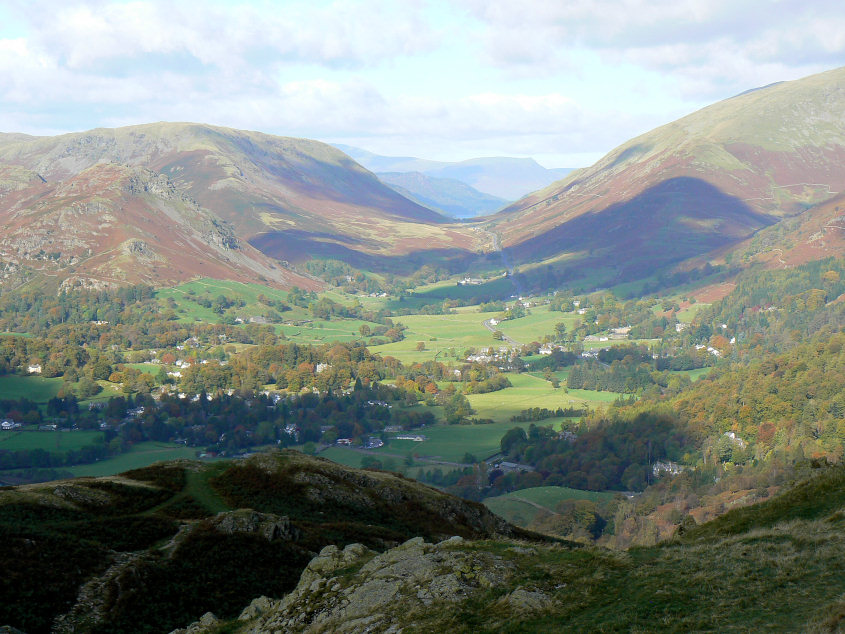
Lonscale Fell seen through Dunmail Raise.
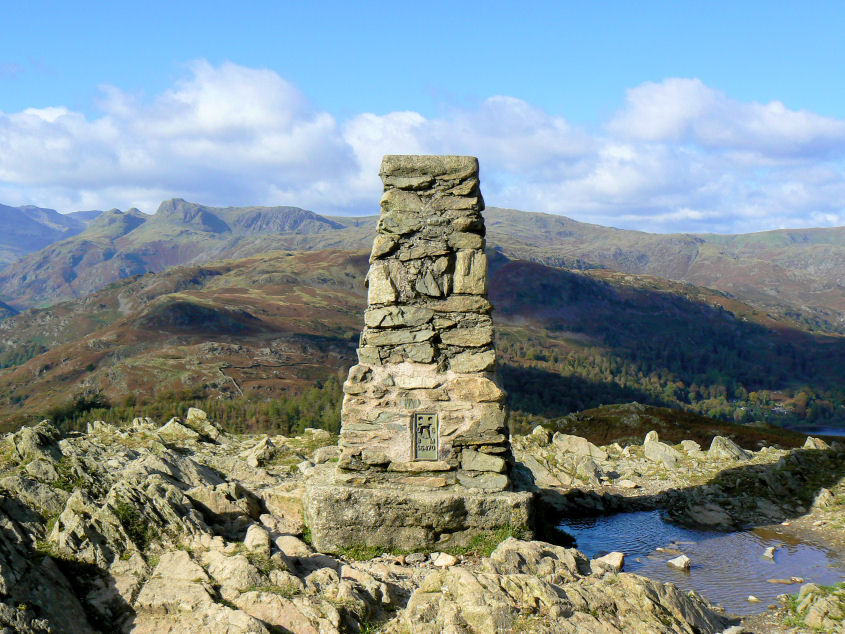
Loughrigg Fell's summit, a busy and windy spot.
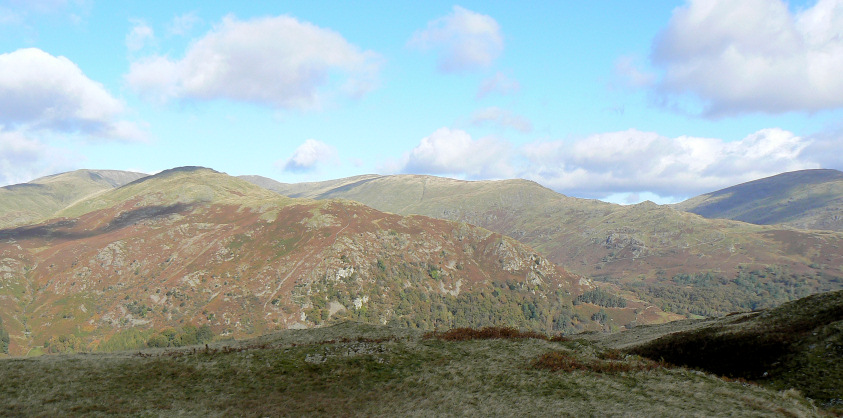
The Fairfield Horseshoe from Loughrigg's summit.
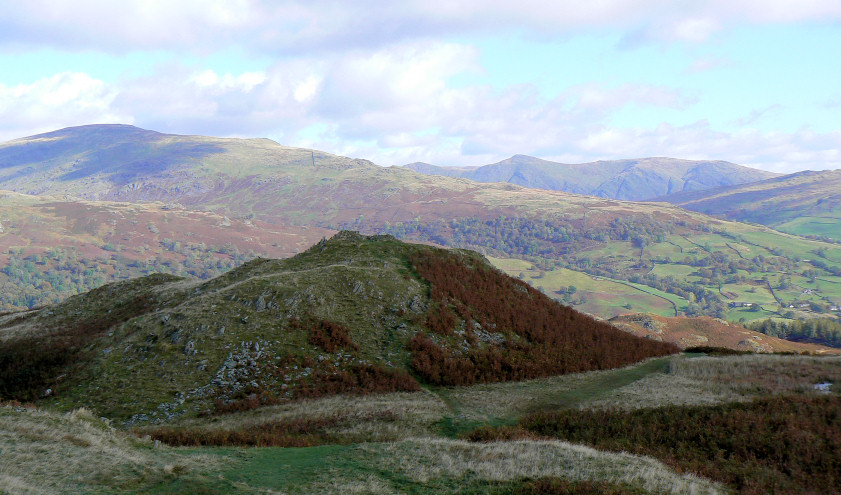
Red Screes, with Ill Bell and Yoke behind.
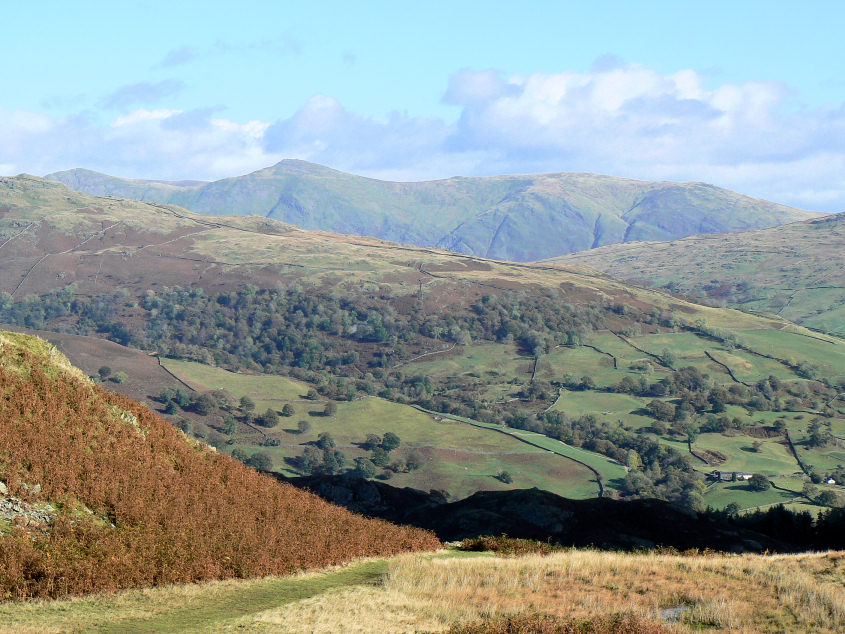
Froswick, Ill Bell and Yoke.
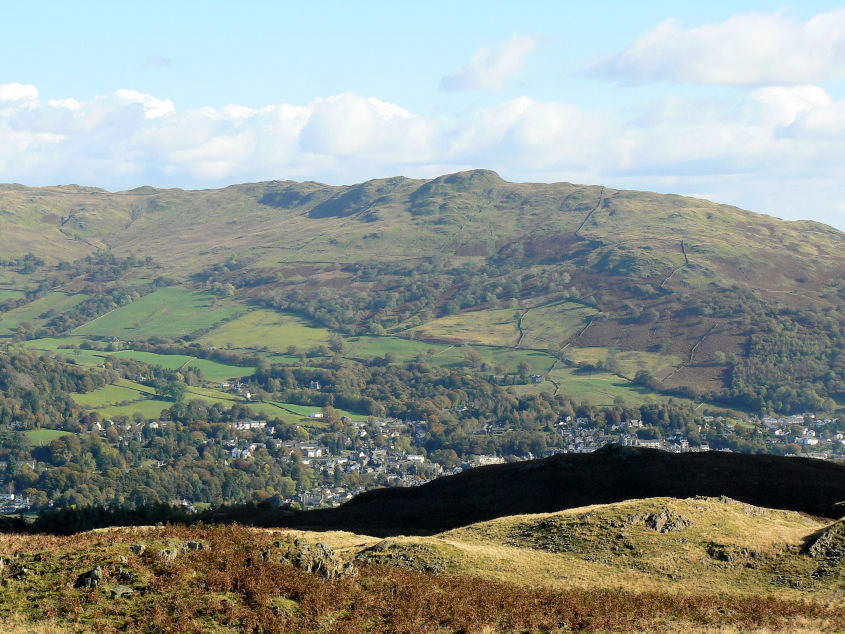
Wansfell.
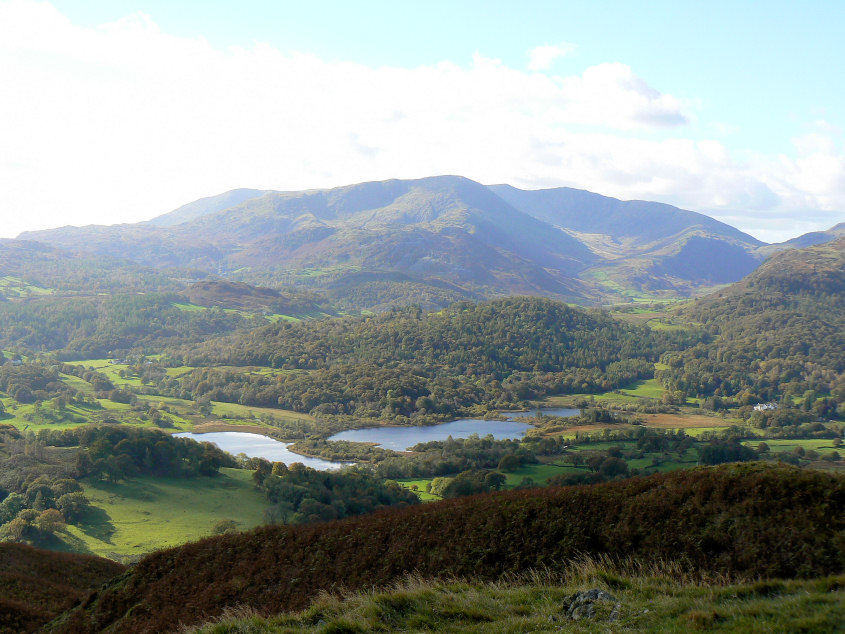
Elterwater from Loughrigg's summit.
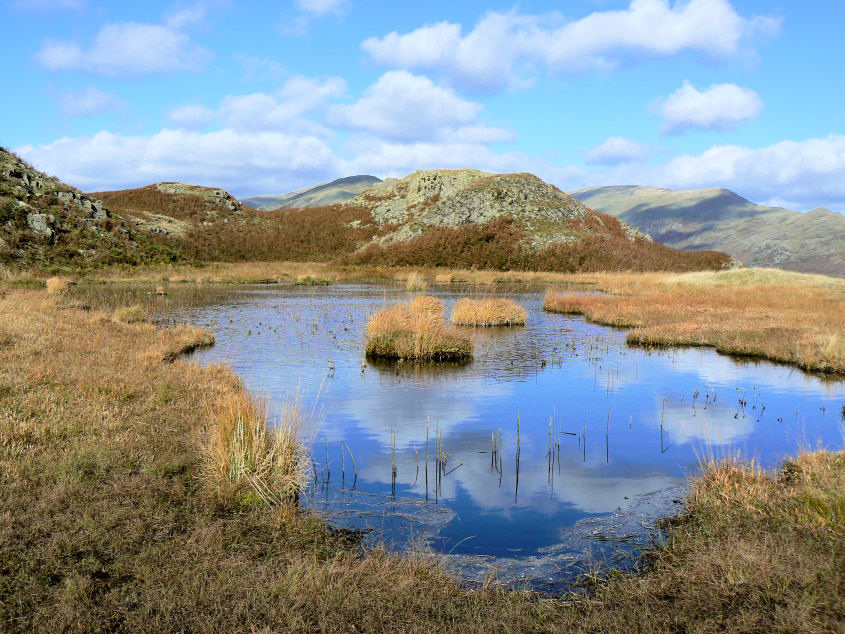
Reflections in an unnamed tarn on the way down from Loughrigg's summit.
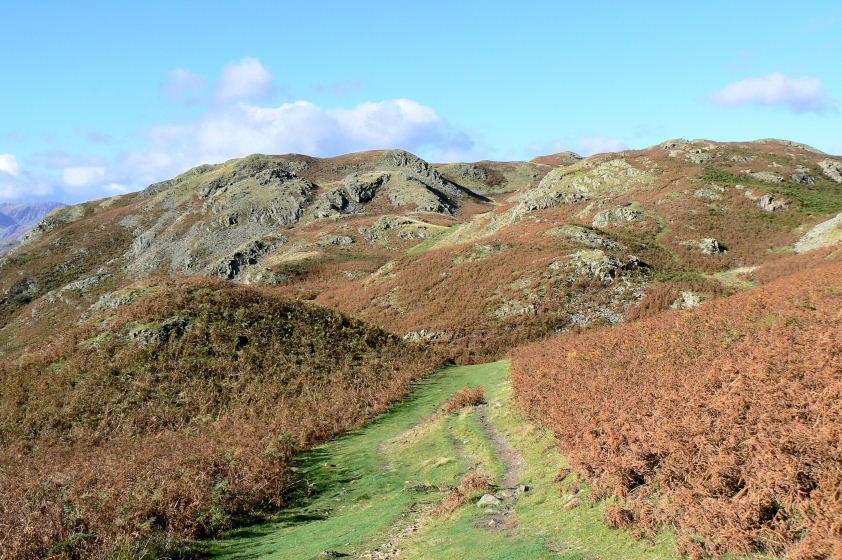
Looking back to Loughrigg's summit.
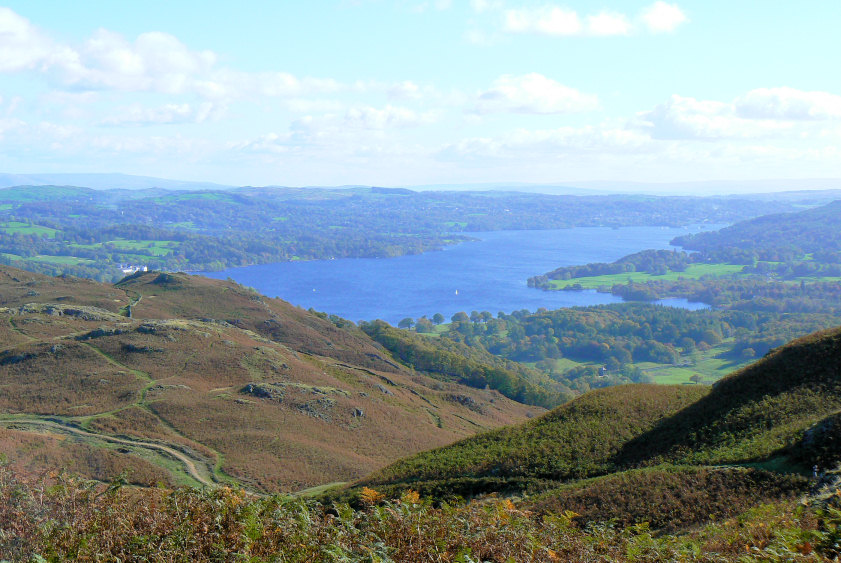
Windermere.
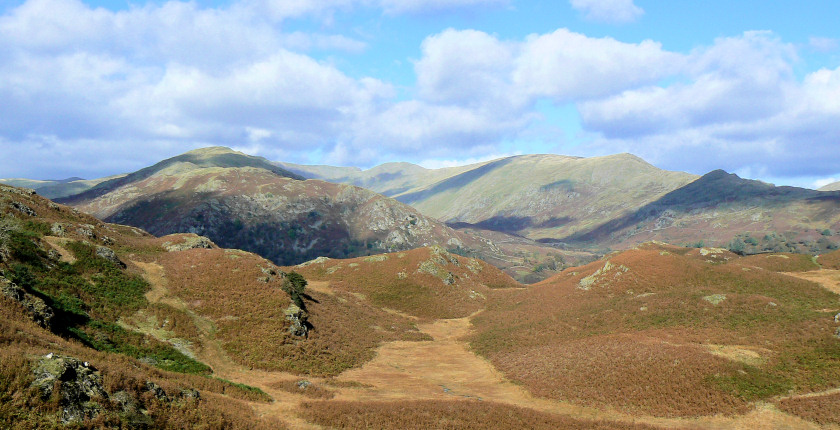
A slightly different angle from the earlier view of the Fairfield Horseshoe.
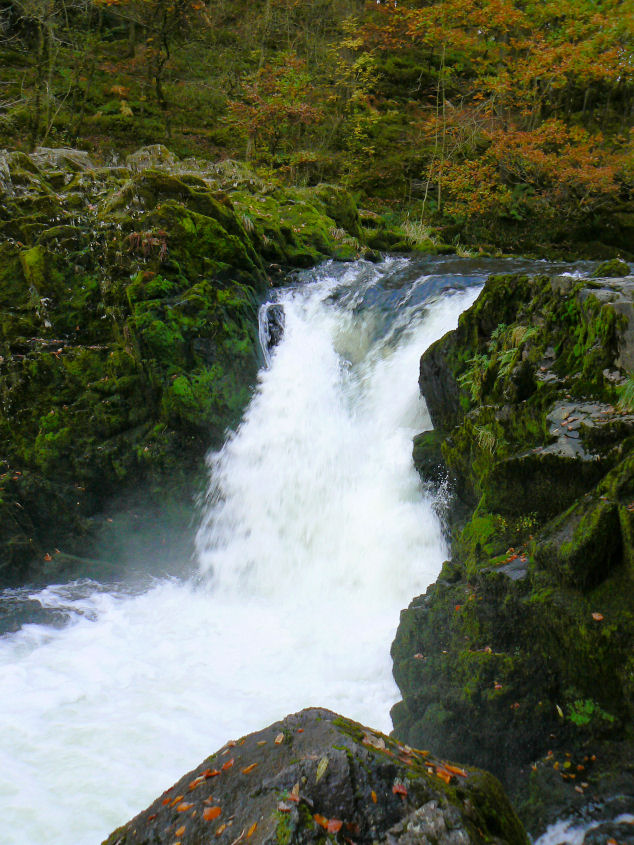
Skelwith Force.
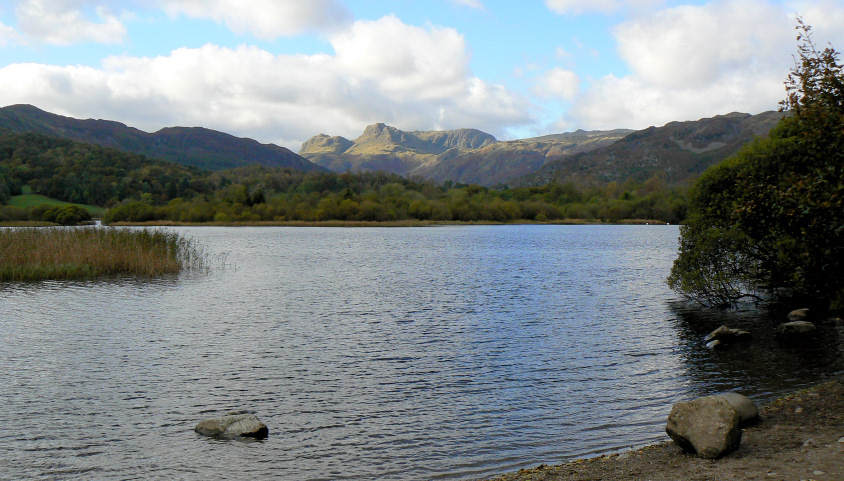
A fine view of the Langdales across Elterwater.
All pictures copyright © Peak Walker 2006-2023