
Cartledge Stone Ridge - Peak District Walk
Wednesday 30th June 2010
A new route to me that, with a few alterations, I would recommend as the views on a day like today are extensive and ever-changing. The walk ended up being longer than expected as my planned route off Emlin Ridge turned out to be through private woodland, where access isn't allowed. Lesson learnt, don't assume all woodland is Forestry Commission land and available to walk through, even if it shows nice wide tracks on the map.
Start: Roadside parking at Strines Bridge (SK 2209 9089)
Route: Strines Bridge - Foulstone Road - Back Tor (TP) - Cartledge Stones Ridge - Dukes Road (Path) - Hurkling Edge - Emlin Ridge (TP) - Thornseat Road - Strines Bridge
Distance: 11 miles Ascent: 496 metres Time Taken: 5 hours
Terrain: Good paths to start, pathless moorland to and from Emlin Ridge.
Weather: Hot.
Pub Visited: Strines Inn Ale Drunk: Jennings Cocker Hoop
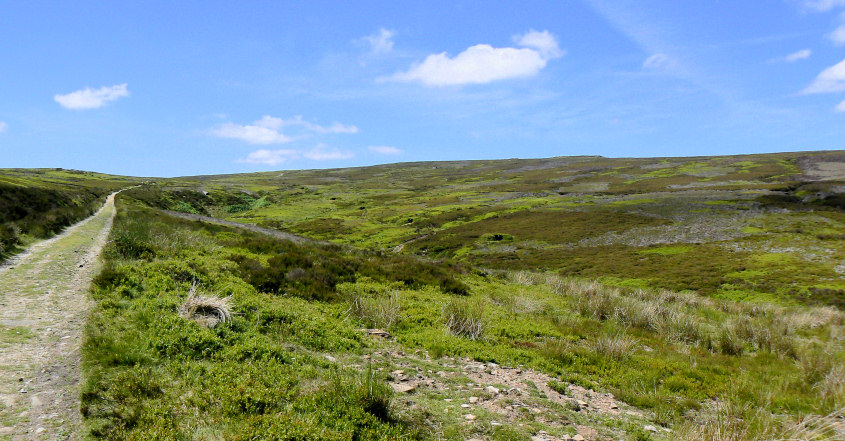
Starting out along Foulstone Road and heading towards Back Tor.
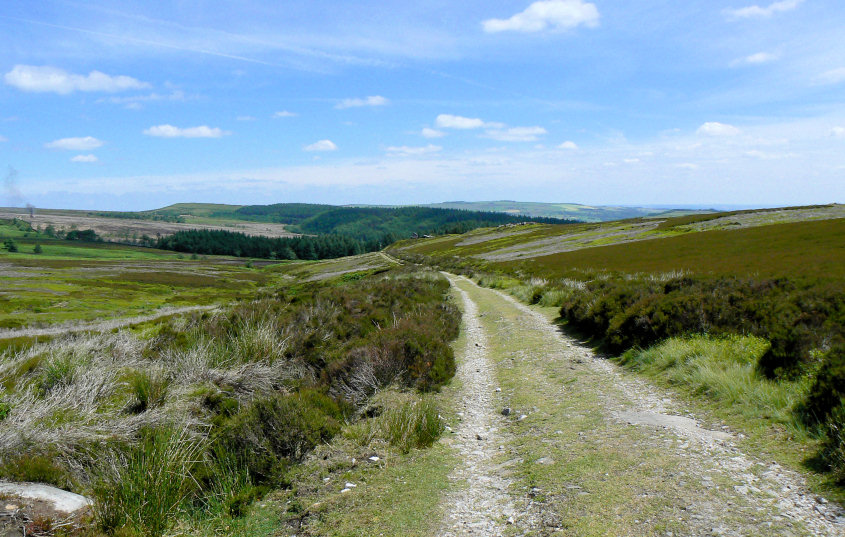
Looking back to Emlin Ridge and the woodland your not allowed to walk in.
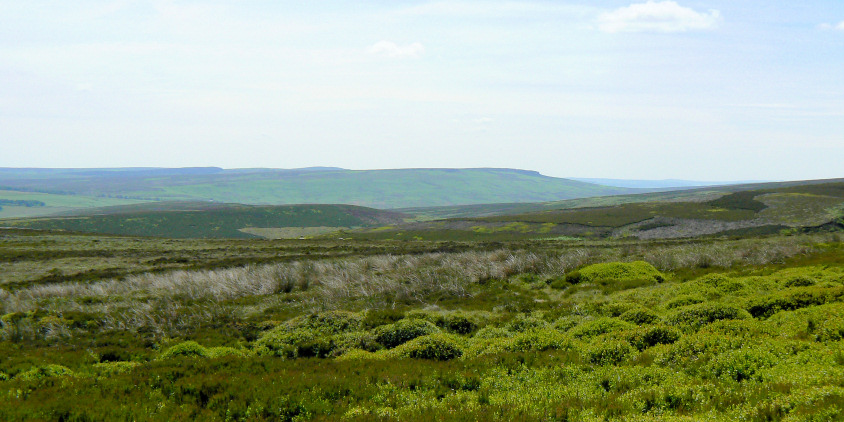
Stanage Edge comes into view as we approach the top of the path.
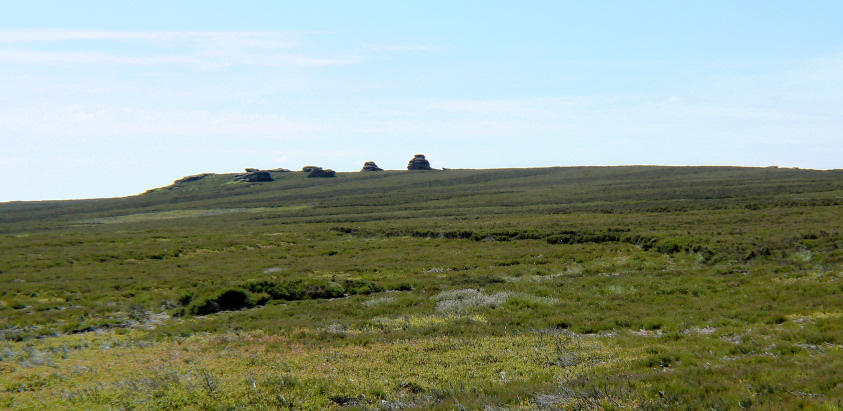
The Cakes of Bread.
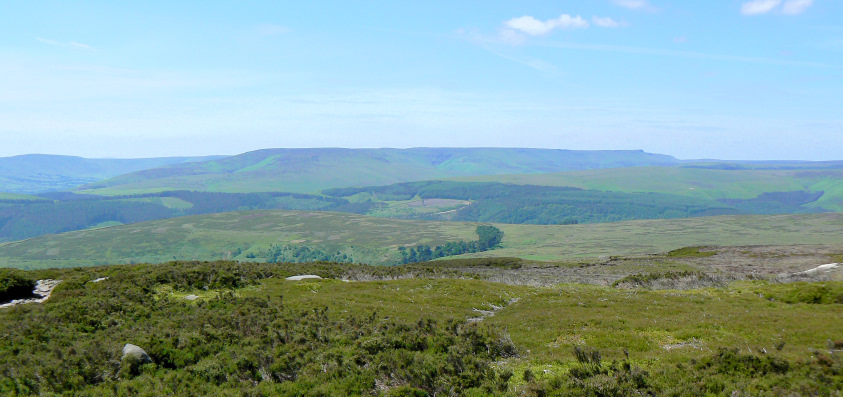
Kinder Plateau from Derwent Edge.
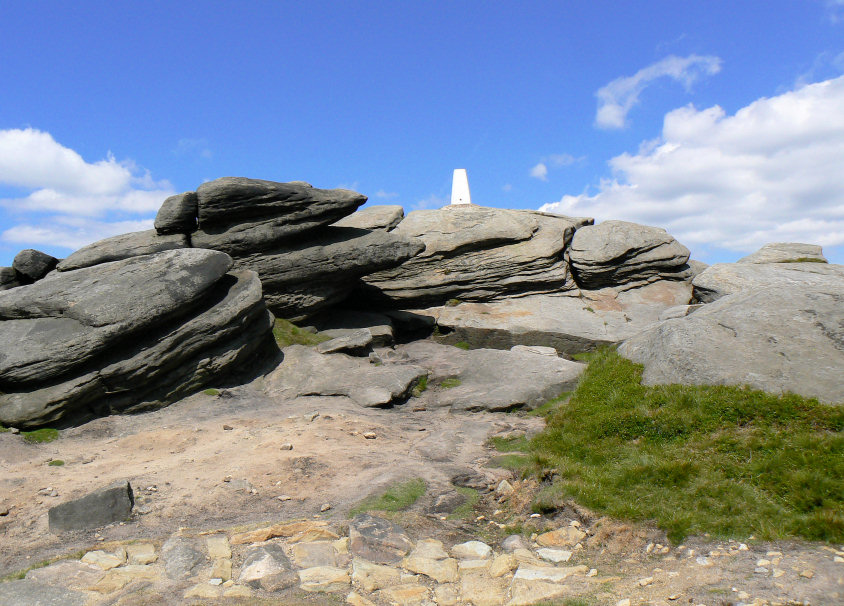
We passed on climbing up to the trig point today.
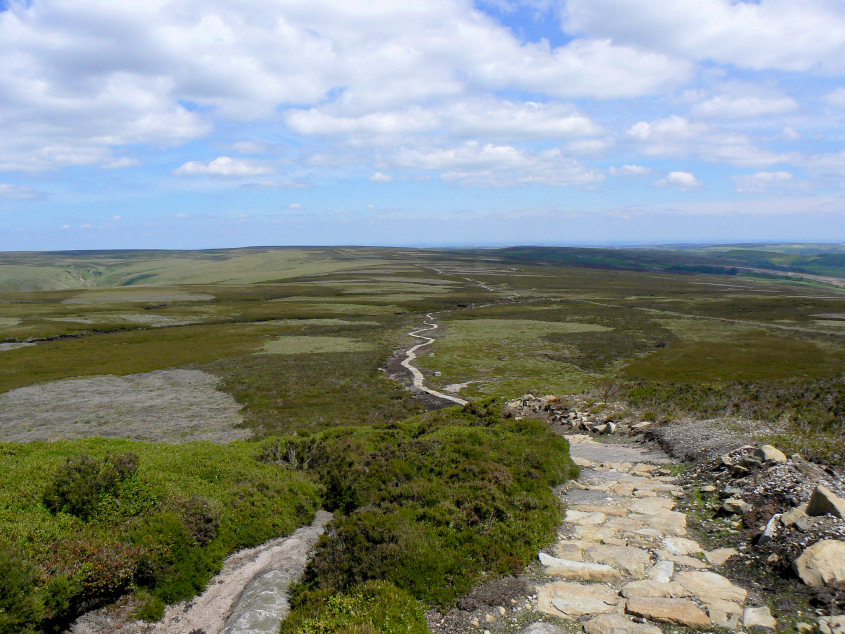
Looking along the Cartledge Stones Ridge path from Back Tor.
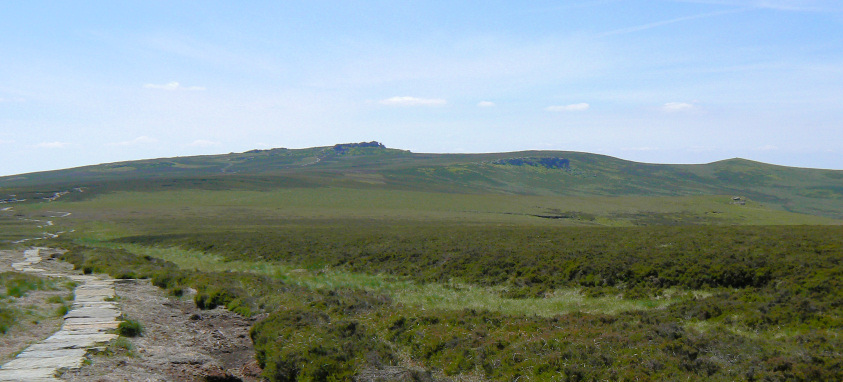
Back Tor (L) and Lost Lad (R) with Howshaw Tor between them.
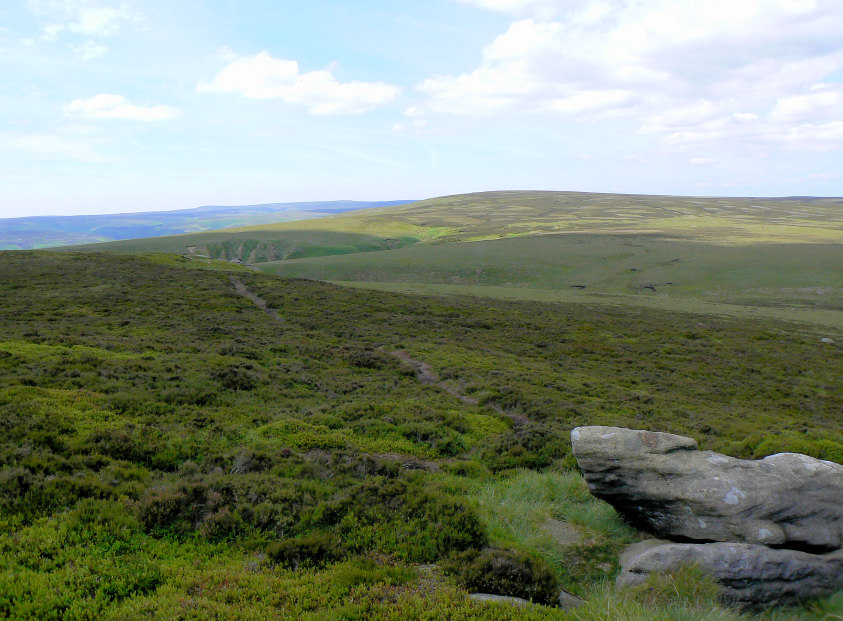
Our lunchtime spot. Looking across Howden Edge to Featherbed Moss.
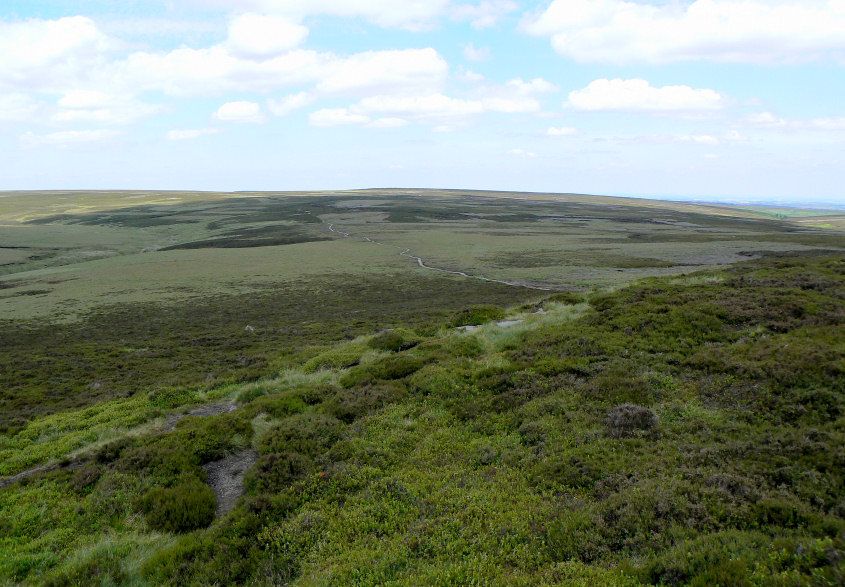
In the opposite direction the view was of Flint Hill.
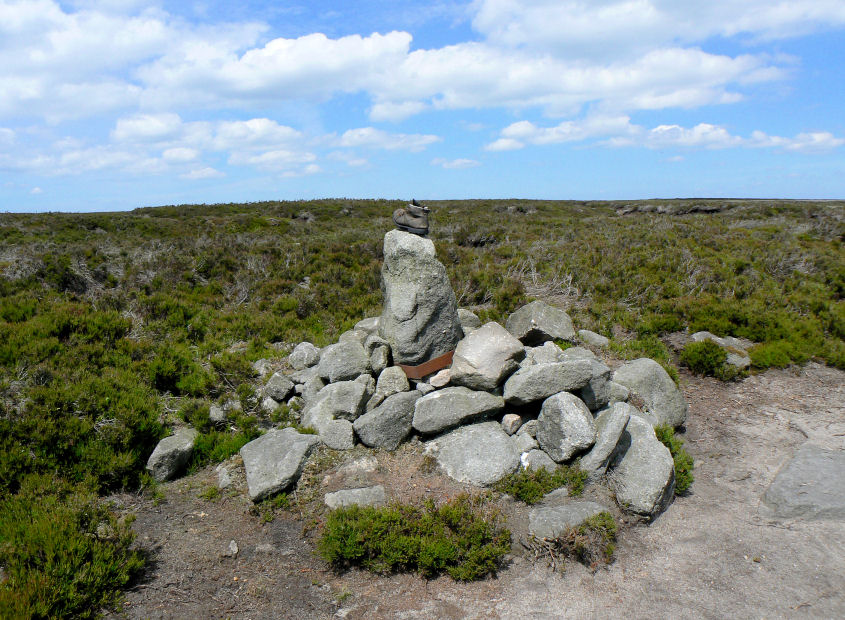
A not so unusual decoration for this cairn on the Dukes Road (Path). The boot is actually weighted down with stones. I've always wondered how anyone can lose a boot whilst out walking, surely you'd notice it wasn't on your foot!!
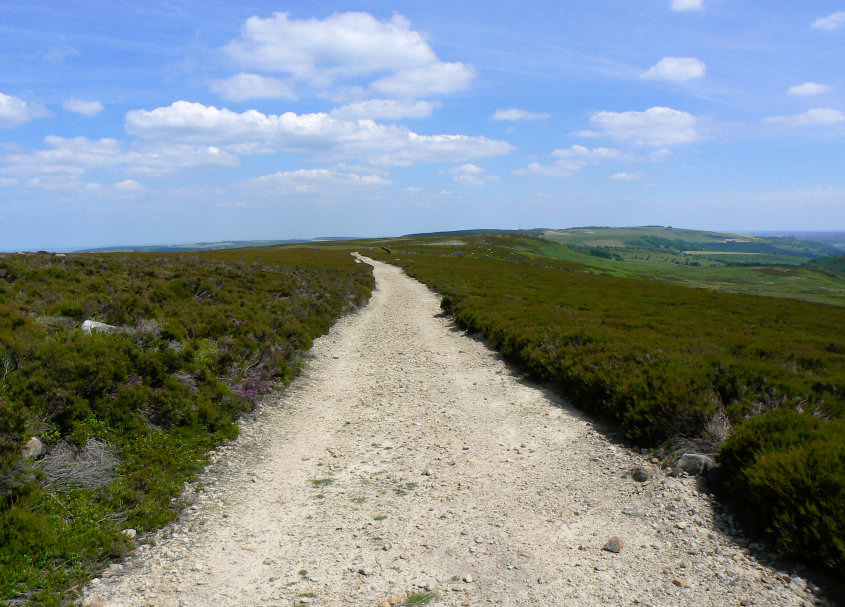
Looking along the path towards the wonderfully named Walker Edge which is visible in the distance.
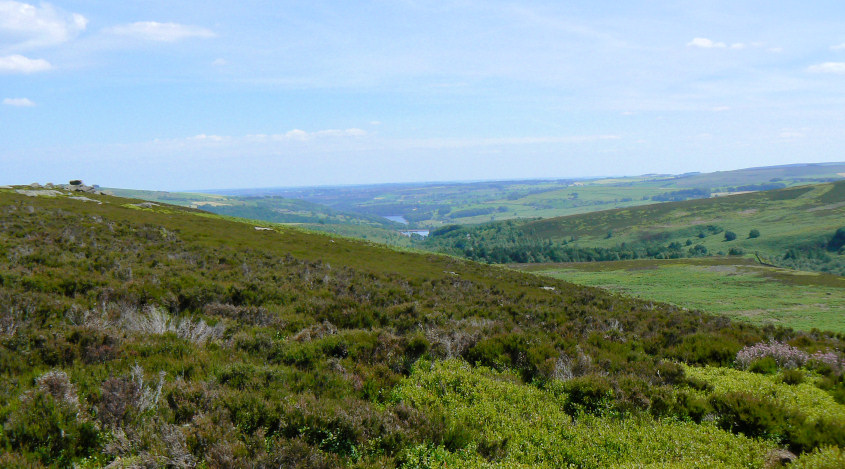
Agden and Damflask Reservoirs come into view. The Hurkling Stone can be seen on the left.
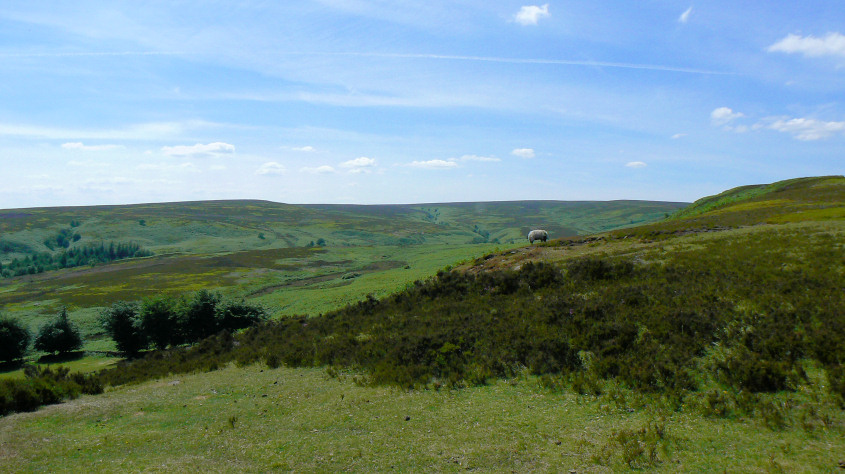
We took advantage of the seat at the end of Hurkling Edge to sit and enjoy the view of Rook Cabin Flat.
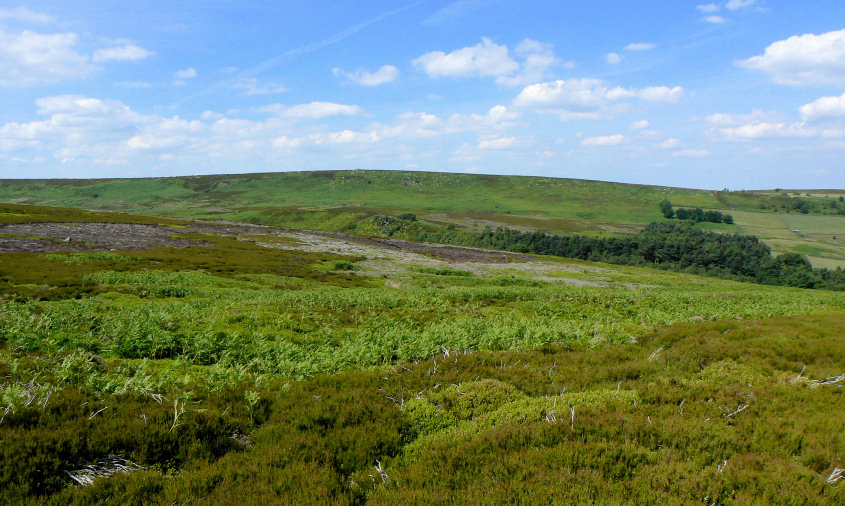
Hurkling Edge from the climb to Emlin Ridge. A rather unpleasant climb that involved a lot of tall ferns and thick heather.
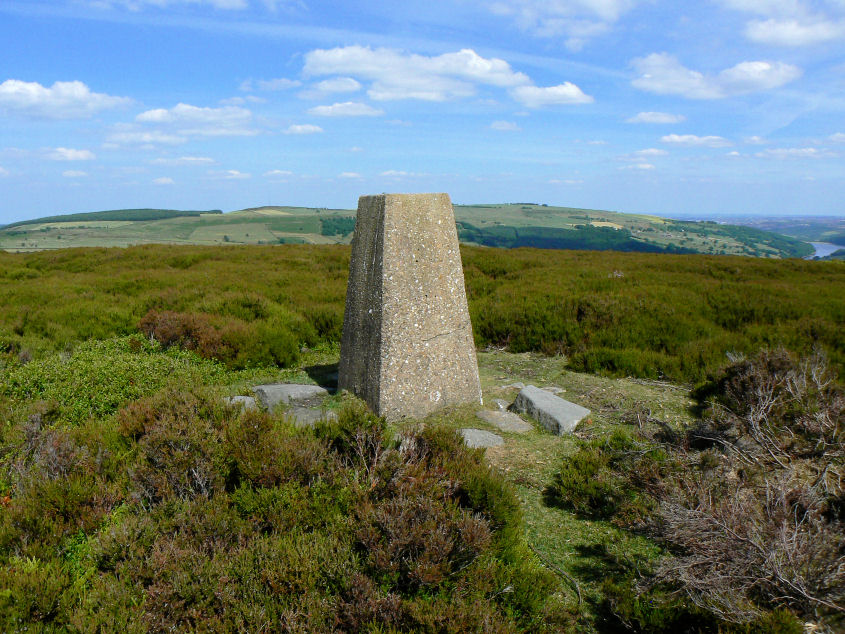
The view to the north-east from Emlin Ridge's trig point.
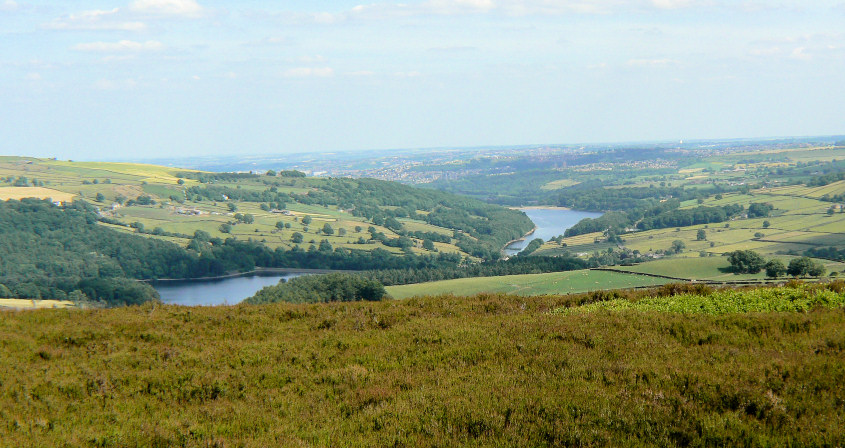
Agden and Damflask Reservoirs and a reminder that we're not really that far from Sheffield.
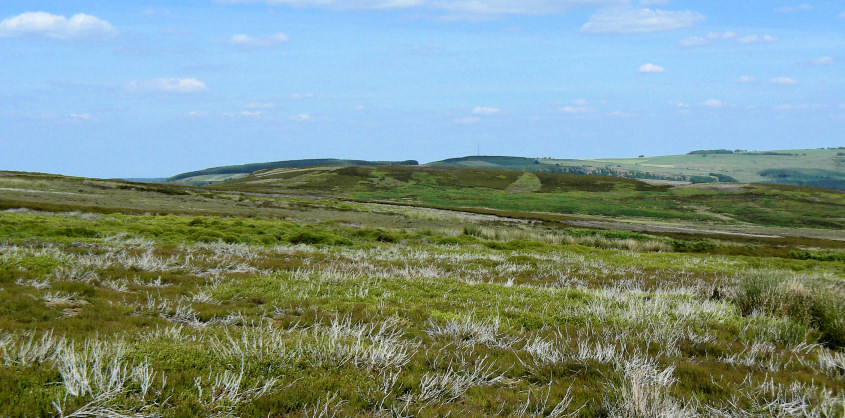
Looking back across Bradfield Moors to Emlin Ridge after yet more negotiating of pathless heathery terrain. Fortunately for the most part we were able to cross it using the areas that had been burnt back. If you ever do this route don't go this way, instead go south-east from the trig point to pick up the road somewhere near Emlin Dyke.
All pictures copyright © Peak Walker 2006-2023