
High Seat - Lake District Walk
Thursday 9th June 2011
The last time we were up here we turned back at Bleaberry Fell as we couldn't stand upright so we had waited for a good day before returning. Most of the walk was done in sunny conditions but we could see the rain heading towards us as we headed towards High Seat, which was where we met it. By the time we reached Ashness Bridge it was getting heavier making the walk back along the road a bit of a trudge.
Start: Great Wood car park (NY 2718 2146)
Route: Great Wood car park - Walla Crag - Bleaberry Fell - High Seat (311) - Ashness Bridge - Great Wood car park
Distance: 6.25 miles Ascent: 636 metres Time Taken: 5 hours 5 mins
Terrain: A mixture of clear paths and moorland.
Weather: Warm and sunny to start turning to rain.
Pub Visited: Royal Oak, Braithwaite Ale Drunk: Jennings Bitter

Heading up through Great Wood we were grateful for the shade.

Finally clearing the trees and the first view of the day is of Catbells.

Bleaberry Fell will be the second summit of the day.

Climbing higher and the view continues to improve.

Grasmoor and Grizedale Pike from Walla Crag.

The view from Walla Crag was well worth the effort.

Across Keswick and Skiddaw is free of cloud.

Derwent Water and the Coledale fells.

Blencathra.

After hanging around for a short while I managed to grab a shot of a people free cairn.

Looking back to Walla Crag as we head for Bleaberry Fell. The number of people around dropped once we left Walla Crag and headed across the wet ground

Bleaberry Fell and the cloud is starting to buil

Bleaberry Fell's shelter, which was much appreciated during our lunch break, as the temperature was colder than expected.

The view was good though.

The last time we were here the closest we got to the cairn was a photo from the shelter, but we had plenty of time to admire the view today.

Heading across to High Seat and it looks like the rain is heading our way.

High Seat's trig and we meet up with the edge of the rain.

Looking towards Bleaberry Fell and you'd think it was still a sunny day.

Bleaberry Fell's cairn as the tops of the Coledale fells start to disappear.

A final view before we start descending.
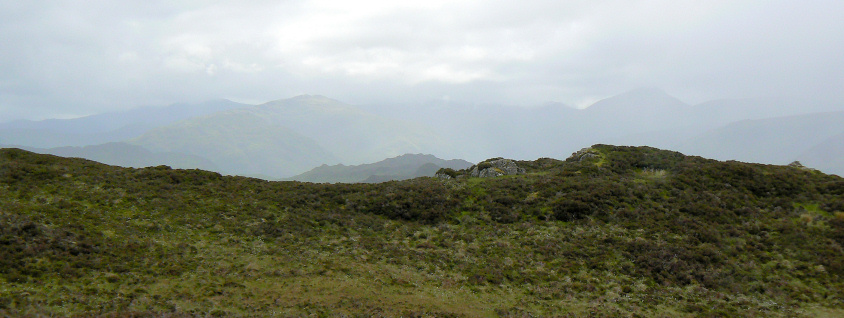
The rain that we had managed to more or less stay out of since leaving High Seat finally overtook us and all that remained was a wet descent and a lets get on with it walk along the road. It wasn't even worth getting the camera out at Ashness Bridge which, not surprisingly, was deserted.
All pictures copyright © Peak Walker 2006-2023