
The Dodds - Lake District Walk
Thursday 15th September 2011
There have been times over the past year when I have wondered if I would ever get back onto the higher lake district fells but after a fair bit of time spent in both the swimming pool and the gym over the spring and summer I finally made it. In fact this walk gave us two reasons to celebrate as it also saw John complete his 300th Birkett and as it turned out on quite an appropriate summit.
Start: New Road, Dockray (NY 3799 2191)
Route: New Road, Dockray - Low How (318) - High Brow (319) - Randerside - Great Dodd - Watson's Dodd - Stybarrow Dodd - White Stones on Green Side (320) - Hart Side (321) - Birkett Fell (322) - Brown Hills (323) - Swineside Knott (324) - Common Fell (325) - New Road, Dockray
Distance: 9.75 miles Ascent: 761 metres Time Taken: 7 hours 15 mins
Terrain: Predominantly on good clear paths.
Weather: Warm and dry.
Pub Visited: Troutbeck Inn Ale Drunk: Jennings Cumberland
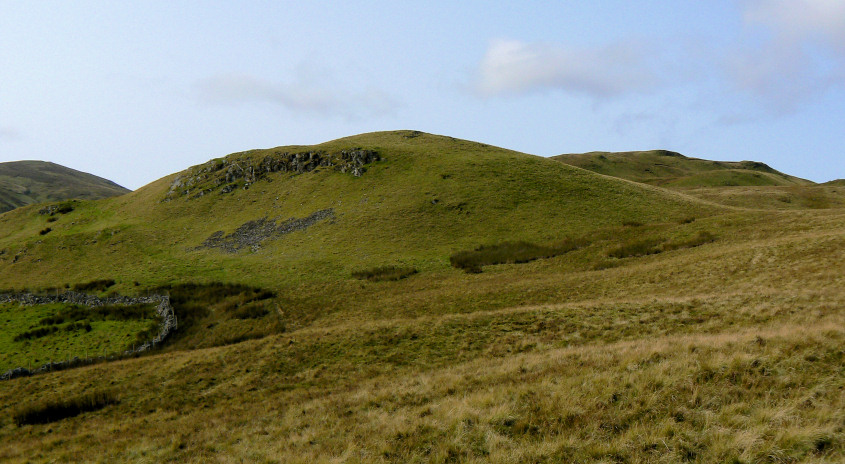
Heading for the first summit of the day Low How.
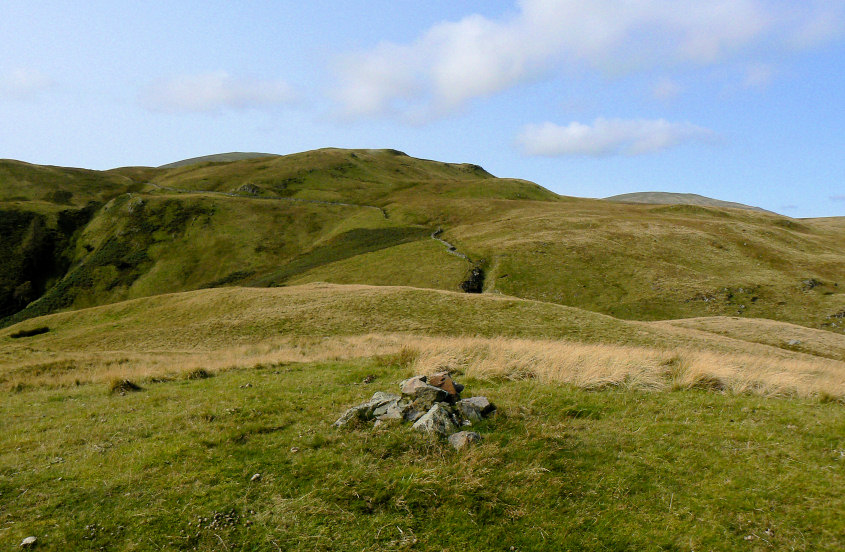
Looking to High Brow from Low How's summit.
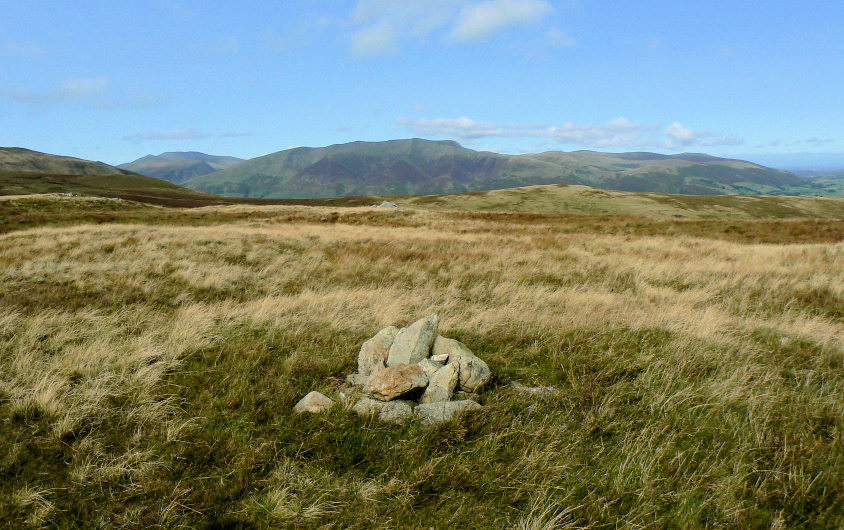
One of the features of today's walk was the wide-ranging views that we enjoyed throughout the walk. There can't be many parts of the Lake District that we didn't see at some point on this walk. Here looking across to Blencathra from High Brow's summit.
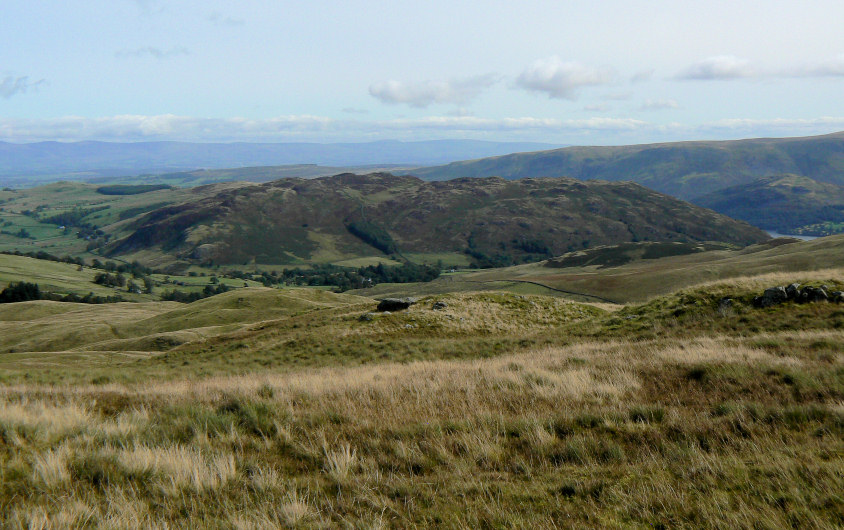
Looking back across Low How to Gowbarrow Fell.
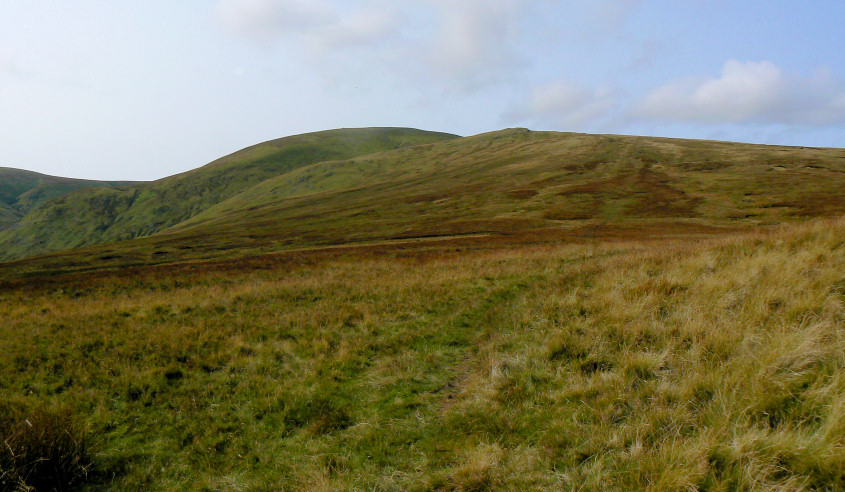
The next target was Randerside and then onto Great Dodd, strangely this was the hardest summit of the day.
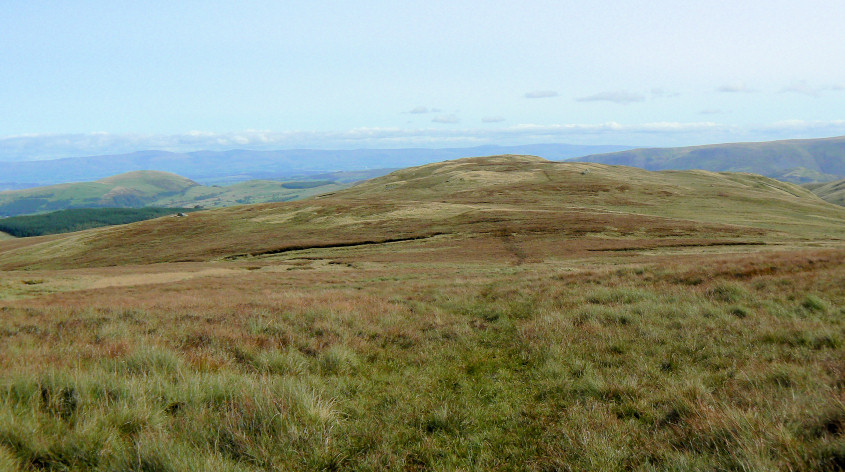
It seemed to take forever to reach Randerside and given the ascent that was yet to come I was beginning to wonder if I was ready for the high fells yet. Here looking back to High Brow from one of the many pauses on the way to Randerside.
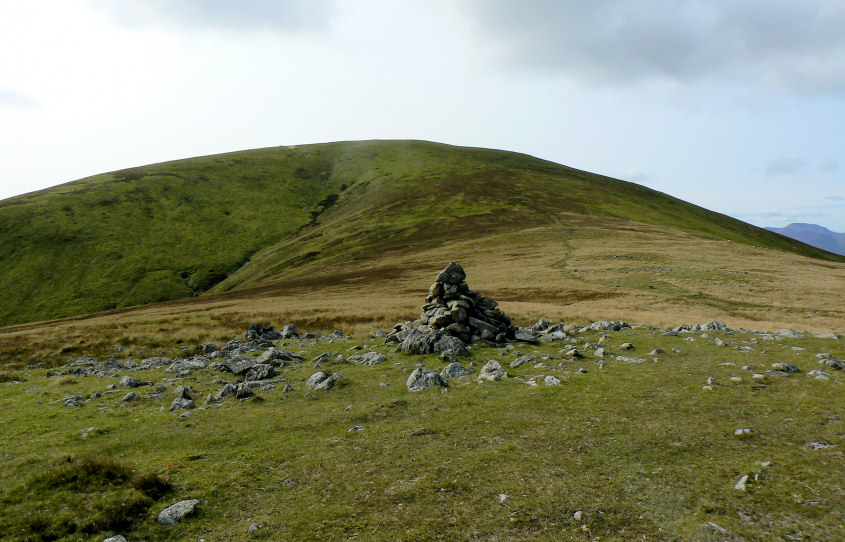
After a break at Randerside's summit it was onward and upward to the summit of Great Dodd, progress was steady and I made it there surprisingly quickly.
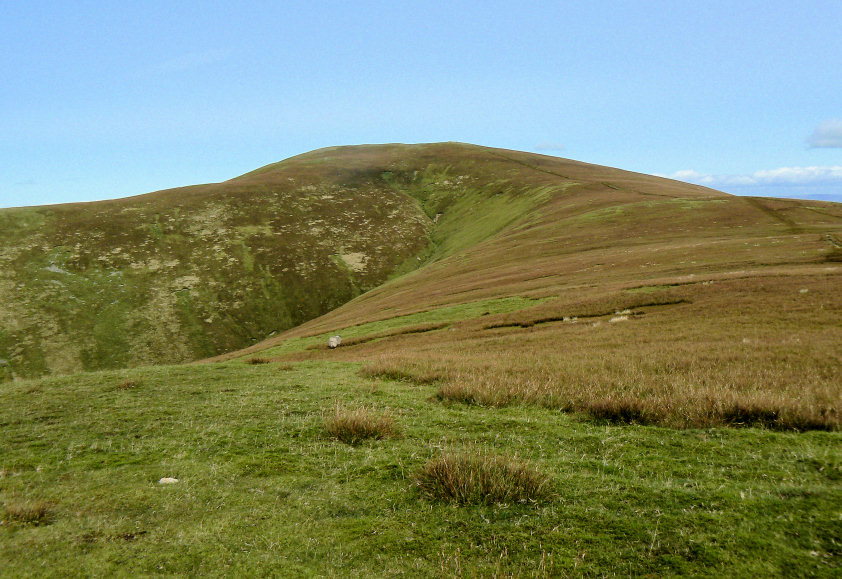
Heading on we dropped down the other side of Great Dodd and headed for Watson's Dodd.
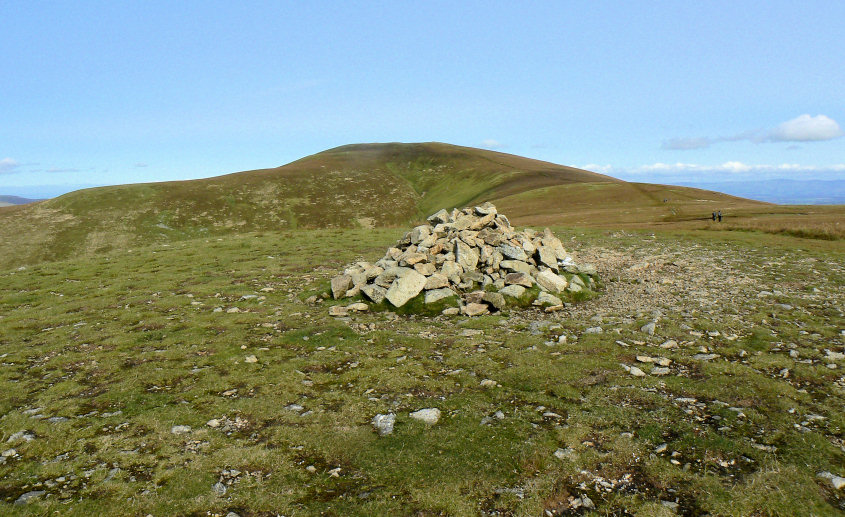
The only reason for visiting Watson's Dodd was so as that I could get a photo of the cairn, which I forgot to take when we were last here.
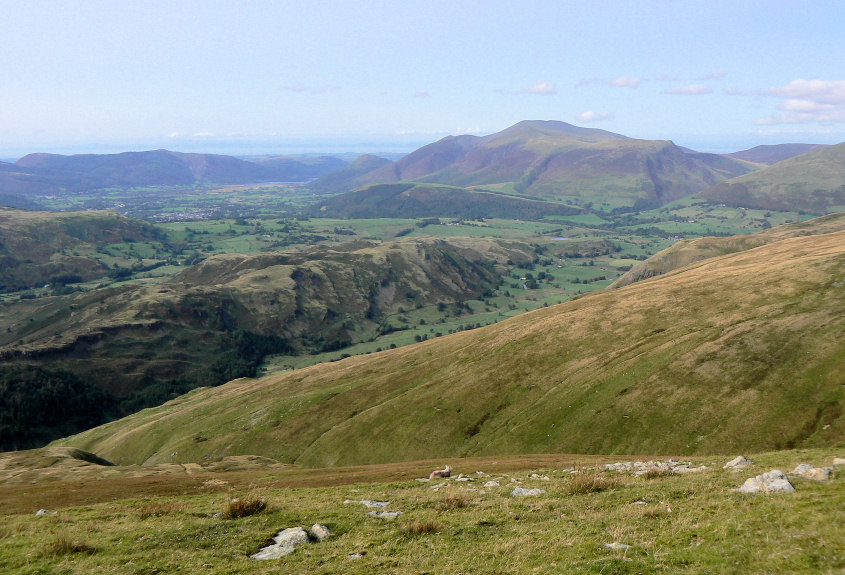
We were rewarded with a view across High Rigg to the Lord's Seat group of fells.
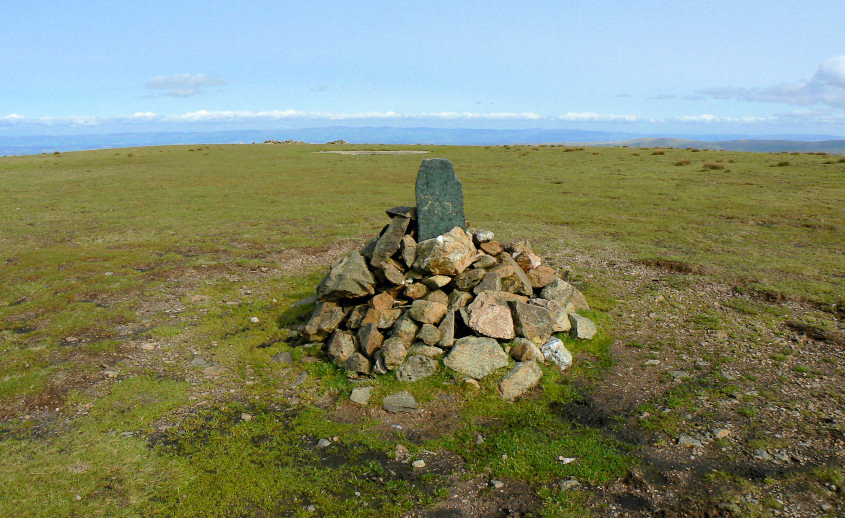
Stybarrow Dodd was next on the list and it has to be one of my favourite Lake District cairns.
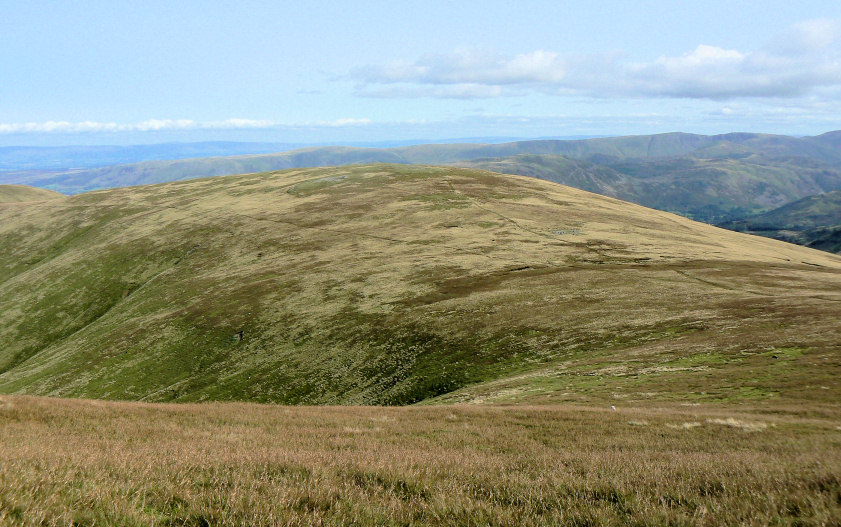
After a lunch break we headed down the other side of Stybarrow Dodd to White Stones.
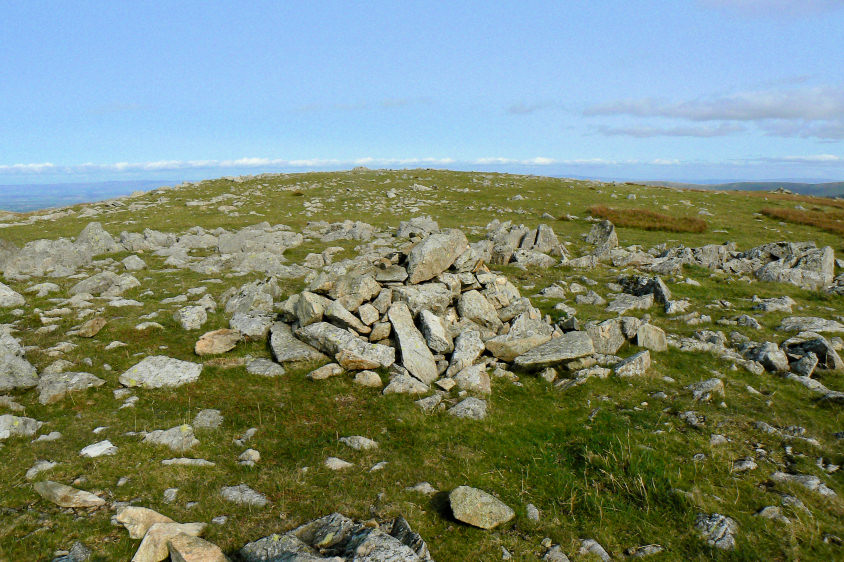
The first problem on reaching White Stones' summit was to work out which cairn marked the actual summit.
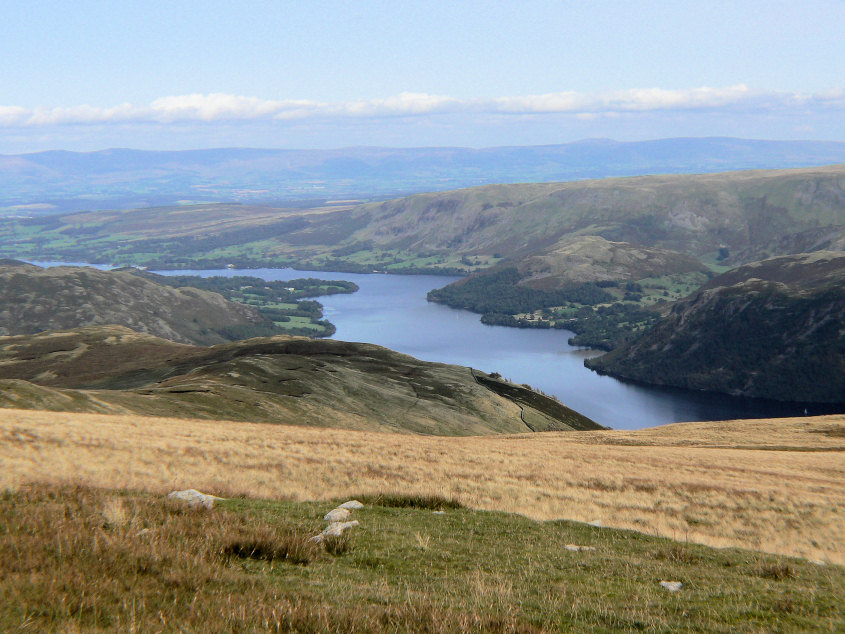
Having reached the summit cairn we then dropped down to the other side of the summit for the views along Ullswater.
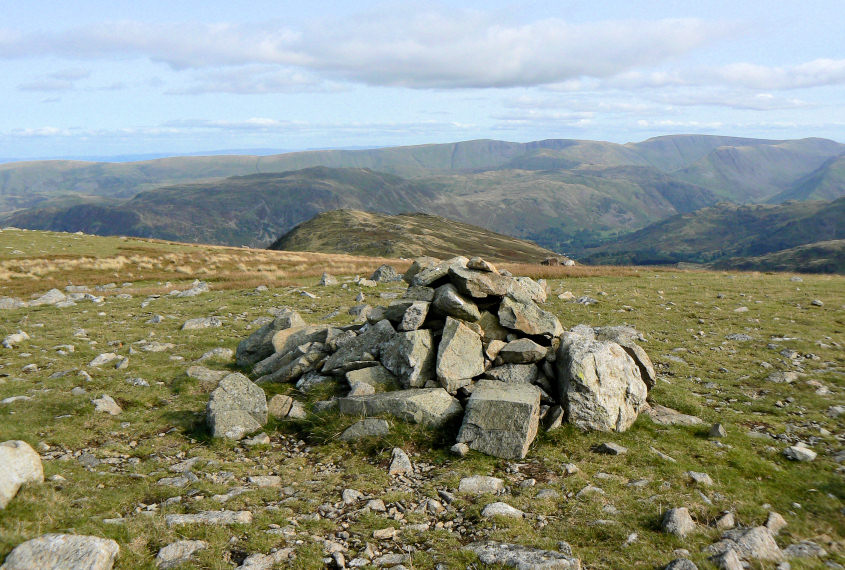
Here looking across Sheffield Pike to High Street.
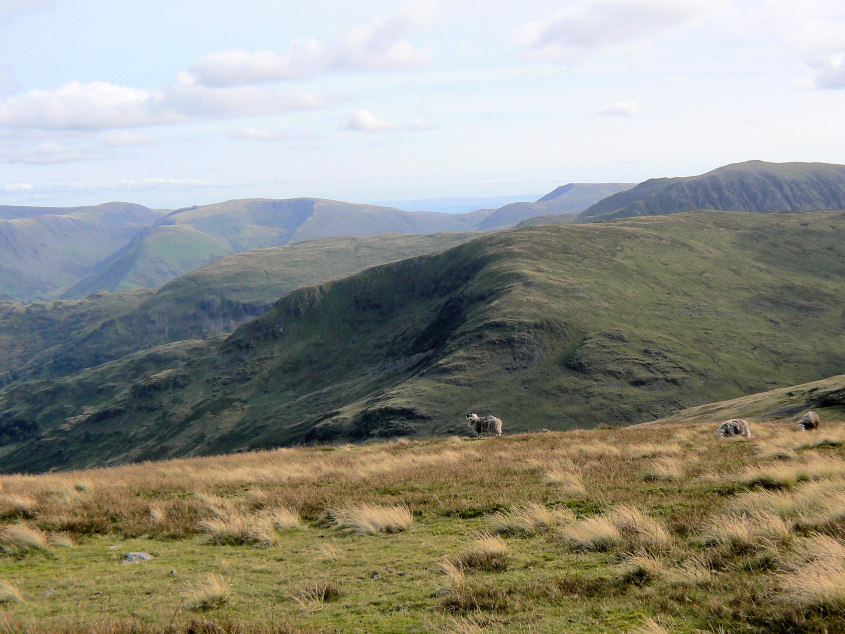
Birkhouse Moor with what I think is St Sunday Crag behind it. If anyone can confirm this it would be appreciated.
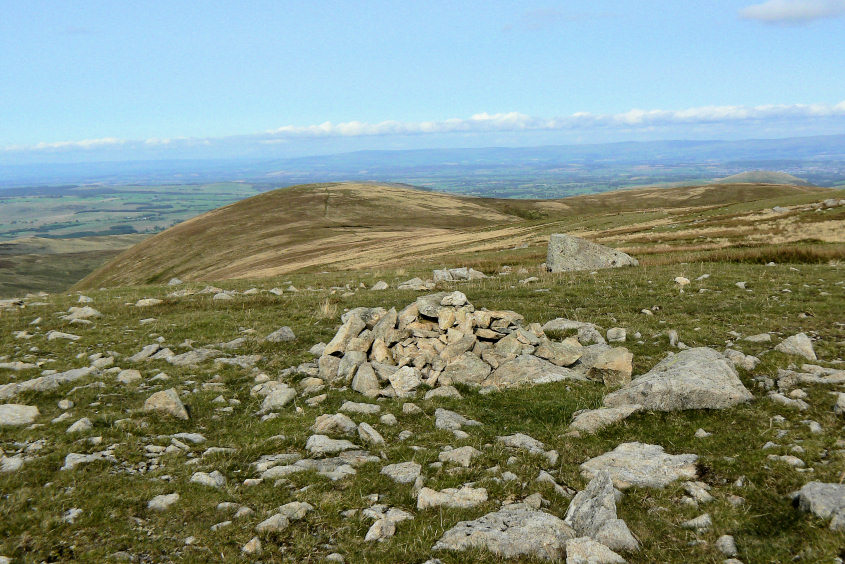
Looking from White Stones' summit to Hart Side.
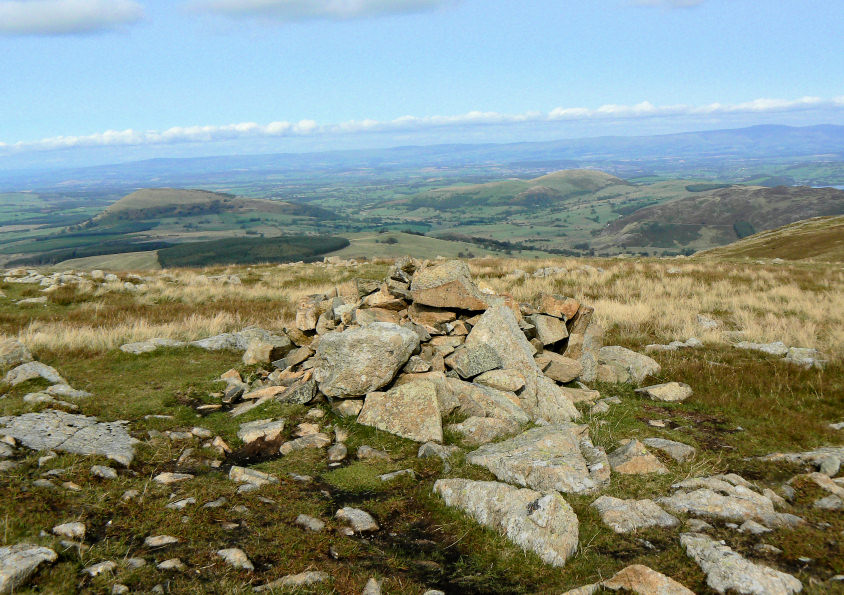
Hart Side's summit cairn with the Pennines in the distance.
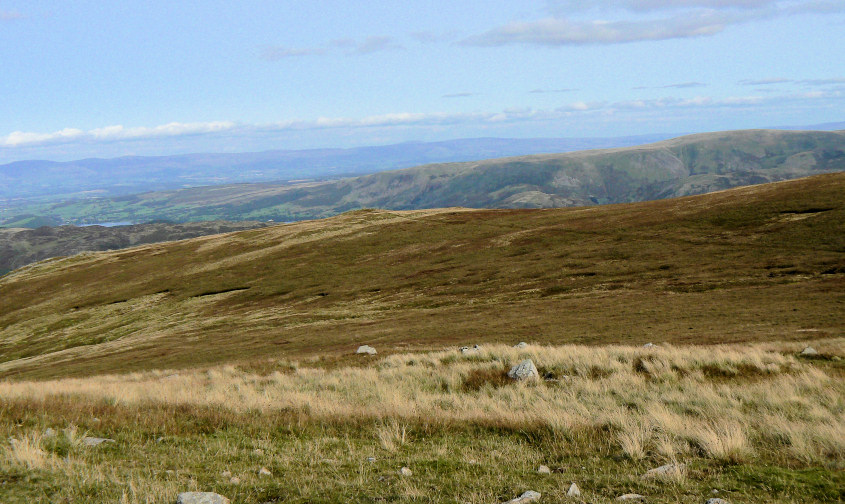
The next objective was Birkett Fell.
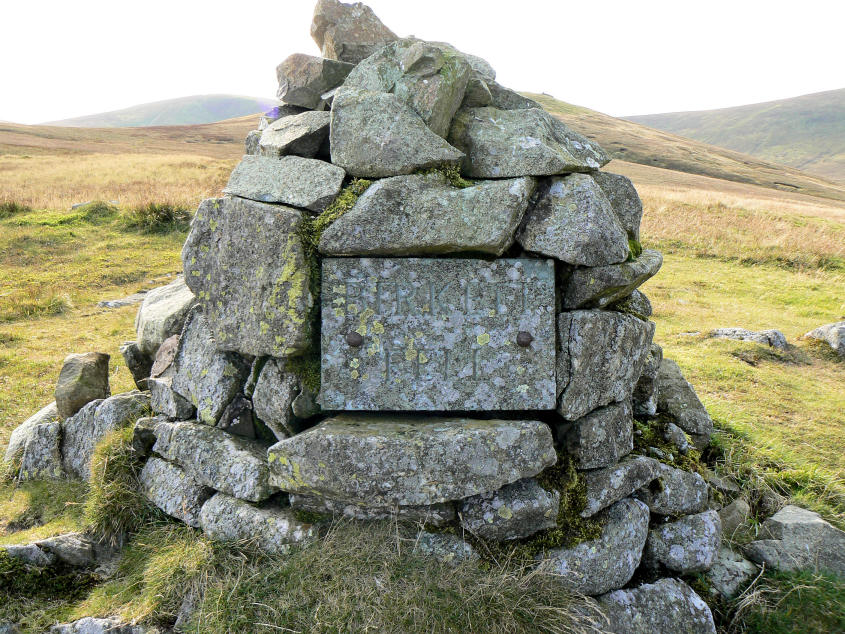
Birkett Fell's summit cairn and 300 up for John.
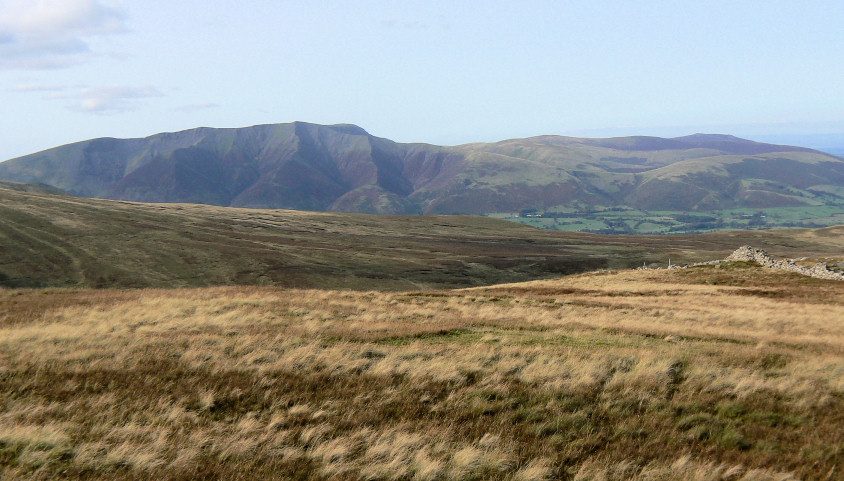
Blencathra, Souther and Carrock Fells from Birkett Fell's summit.
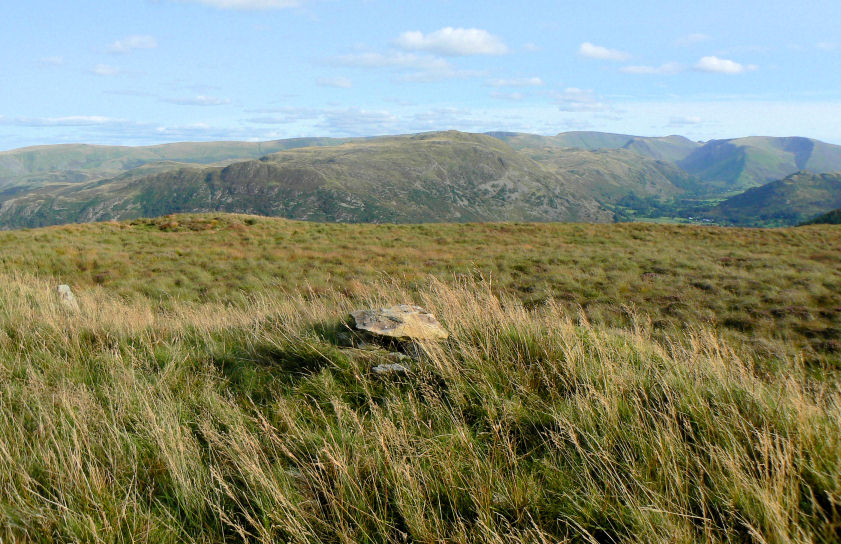
Brown Hills' summit.
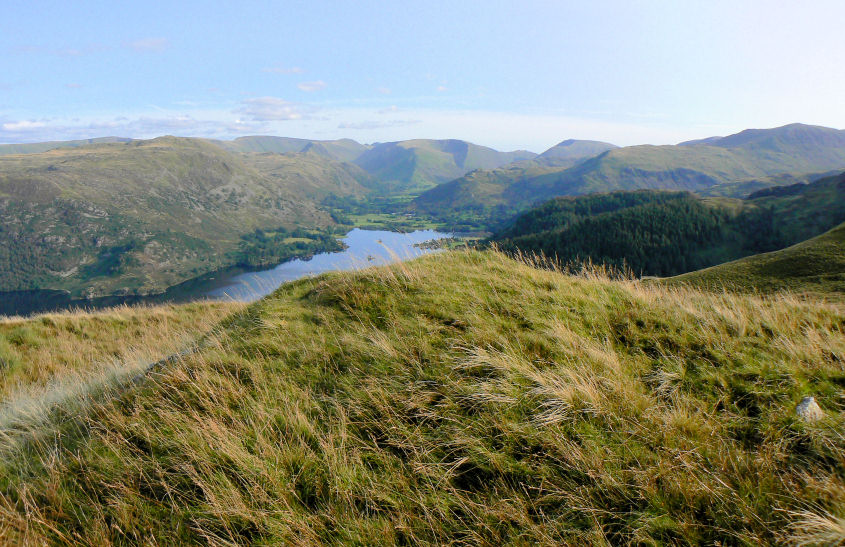
Looking to the head of Ullswater from Swineside Knott. Somehow we managed to miss the cairn on the summit, although the track on the GPS suggest we walked around it twice.
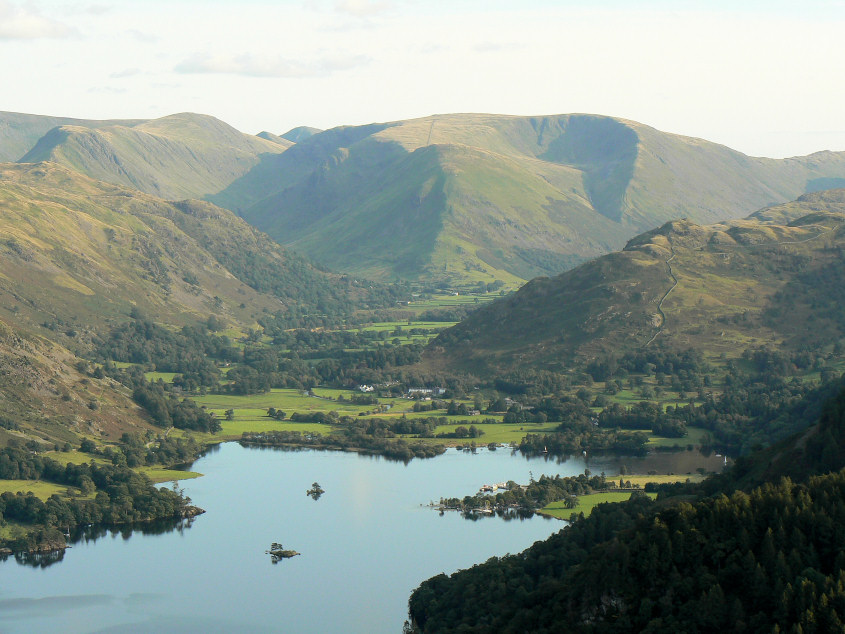
Hartsop Dodd from Swineside Knott.
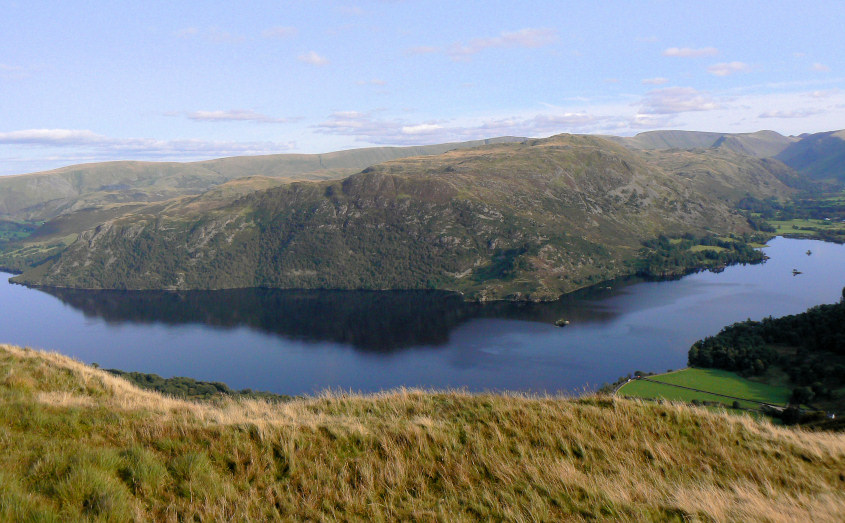
Place Fell across Ullswater.
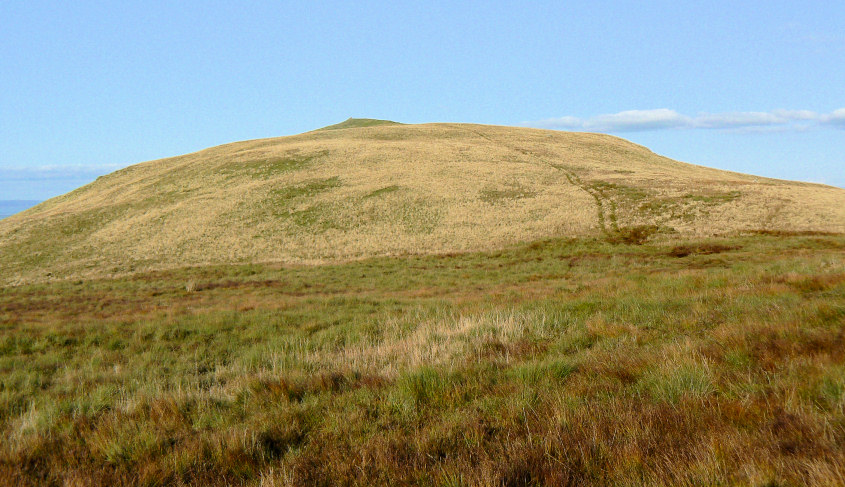
Common Fell, the last summit of the day, is lit up by the evening sunshine.
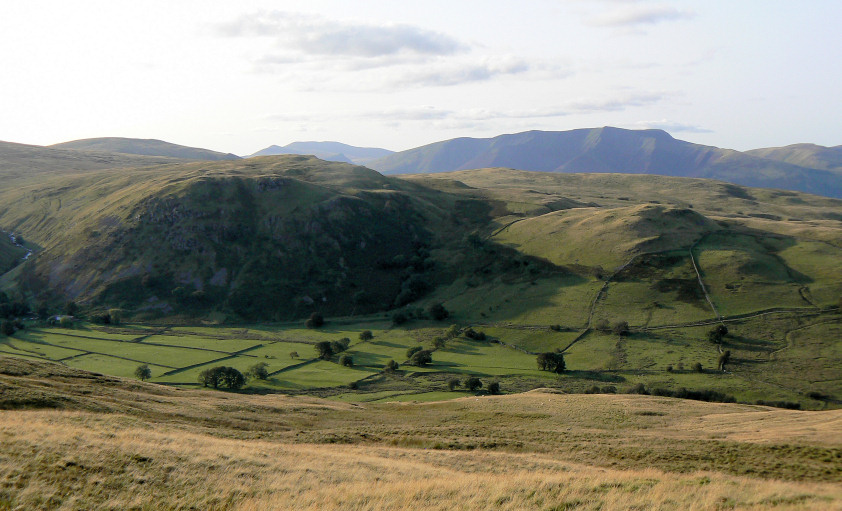
The first two fells of the day, Low How and High Brow, across the valley from Common Fell.
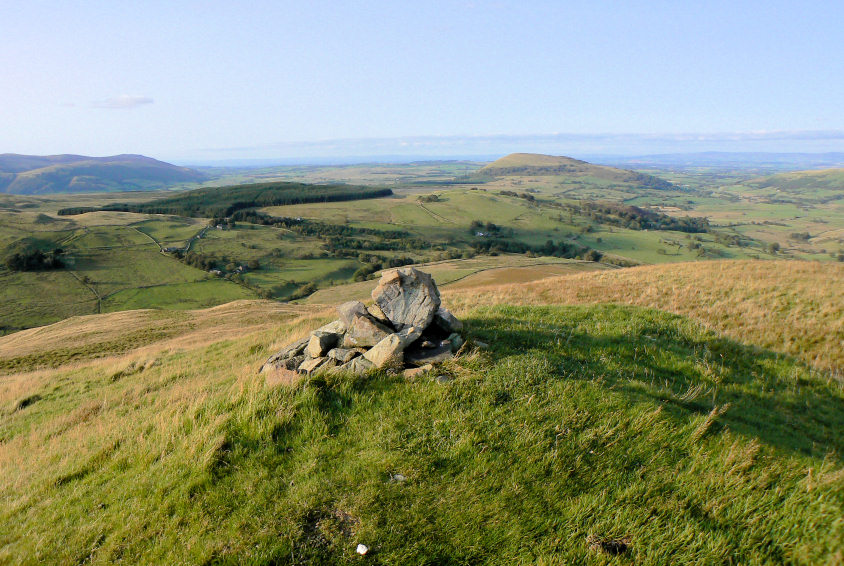
The sun lights up Common Fell's summit. All that remains now is to make our way down the hill, cross the rather full stream and to walk up one final slope to the car. Our legs might have been aching but days like these more than make up for all the wet days we have sat in a tent this year waiting for the weather to improve so that we can get out onto the fells.
All pictures copyright © Peak Walker 2006-2023