
Rydal Fell - Lake District Walk
Monday 3rd April 2017
We didn't set out to do quite so many summits today, but as we made Great Rigg much sooner than anticipated we decided to extend the walk and continue along the ridge to Nab Scar.
Start: Red Lion Hotel, Grasmere (NY 3363 0757)
Route: Red Lion, Grasmere - Stone Arthur (385) - Great Rigg (386) - Rydal Fell (387) - Heron Pike (388) - Nab Scar (389) - Rydal Mount - Coffin Route - Dove Cottage - Red Lion, Grasmere
Distance: 7.75 miles Ascent: 839 metres Time Taken: 6 hrs 40 mins
Terrain: Good clear paths.
Weather: Dry and warm out of the wind
Pub Visited: The Inn, Grasmere Ale Drunk: Jennings Cumberland

As we leave the hotel Stone Arthur, the first summit of the day, dominates the view.

We pause just before we head up Michael's Lane to look back towards Silver How.

Sergant Man is also in view.

Now we have cleared the wood Grasmere comes into view.
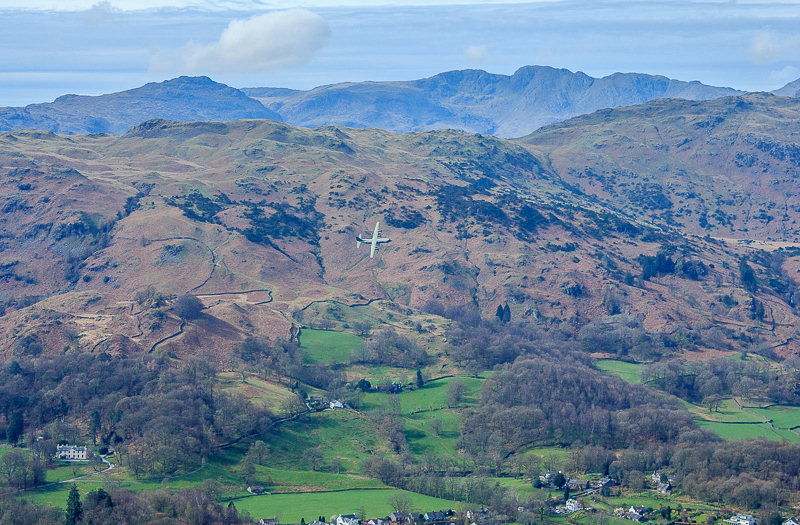
As we pause to catch our breath after the steep ascent three old planes fly along the valley.
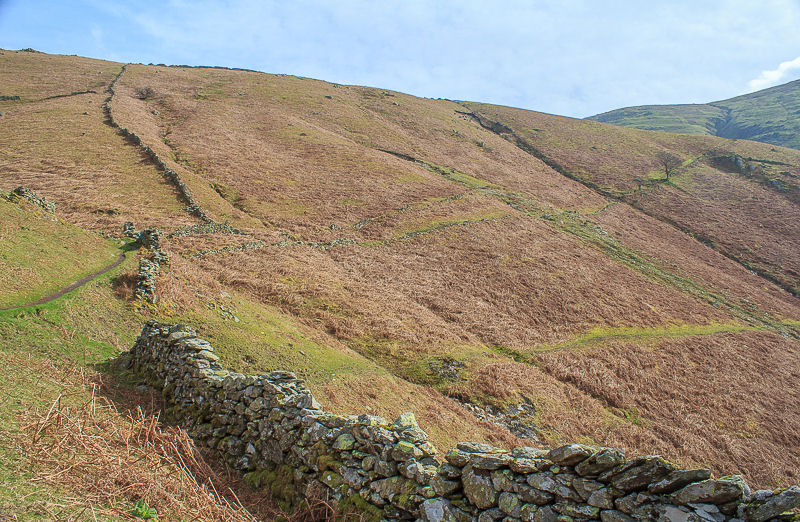
The path is quite clear, follow it to the corner of the wall then head up along the ridge. Relatively easy going after the steep start to the walk.

As we climb more fells come into view, here Wetherlam and Coniston appear beyond Loughrigg.

The Crinkle Crags are also in view.

Continuing up and now we can make out Easdale Tarn.

The summit rocks of Stone Arthur look far more dramatic from the valley floor.

Looking down on Alcock Tarn, which we originally intended to visit today.

No sign of any cairn marking Stone Arthur's summit today.

Looking across Steel Fell from Stone Arthur.

The ridge we followed from Stone Arthur to Great Rigg.

As we approached Great Rigg the population increased.

A short rocky ascent soon saw us at Great Rigg's summit.

The path most people were following took them onto Fairfield and round to Hart Crag, not our destination for today.

Seat Sandal from Great Rigg.

From Great Rigg we also had a good view of Helvellyn and Striding Edge.

Our route was along the ridge looking out towards Morecambe Bay.

Looking back towards Great Rigg from the path along the ridge.

The two summits of Rydal Fell and Heron Pike come into view.

Rydal Fell's summit cairn. It was lucky we visited it as I hadn't got it marked down as a Birkett on my map.

Looking back to Rydal Fell's summit.

Following the path along the ridge towards Heron Pike.

Heron Pike's summit, which we nearly walked passed.

From Heron Pike it felt like all we did was descend for the next couple of hours. Our knees certainly let us know it was a long time since we had been this high.

Nab Scar's summit, the second unplanned summit visit of the day.

From just below the summit we had a really good view of the cave under Loughrigg Fell.

As we descend Nab Scar Ambleside starts to look a little closer.

We follow the coffin route from Rydal Mount to Grasmere.

I don't get the attraction of putting coins into a tree.

As we head along the coffin route we get occasional views of Loughrigg Fell.

Nearly back at Grasmere and we pass a very quiet Dove Cottage.
All pictures copyright © Peak Walker 2006-2023