
Burnt Hill - Peak District Walk
Saturday 23rd September 2017
We had planned on walking on Sunday but my daughter had rung to say she had left her key at home so was someone going to be in when she returned from her holiday. Thankfully the forecast for Saturday was for dry weather so a change of plans saw us heading out to Hayfield for a walk on the outskirts of the Kinder plateau.
Start: Bowden Bridge car park (SK 0485 8692)
Route: Bowden Bridge car park - William Clough - Mill Hill - Burnt Hill - The Intakes - Middle Moor - Bowden Bridge car park
Distance: 7.5 miles Ascent: 492 metres Time Taken: 4 hrs 55 mins
Terrain: Clear paths, some scrambling in William Clough
Weather: Overcast with some light rain
Pub Visited: Royal Hotel, Hayfield Ale Drunk: Thwaites Original
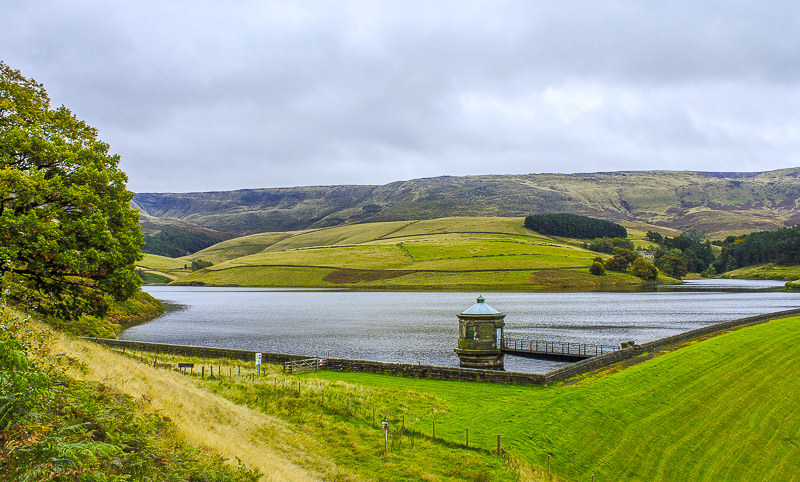
Finally clear of the trees we get our first view of Kinder Reservoir for over five years.
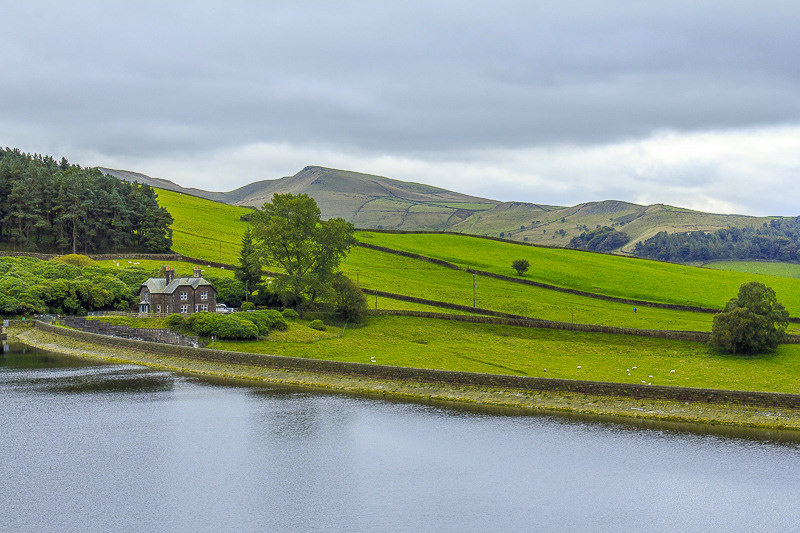
Looking across the reservoir to Mount Famine which was one of the alternative routes for today's walk.
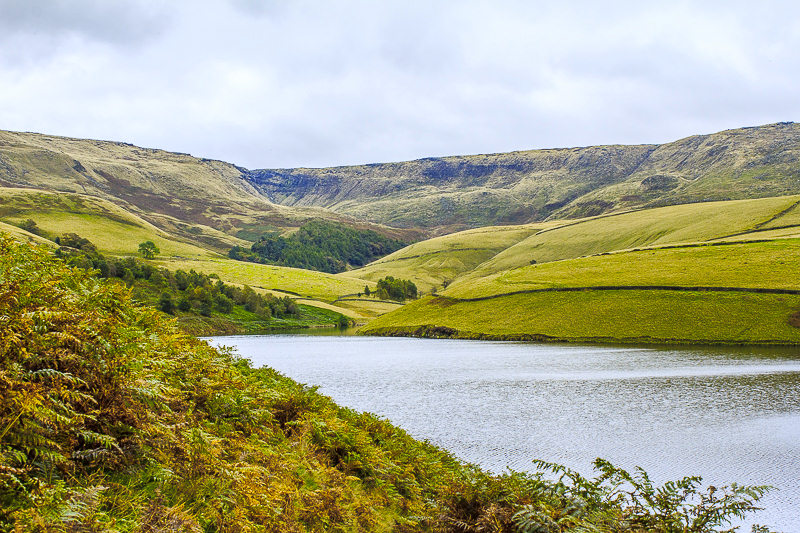
The clough that contains Kinder Downfall soon comes into view.

Heading for William Clough with Sandy Heys now in view.
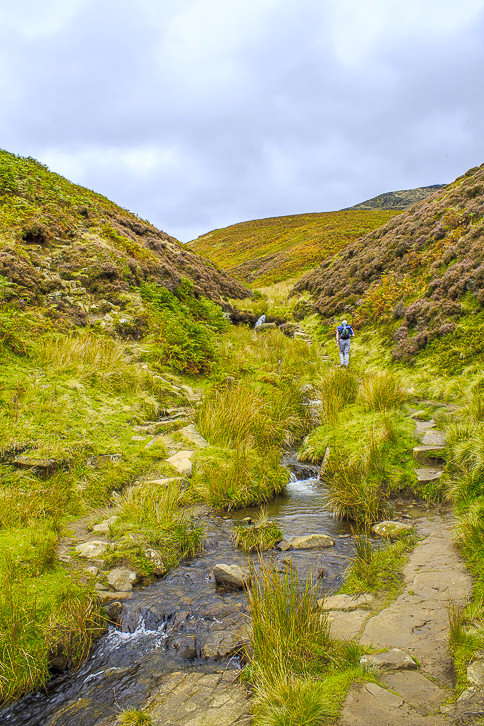
We take the path alongside William Clough, where there
was plenty of crossing back and forth across the stream.
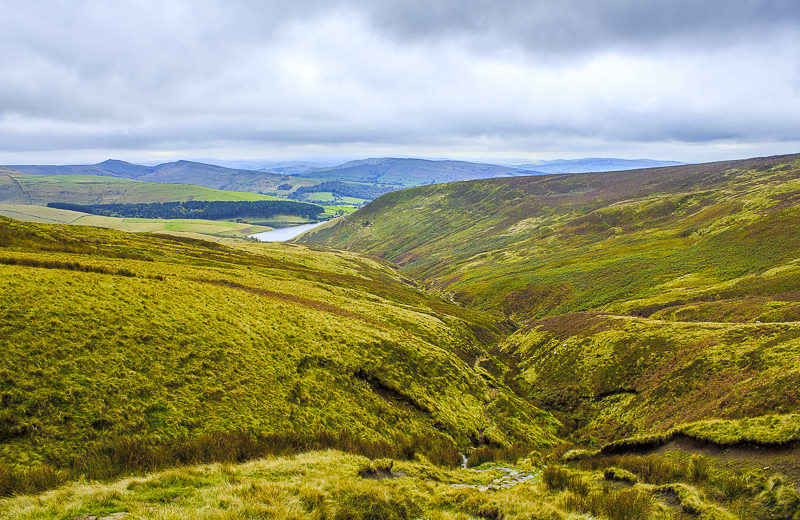
From the top of William Clough the view includes South Head, Mount Famine and Chinley Churn.

Ashop Head isn't part of our route today as we are exploring some new (to us) footpaths.
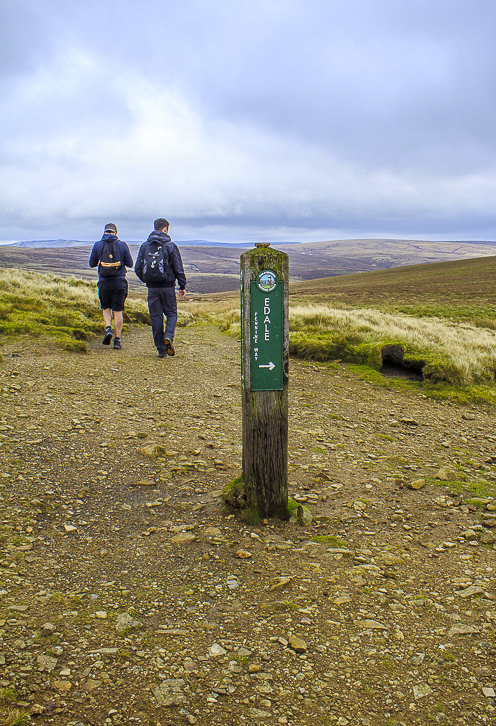
We briefly join the Pennine Way
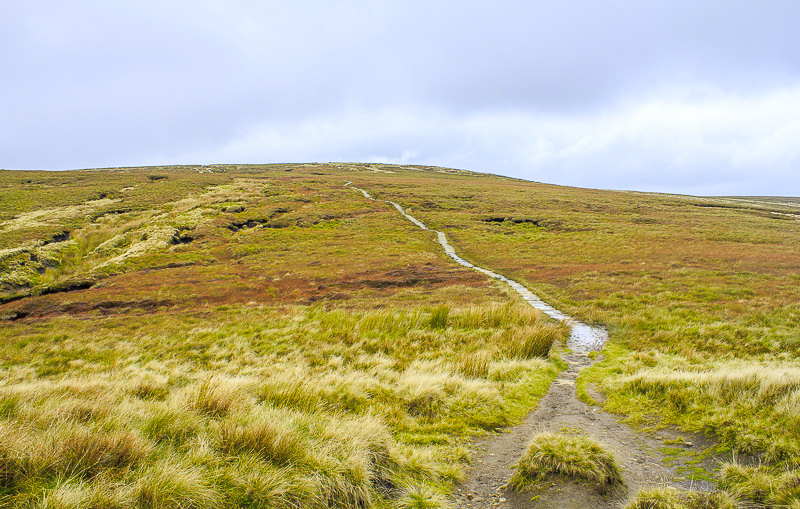
although we leave it a few minutes later when we reach the top of Mill Hill.
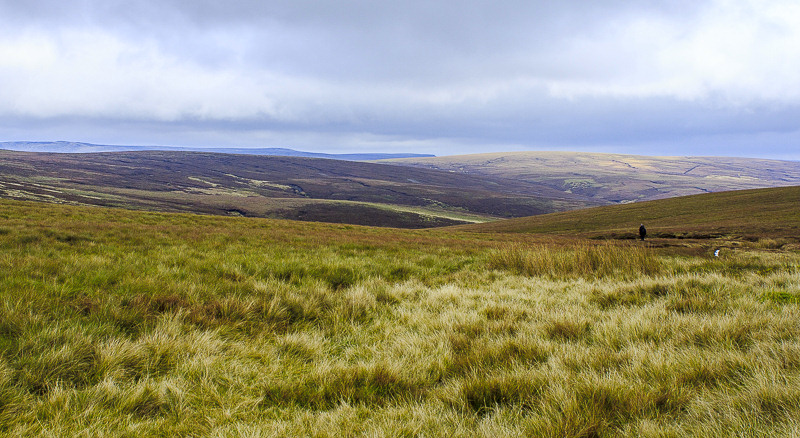
Looking across the moor towards Alport Moor, which is getting some sunlight.
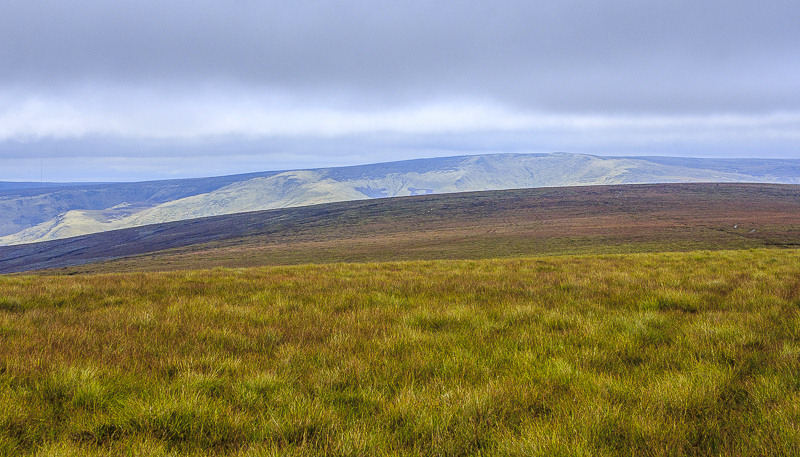
Higher Shelf Stones can also be seen beyond Black Moor.

Our route follows the slabbed path, with Whiteley Nab dominating the view.
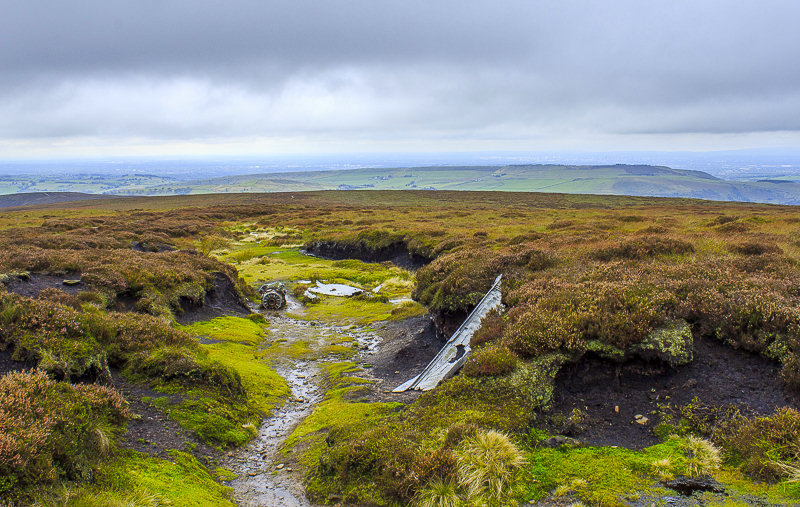
The path goes close to the B-24J Liberator plane wreck.

The plane crashed on the 11th October 1944 with both crew members surviving and following a nearby stream to the Hayfield to Glossop road.
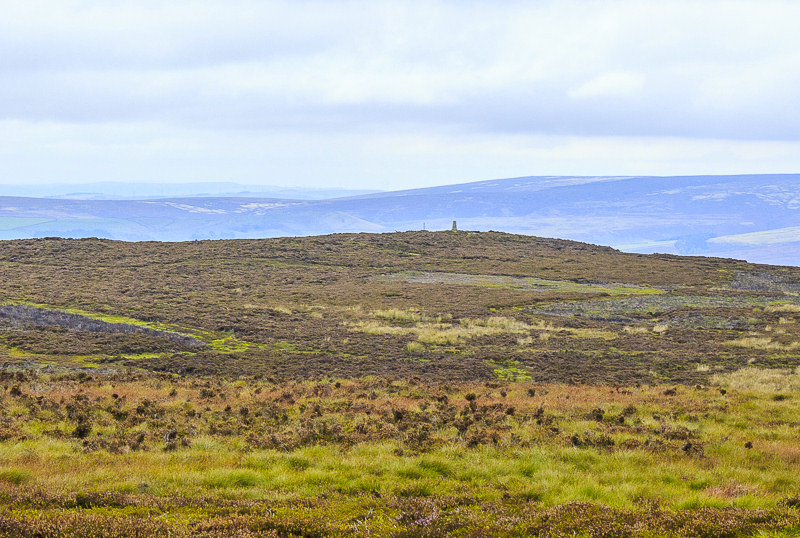
The plan had been to visit Harry Hut's trig but we missed the turning and didn't fancy the walk across the peaty ground.
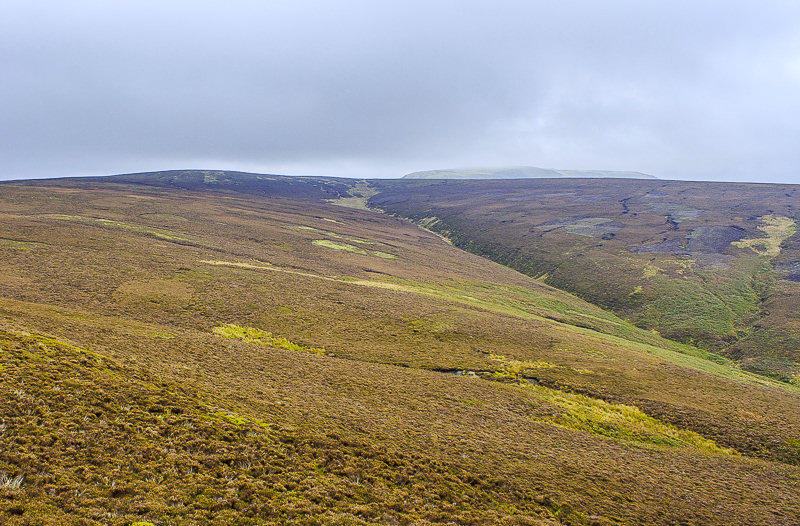
We had lunch sat on the summit of Burnt Hill looking back towards Ashop Head. The clough to the right is probably the route of the stream the airmen followed after the crash.
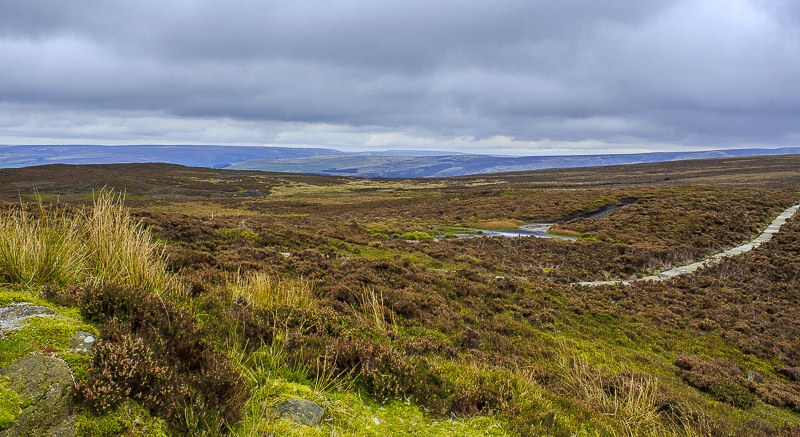
From Burnt Hill we could look across Harry Hut and Bleaklow to Black Hill.
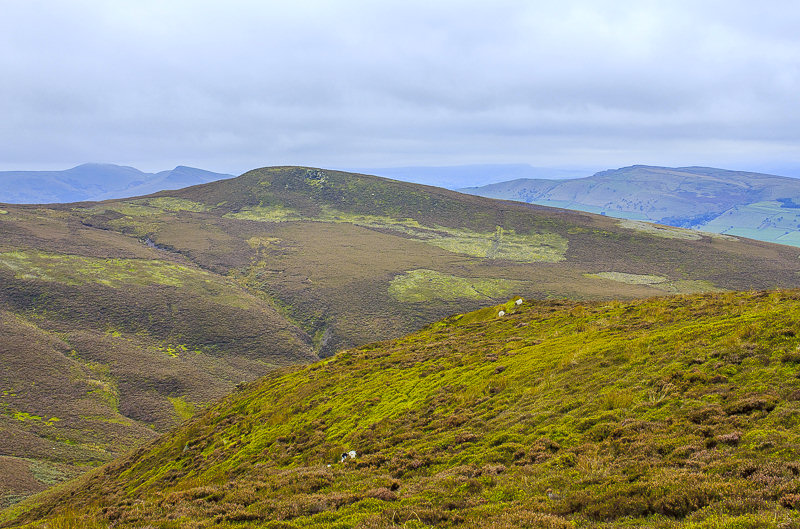
In the opposite direction, beyond the Knott, South Head's summit is lost in cloud.
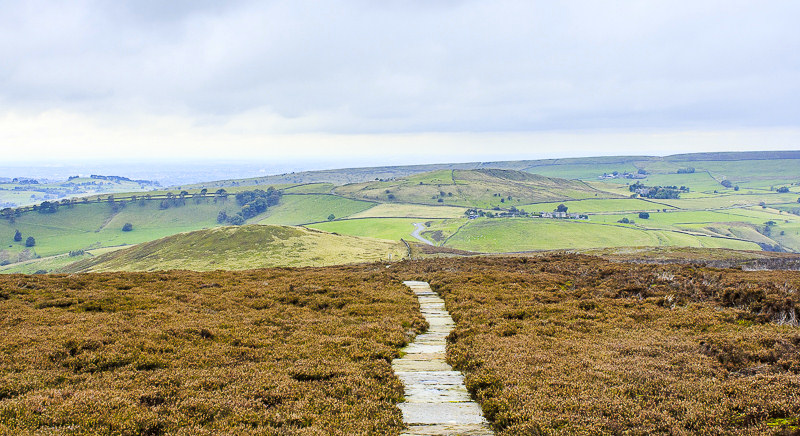
As we drop off Burnt Hill Matley Moor comes into view.
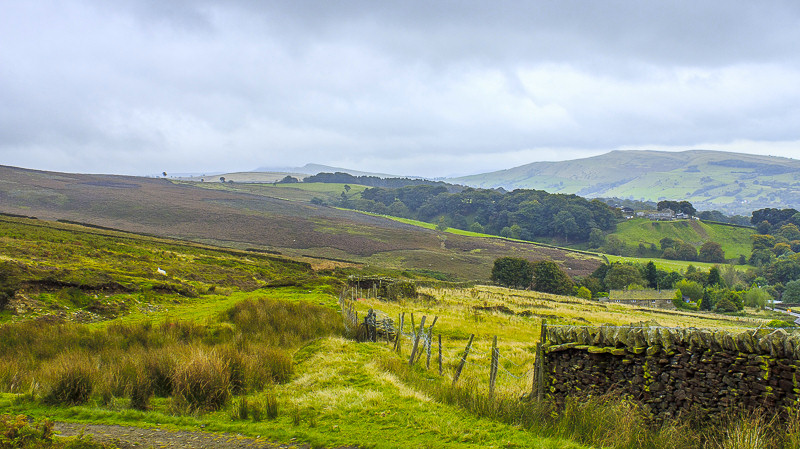
As we pass behind Tom Heys Farm our return route across Middle Moor comes into view.
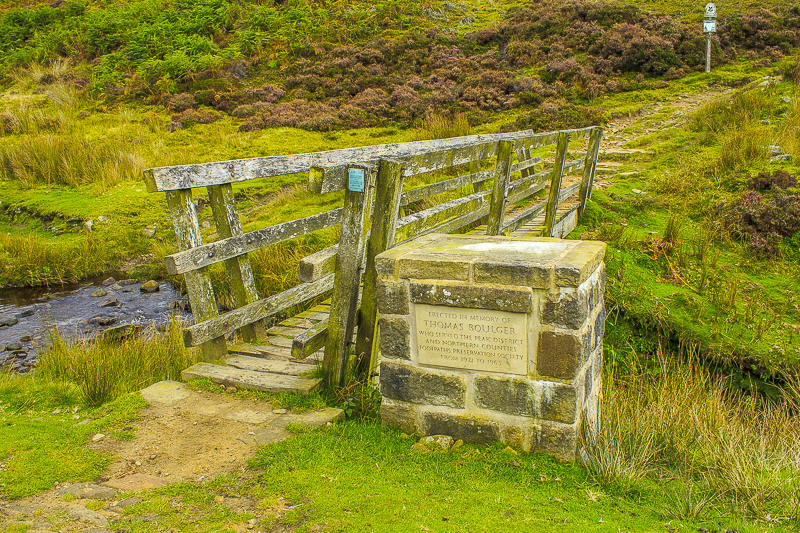
The memorial next to the footbridge that takes us across Hollingworth Clough.
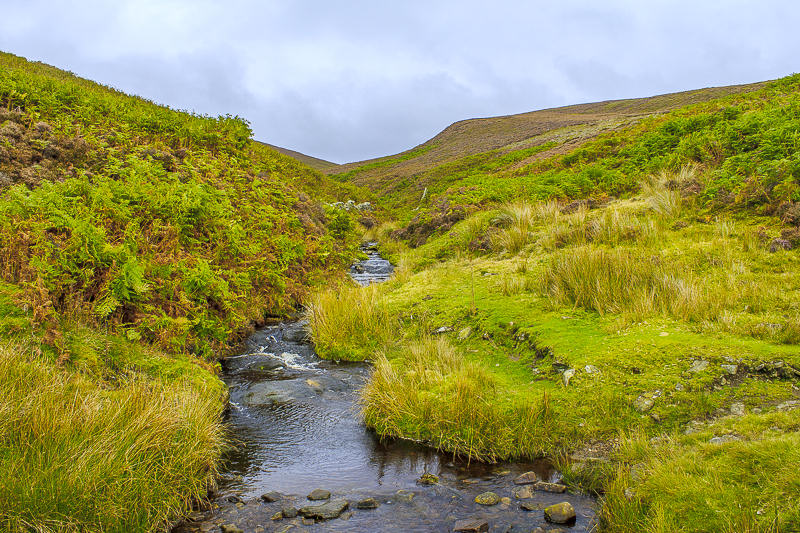
The stream that the airmen presumably followed.
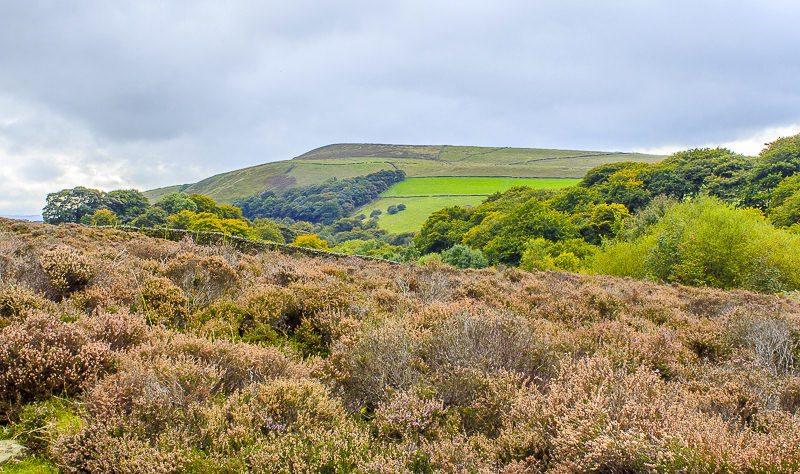
As we start the ascent of Middle Moor Lantern Pike comes into view.
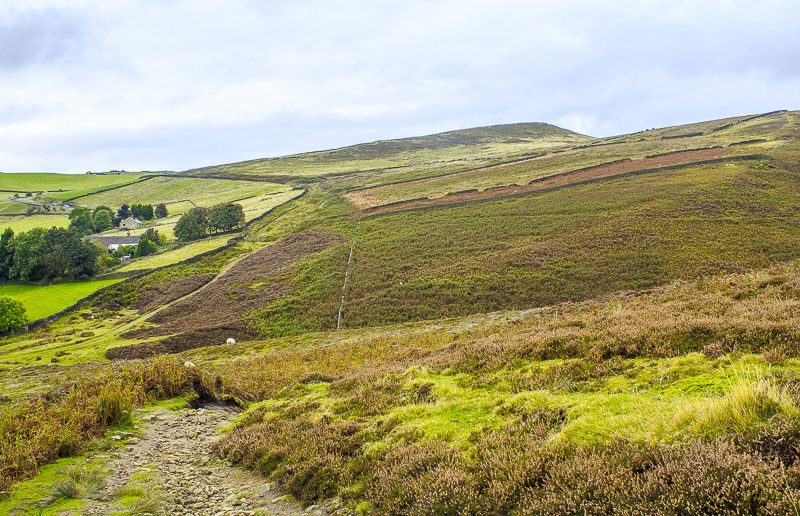
Looking back at the route we followed through the area described on the map as the Intakes.
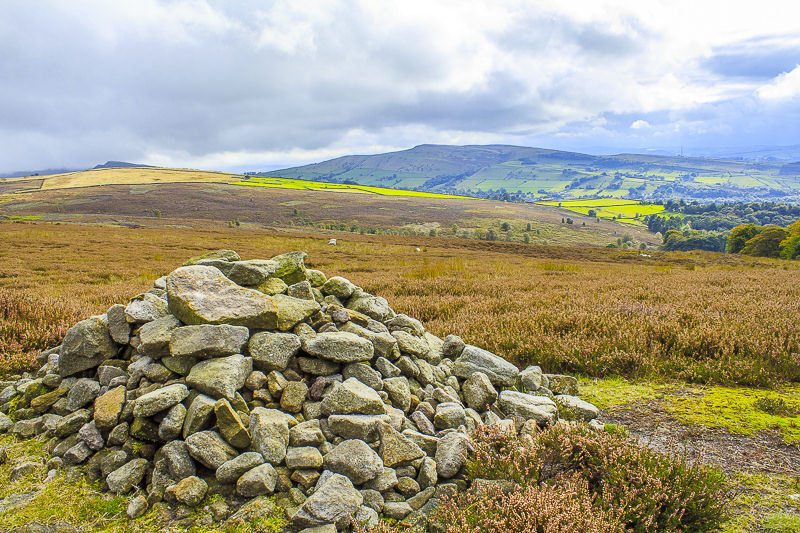
The cairn marks the end of the climb onto Middle Moor.
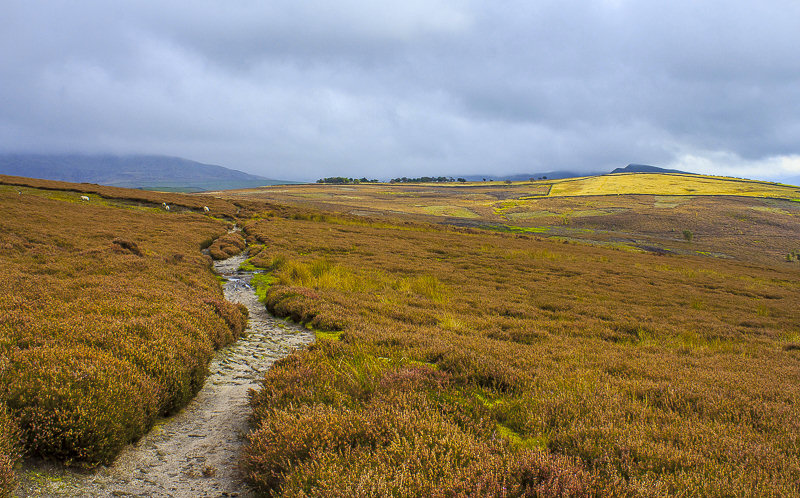
Ahead of us Kinder's plateau is lost in the cloud. I'm glad we didn't go that way today.
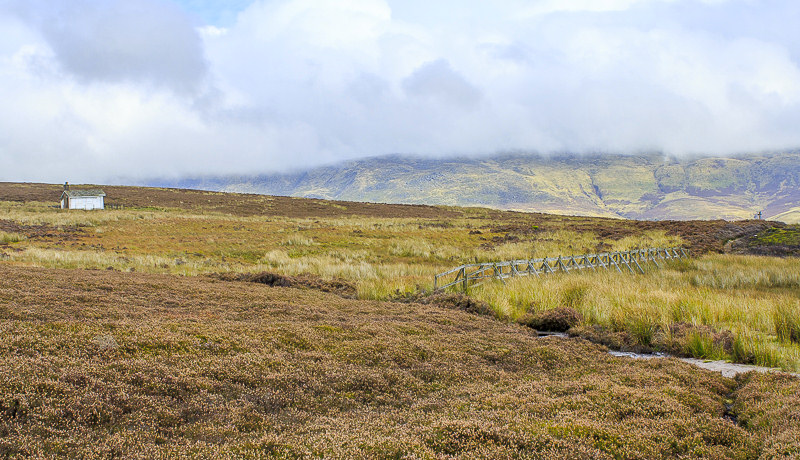
The Shooting Cabin comes into view, along with the footbridge that carries us across a rather boggy area of ground.
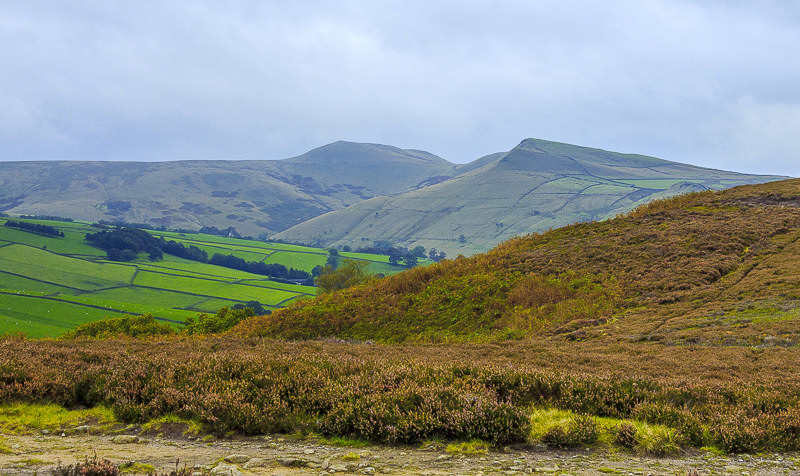
South Head and Mount Famine from the point where Snake Path joined our route across Middle Moor.
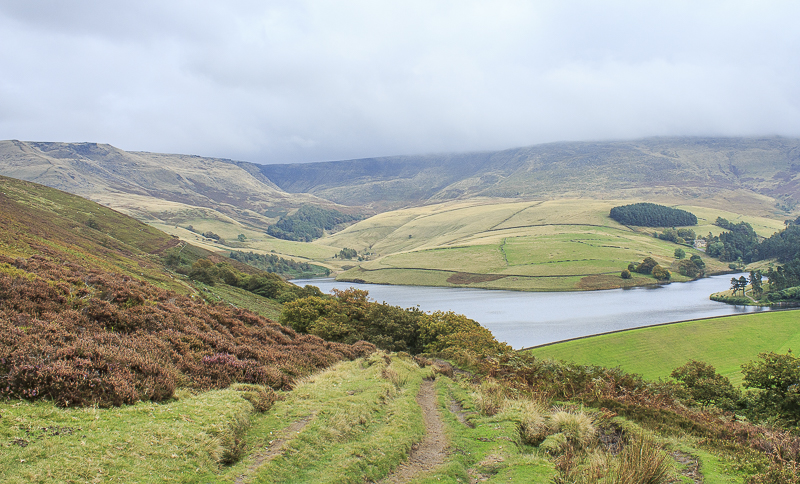
Kinder Reservoir comes back into view as we approach White Brow and start the descent off the moor back to the road.
All pictures copyright © Peak Walker 2006-2023