
Place Fell - Lake District Walk
Tuesday 18th June 2019
With a good weather forecast promised we opted to take advantage of the longer summer days and finally do the three minor summits on Place Fell we still had to do. Rather than drive round to Sandwick and repeat the other summits on Place Fell we opted to park at St Martin's Church and return via Boredale Hause and Beda Fell. It has been a long time since we have done a walk of this length and this much ascent and by the end of the day we knew about it.
Start: St Martin's Old Church (NY 4242 1841)
Route: St Martin's Old Church - Sandwick - Low Birk Fell (409) - Bleaberry Knott on Birk Fell (410) - The Knight (411) - Place Fell (TP) - Boredale Hause - Beda Head on Beda Fell (412) - Boredale - St Martin's Old Church
Distance: 10.5 miles Ascent: 854 metres Time Taken: 8 hrs 20 mins
Terrain: Generally good paths
Weather: Sunny and warm
Pub Visited: The Sun Inn, Pooley Bridge Ale Drunk: Jennings Cumberland

The walk starts with us crossing Christy Bridge as we head for the track that will take us around Beda Fell.

Hallin Fell will dominate the view for the start of our walk.

Gowbarrow comes into view as we round Beda Fell and head towards Place Fell.

Sandwick Beck just before we reach the road for Sandwick.

As we approach Lowther Barn, which was shut, we know the climbing is about to begin.

As we start along the path the first summit of the day, Low Birk Fell, comes into view.

Looking across Ullswater to Little Mell Fell.

Before we reach Low Birk Fell we first of all have to find somewhere to cross Scalehow Beck, which when you have little legs isn't always that simple.

As we climb Hallin Fell and the distant Pennines come into view.

Having safely crossed the beck a short climb soon saw us at the summit cairn and enjoying the views down Ullswater.

In the opposite direction the next two summits of Bleaberry Knott on Birk Fell and The Knight were in view.

Looking along the path we had diverted off to get to Low Birk Fell summit. If we had stayed on it we would have eventually ended up at Place Fell.

Looking along the summit the view includes Birkhouse Moor with Catsytcam behind it. To the right we have a clear view along the valley of Glencoyne.
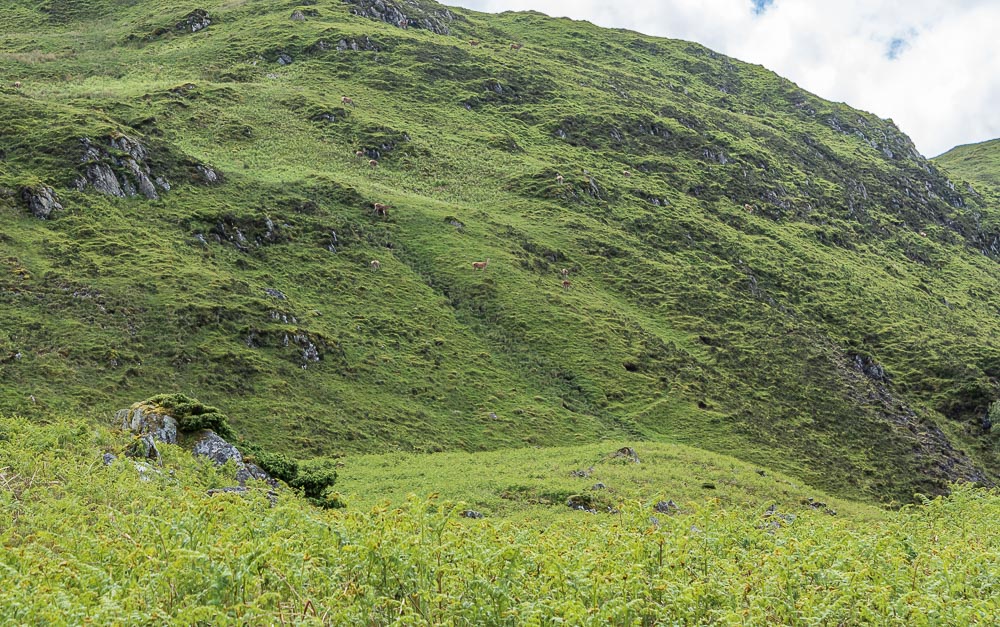
The one mistake we made was to continue along Low Birk Fell rather than drop off it and cross over to pick up the path along Birk Fell lower down, although if had of done that we would have missed the herd of deer.

Having made a steep ascent up the side of Birk Fell we are rewarded with the view across Low Birk Fell to the Pennines.

Once on the shoulder of Birk Fell we soon pick up the track, which makes the going somewhat easier. Ahead of us The Knight and the summit of Place Fell are visible.

The cairn which marks the summit of Bleaberry Knott on Birk Fell is soon visible, which is good as we are more then ready for lunch.

The view back along Ullswater from Birk Fell's summit, Bleaberry Knott.

With views like this how could we not stop for lunch. Here looking across Birkhouse Moor to the Helvellyn Massif with the valley of Grisdale to its left, with St Sunday Crag also visble.

The lunchtime view also took in The Knight and the summit of Place Fell, maybe we should just linger here for a little while longer.

As we make our way across to The Knight we encounter our first bit of bog, at least it was easily negotiated and soon done with.

We soon reach the base of the summit of The Knight and opt to leave our rucksacks near to the path whilst we climb up to the summit.

From the summit we can look back across Bleaberry Knott to Bowscale and Souther Fell.

The view along Ullswater has lengthened and Hallin Fell no longer seems so big.

Nothing marks the summit of The Knight so this rock, which appears to be the highest point, will have to do. Ahead we can see the way to the summit of Place Fell.

Looking back, from the climb to Place Fell's summit, across The Knight to Gowbarrow and Great and Little Mell fells.

The summit of Place Fell soon comes into view.

With some clambering about on the rock the summit's trig is soon reached.

With views like this it was worth the effort. The clear path below leads to Place Fell's other minor summits which I had done prior to setting the website up.

We drop off the other side of the trig and take the path towards Boredale Hause with views of the fells on either side of Kirkstone Pass.

We have a steep ascent ahead of us but at least when we look up the view will be a good one.

Looking down to Boredale Hause and planning another stop at the bottom before we make the final ascent of the day.

Looking back up to Place Fell from Boredale Hause where we took advantage of the old sheep fold to enjoy a snack before starting the final climb of the day.

Looking along Boredale to Hallin Fell as we make our way onto Beda Fell.

Looking along Beda Fell to its summit which appears a long way.

After what seemed like a lot of up and down the summit cairn of Beda Fell comes into view.

Looking across The Nab to High Street with Rest Dodd and The Knott also in view.

There still seems a long way to go along Beda Fell and a lot of descent to do.

A short distance from the first cairn we come across this second cairn, just to be sure both were viisted.

In the end the distance and descent started to tell on my knee and rather than continue along the ridge we dropped off the side and onto the road into Boredale where we were rewarded with the sight of this very posh sign.

Although the road added a mile or so to the walk my knee appreciated the easier walking and it was a pleasant evening with some delightful views to enjoy.

St Martin's Old Church soon comes into view, which given it is where the car is is a very welcome sight.

The old church looked magnificent in the evening sun and if we hadn't have been so tired would have been worth a quick visit. Maybe another day.
All pictures copyright © Peak Walker 2006-2023