
High Rigg - Lake District Walk
Tuesday 22nd November 2022
Having managed to pick a week in which the forecast was predominantly for rain and high winds we made sure that on the one day it was meant to be dry and clear we would be out walking. The original plan to do Seat Sandal was abandoned as soon as we looked out of the bedroom window and saw the summit hidden by low cloud. Instead we opted for a walk along High Rigg so that we could at least enjoy some views, a decision that was confirmed as a correct one by the fact the cloud only finally lifted off the higher summits at the end of our walk.
Start: Legburthwaite car park (NY 3177 1955)
Route: Legburthwaite car park - Wren Crag - Long Band - Moss Crag - High Rigg - St John's Church - Low Bridge End Farm - Legburthwaite car park
Distance: 5.5 miles Ascent: 343 metres Time Taken: 4 hrs 20 mins
Terrain: Clear tracks
Weather: Dry and cloudy
Pub Visited: 1796 Bar, Grasmere Ale Drunk: Hawkshead Stout

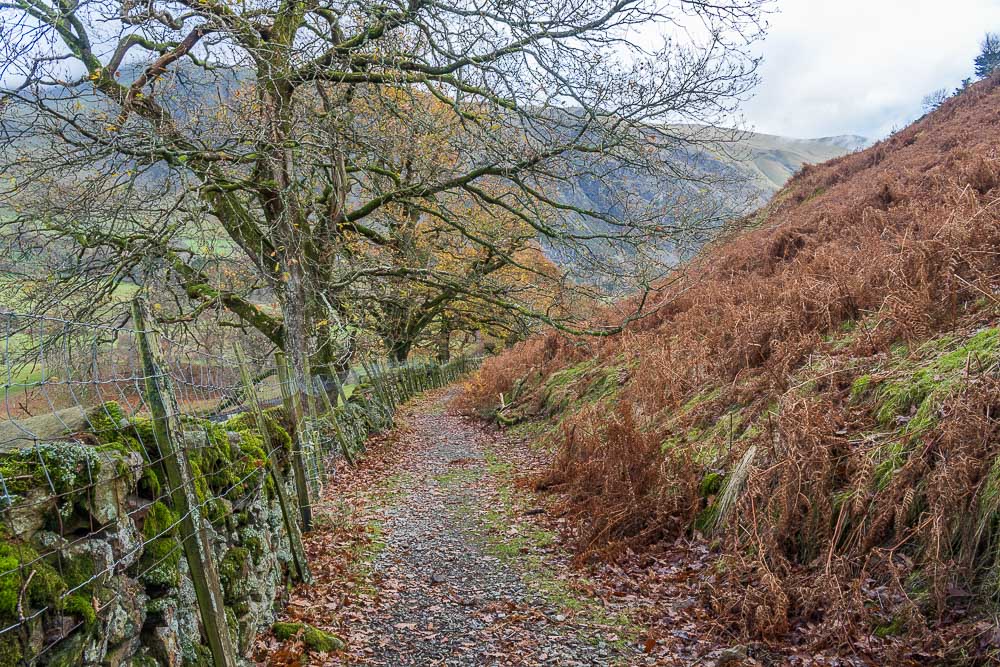
After a short flat section from the car park we were soon climbing up through the trees towards the first summit of the day, Wren Crag.

Pausing to catch our breath we were rewarded with a view across to Great How.

As we climb higher the view back down the valley suggests that maybe the weather is about to pick up and the clouds will clear the higher summits sooner than we expected.

We reach the Scots Pines we had seen earlier only to find that they did not mark the summit, we still had a short distance to go.

Having climbed higher we can now see further down the valley and our view also includes Thirlmere Reservoir.

Having reached the summit of Wren Crag, where I managed one blurred shot of the summit stone, we can look along Long Band which we will be crossing shortly.

Looking back to Wren Crag from Long Band.

The walk across Long Band picks its way through the rocks and hollows as we head north.

Looking along St John's in the Vale towards Blencathra as we make our way across Long Band.

Across the valley on the other side of High Rigg the view back down it now includes Raven Crag.

Looking back the lower slopes of Helvellyn and the top of the Dodds are still disappearing in and out of cloud.

Looking back across Long Band after crossing the stile and heading uphill by the fence.

Following the path close to the fence meant we passed by this sheltered tarn.

Having crossed the stile in the wall we follow it uphill and pause to look back. If the track is to be believed we passed below Yew Crag when we visited the tarn, which I think is the rocky outcrop on the right.

Following the wall after the tarn at Paper Moss, and not paying attention to the book, meant we walked below Birkett's summit of High Rigg, never mind we have been there before.

We soon found ourselves looking at the summit Birkett calls Naddle Fell and Wainwright call High Rigg. Regardless of what you want to call it we are heading up there.

We soon reach the summit and wait a while for a shot of the summit cairn whilst someone finishes filming the views from the summit and packs his gear away.

Whilst we were waiting we enjoyed the view north towards Skiddaw, which is nearly clear of the cloud.

Looking across to Whinlatter, Barf and Lord's Seat from the summit.

As we stand at the summit we hear the familiar sound of the RAF on a training run and for once I was quick enough to catch a decent shot as it flew over Castlerigg Hall Farm.

Bleaberry Fell from the summit.

As we stand chatting to a couple on the summit the clouds lift to reveal the summit of Grisdale Pike.

Looking across High Rigg to Helvellyn as the sun's rays break through the clouds.

Although it looks like the sun is coming out whilst we are at the summit there is still a cold edge to the wind so we opt to drop off the top to find a more sheltered spot for our lunch. Before we know it we are looking at Low Rigg and a bench that will make an ideal lunch spot.

Sat on the bench looking across to Low Rigg we were frequently passed by runners using the track in front of us, clearly a popular route.

Our lunchtime view also allowed us a glimpse down the valley to the lower slopes of Blencathra.
We pass on exploring the churchyard as it already has people in it and find the path which will take us back along the lower slopes of High Rigg.

The ruins of Rake How Farm soon appear.

As we head along the path we are rewarded with views along St John's in the Vale. The distant Castle Rock acts as a good guide to how far we still have to walk.

We make steady progress and Castle Rock soon dominates the view ahead.

Looking back the top of Blencathra is now bathed in sunlight.

Typical, as we turn off the main road to the car park the clouds have finally lifted from the higher fells and they are now bathed in sunlight.
All pictures copyright © Peak Walker 2006-2023