
Sir William Hill - Peak District Walk
Friday 7th April 2023
Today's walk was meant to start from Edale, but despite starting out extra early not only was the main car park full but so was the overspill car park. With Edale itself looking somewhat like a very busy Meadowhall we abandoned Edale and tried for a walk along Derwent Edge, starting from Ladybower, again no parking spaces. In the end we headed for an old favourite, where few people go and parking wasn't an issue. Whilst there were more people about than usual we were able to enjoy the peace and tranquillity, that for us is what walking is all about, and didn't end up feeling like we were in a queue, which I'm sure anyone on Kinder or Mam Tor would have done today.
Start: Sir William Hill Road (SK 2254 7802)
Route: Sir William Hill Road - Eyam Moor - Hazelford - Highlow Wood - Highlow Hall - Mill Wood - Stoke Ford - Sir William Hill (TP) - Sir William Hill Road
Distance: 5 miles Ascent: 321 metres Time Taken: 3 hrs
Terrain: Clear, but at times, very muddy tracks
Weather: Warm and sunny
Pub Visited: None Ale Drunk: None
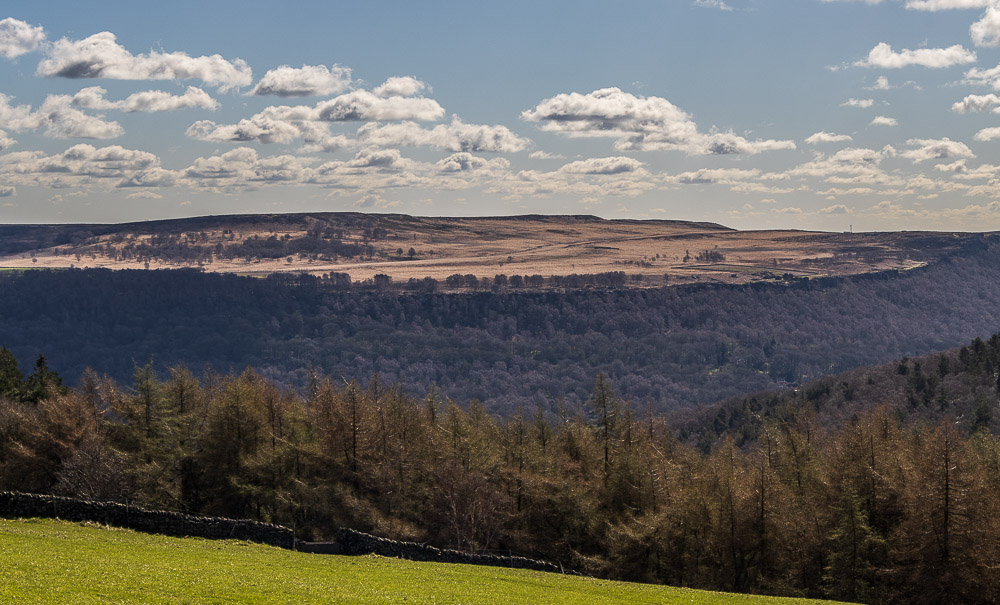
Looking across to Froggatt Edge, Curbar Edge and White Edge from the road before we start the walk.
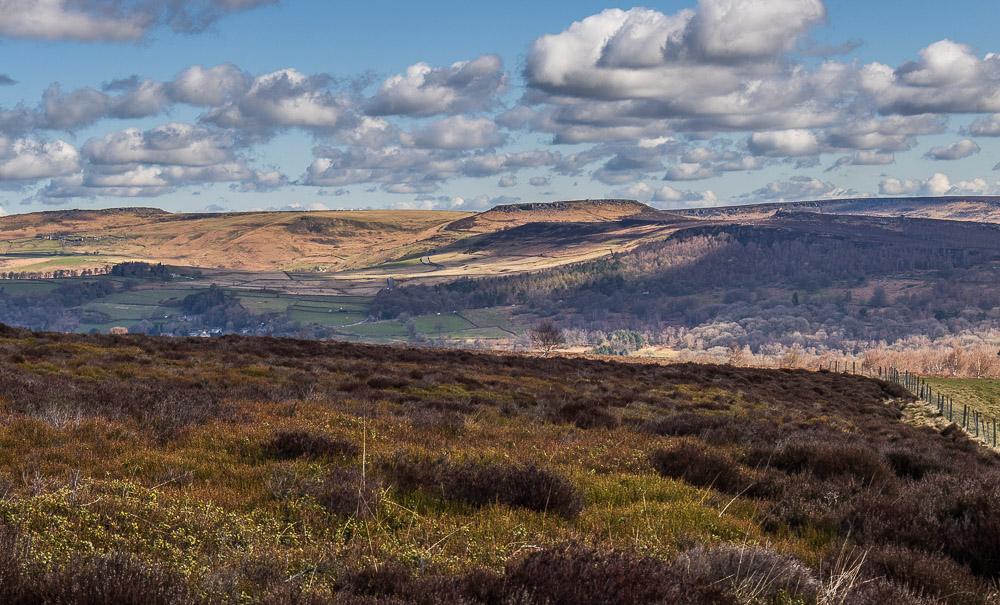
As we set across Eyam Moor Higger Tor dominates the view ahead of us. Judging by the number of cars we can see parked up there it is pretty busy there as well.
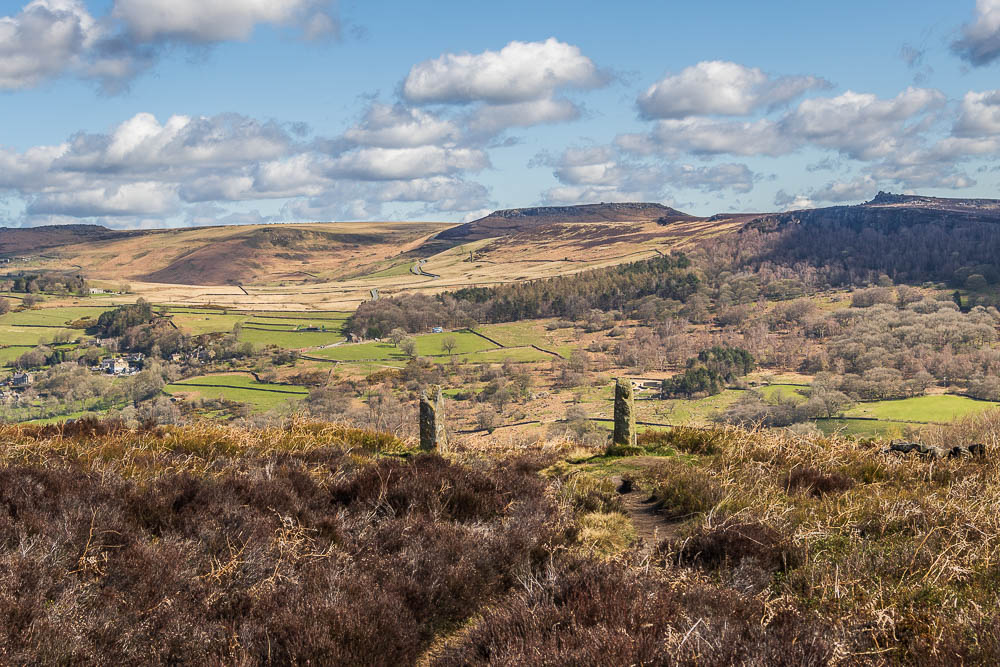
I always consider these stone posts as a good marker for knowing the moorland will soon be swapped for ferns and trees and that the descent to the road is about to begin.
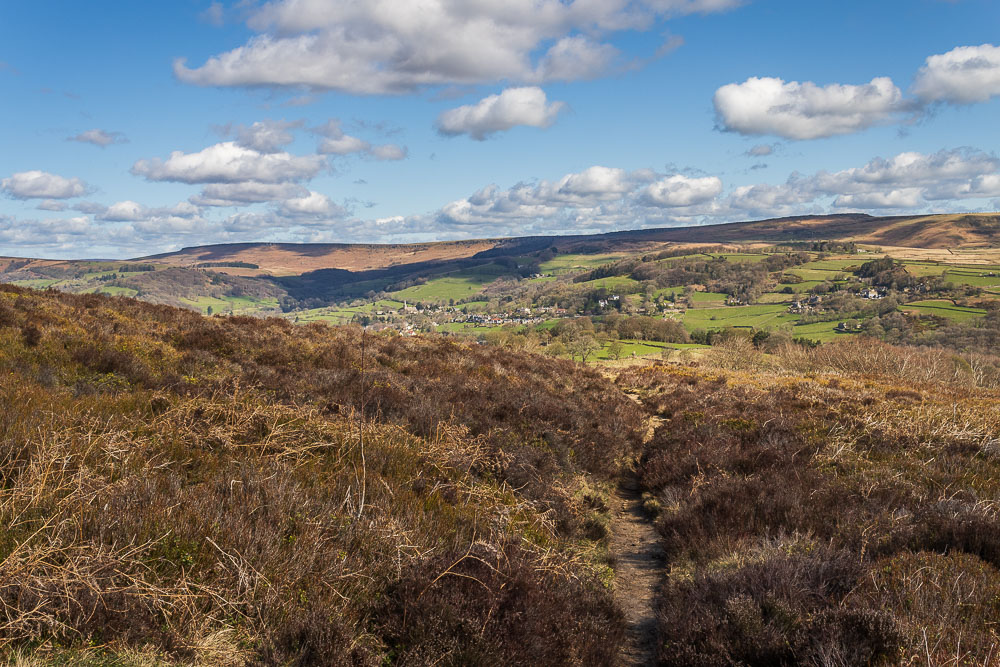
As we turn and start to descend to the road Hathersage and Stanage Edge come into view.
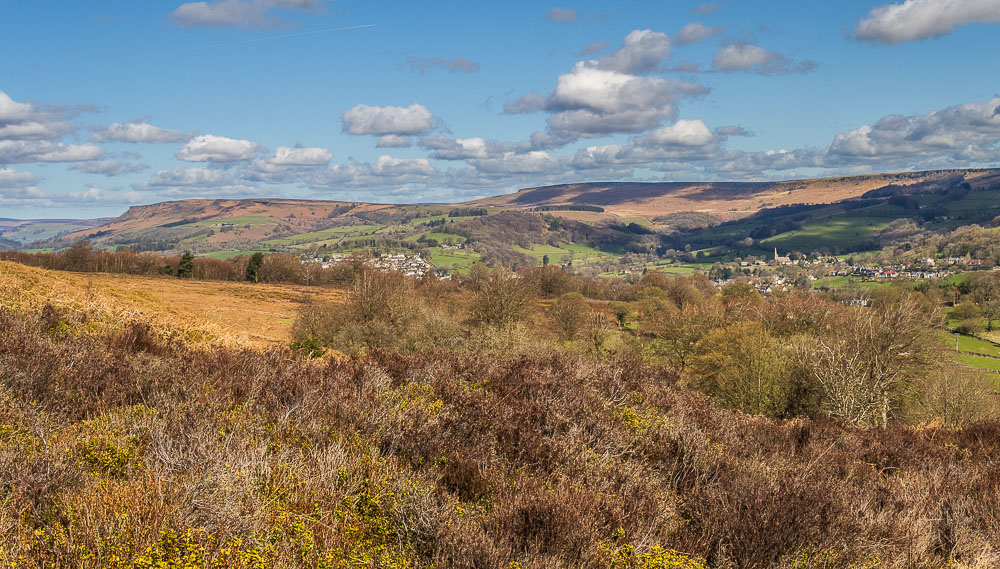
As we continue down to the road Bamford Edge also comes into view.
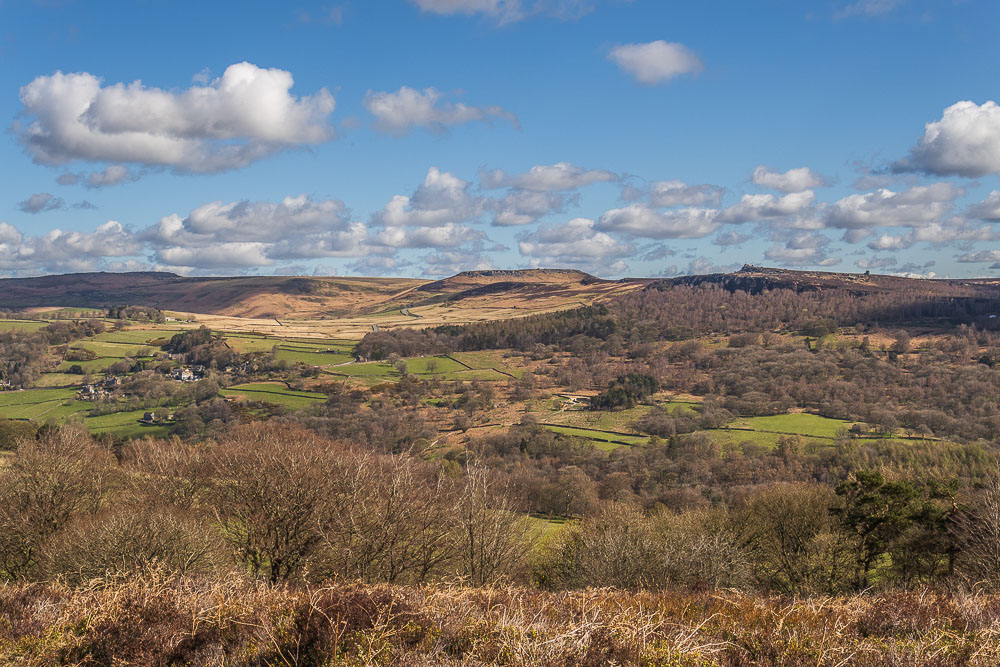
So far we have passed only two people on our walk, which more than justifies abandoning our earlier plans.
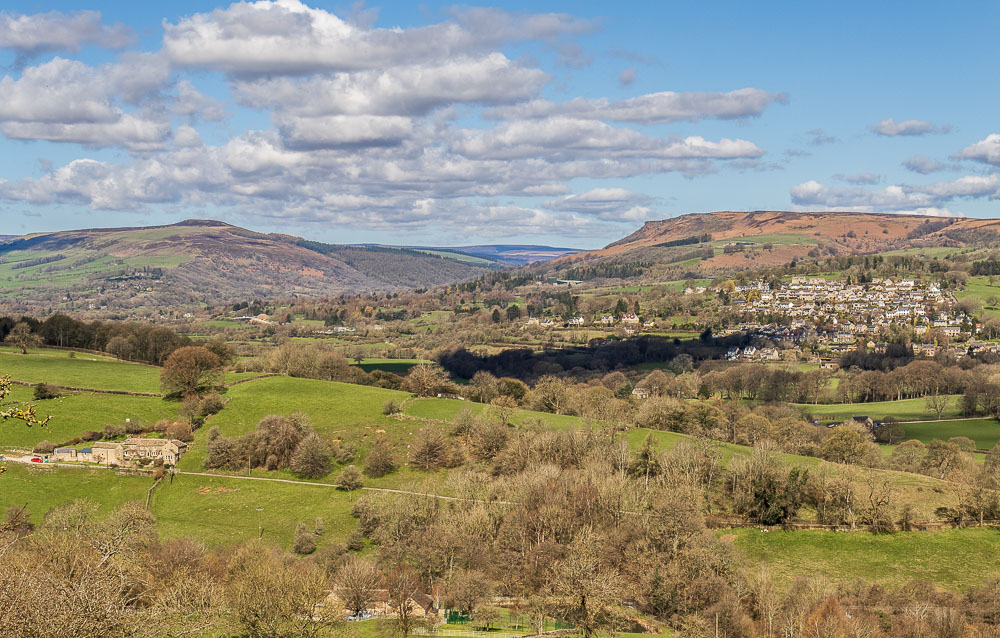
Looking down the Derwent Valley as we reach the bend in the road at Hazelford.
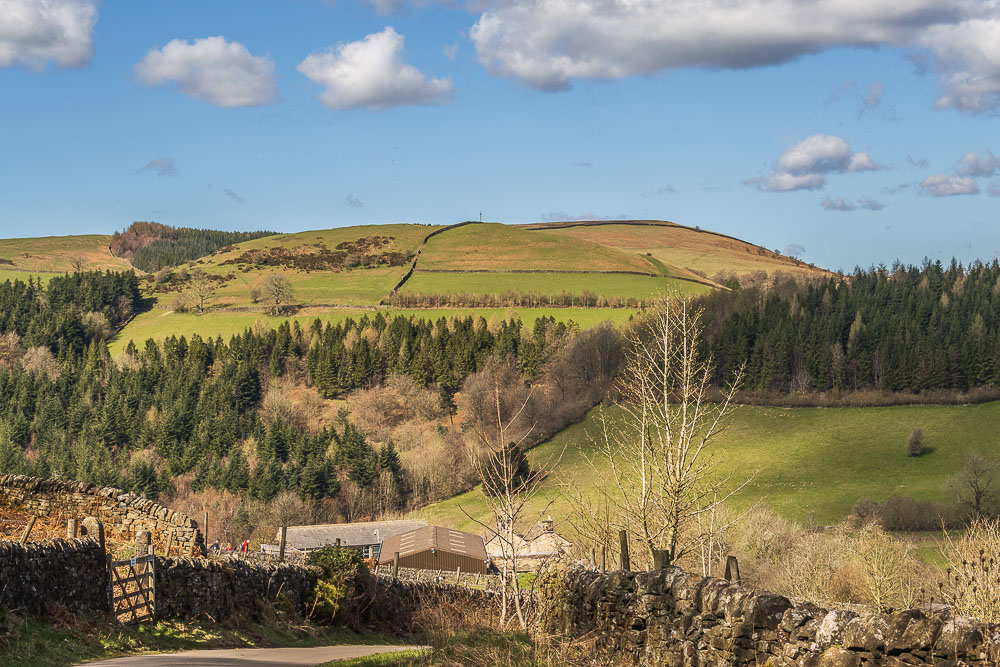
As we approach the turn to Tor Farm the cross on High Low comes into view. Checking back on previous walks the cross is missing so maybe it is only there for religious holidays, like Easter.
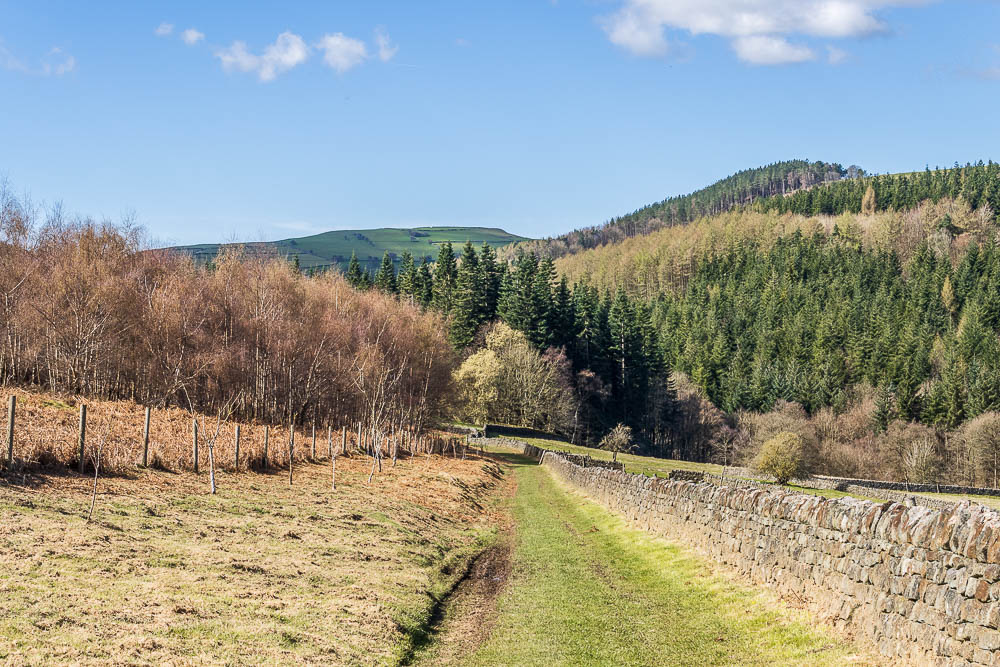
Abney Low is briefly in view as we head down to Highlow Wood.
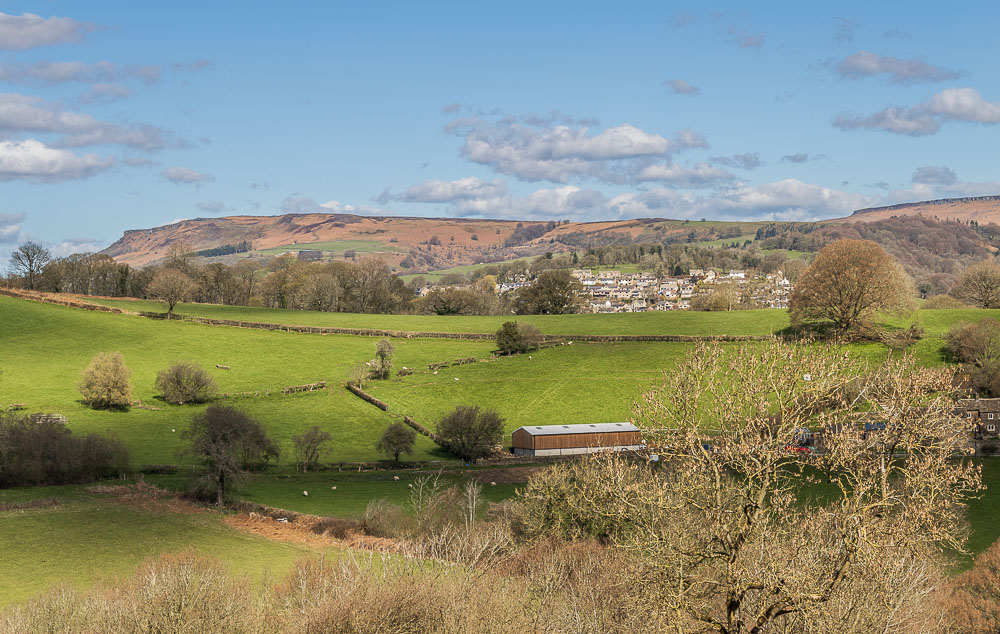
A final look at Bamford Edge before it disappears behind the trees.
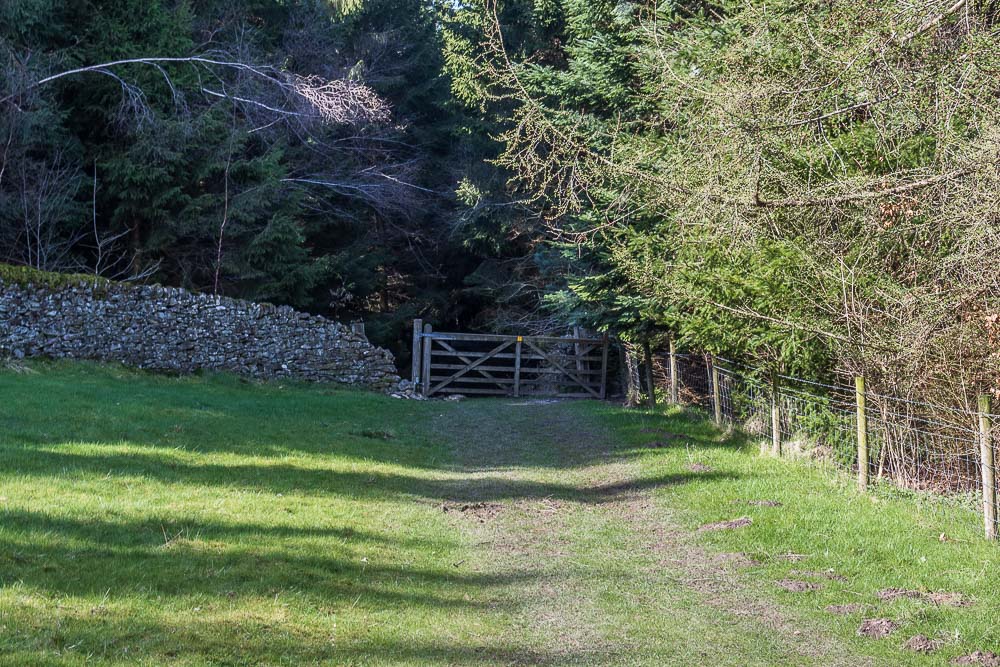
Entering Highlow Wood, which even after heatwaves is always a muddy affair and was the sole reason we had put gaiters on today.
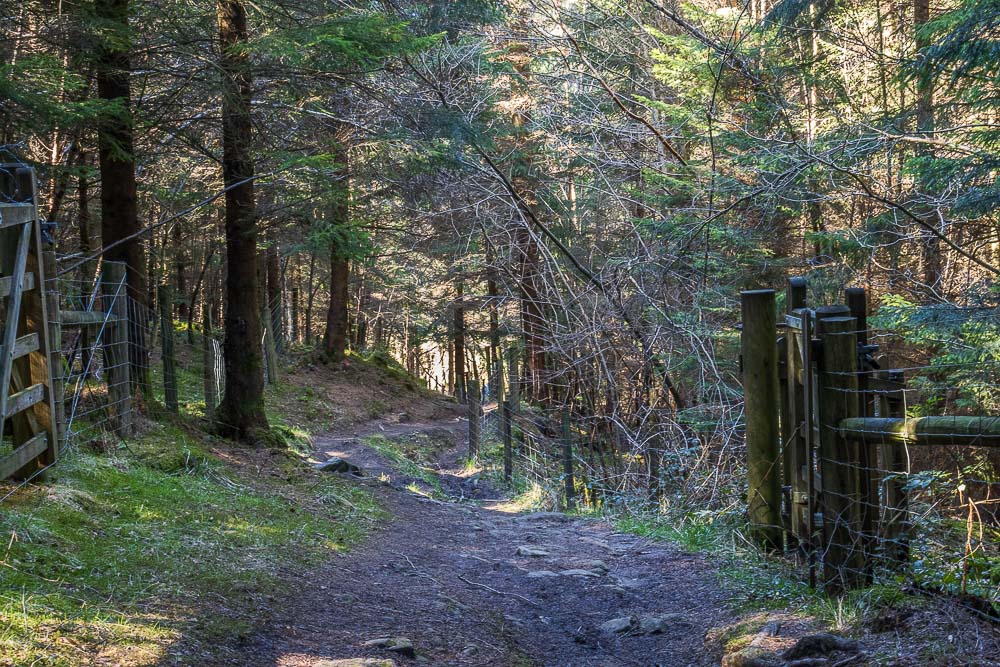
It may only be a very short section of the walk but it was probably the trickiest, as we negotiated numerous deep and squelchy muddy sections where we were extremely grateful for some well placed big sticks.
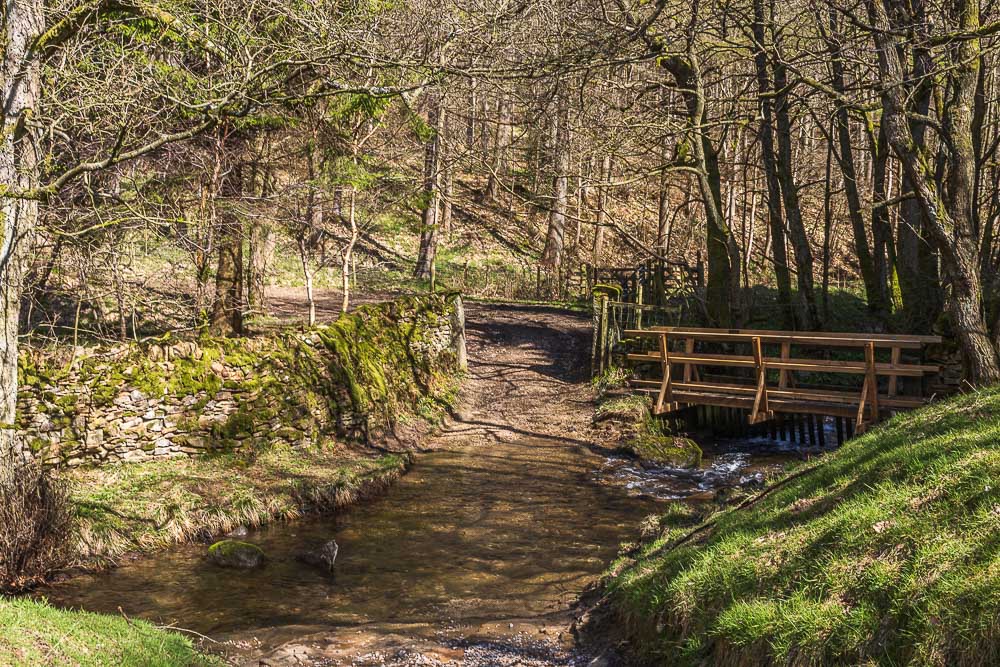
At the ford at Highlow Brook we debated which way to go and opted to head back over the brook, via the bridges and head uphill towards Abney. Having planned a walk in a totally different area we were mapless accept for Memory Map on my phone, and typically the sections that hadn't downloaded at this point were the very ones we needed. Just as well we are familiar with the area.
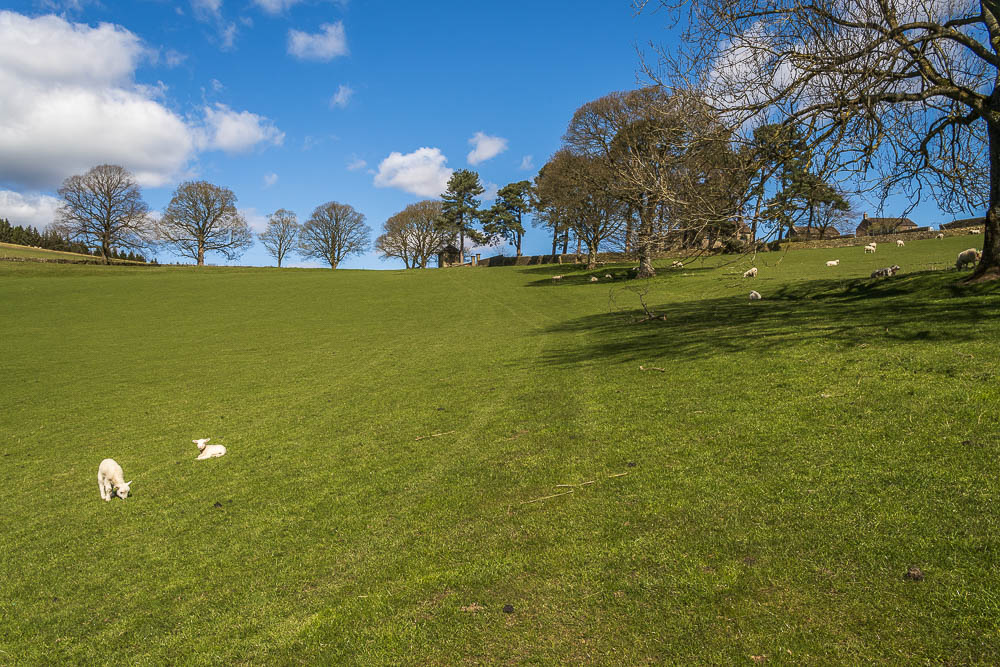
After a short section of woodland we emerged onto the field in front of Highlow Hall and my first sighting of lambs this year.
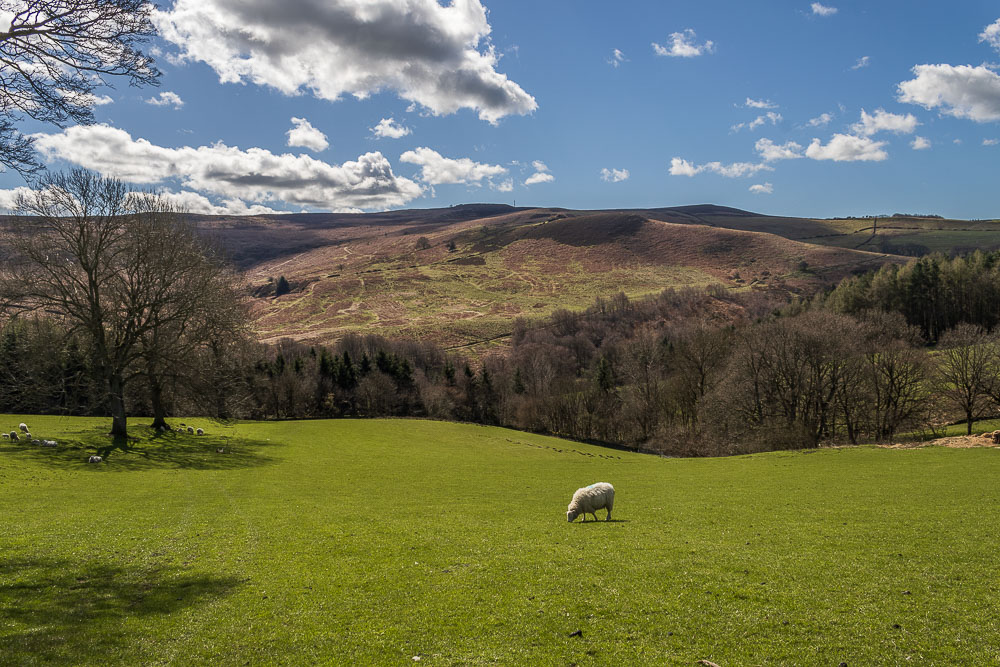
The main reason for choosing a different route was to extend the walk slightly, but it also meant we enjoyed some different views, like this one of Eyam Moor and Sir William Hill.
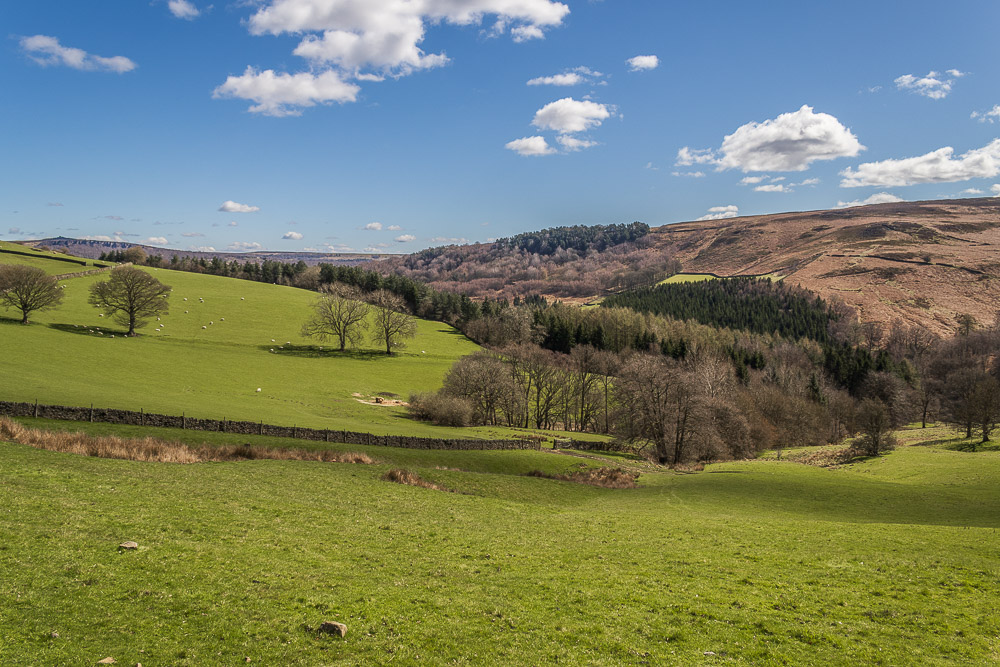
Looking across Highlow Wood to Eyam Moor with Over Owler Tor also in view as we ascend the hill.
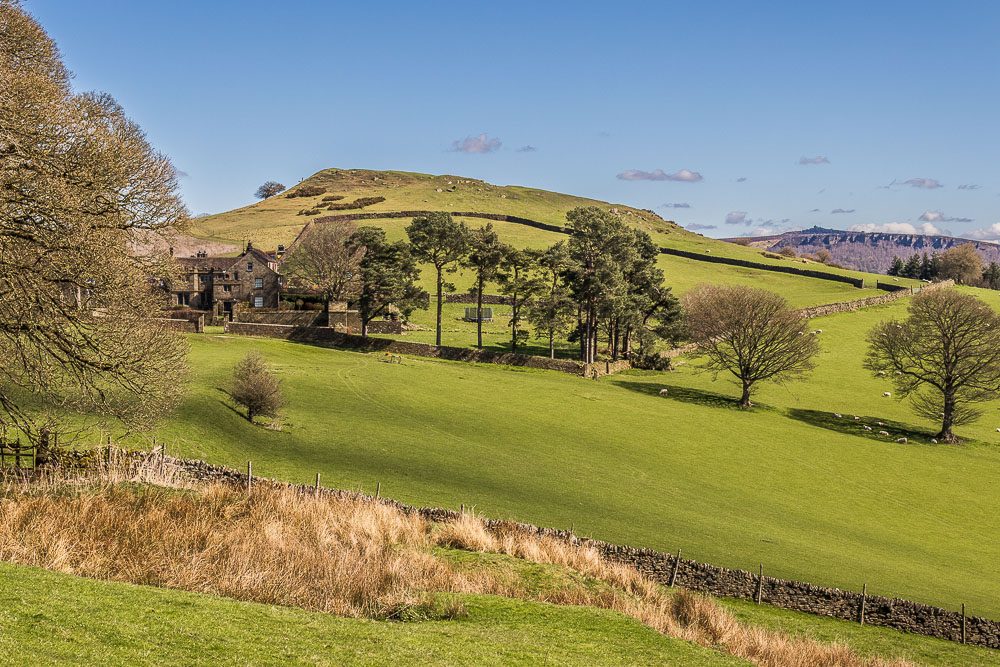
Looking back to High Low and Highlow Hall as we head along the road towards Abney.
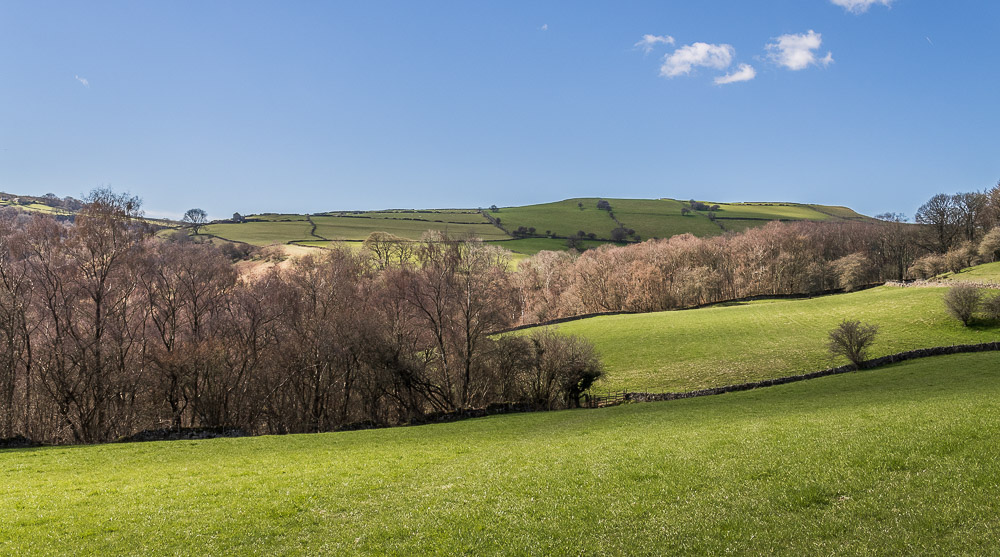
As we reach the footpath which heads uphill to Oaks Farm the missing section of the map downloads and we are able to know exactly where we are. Rather than head uphill for Smelting Hill we take the footpath downhill, heading across the field, to enter the wood back to Stoke Ford.
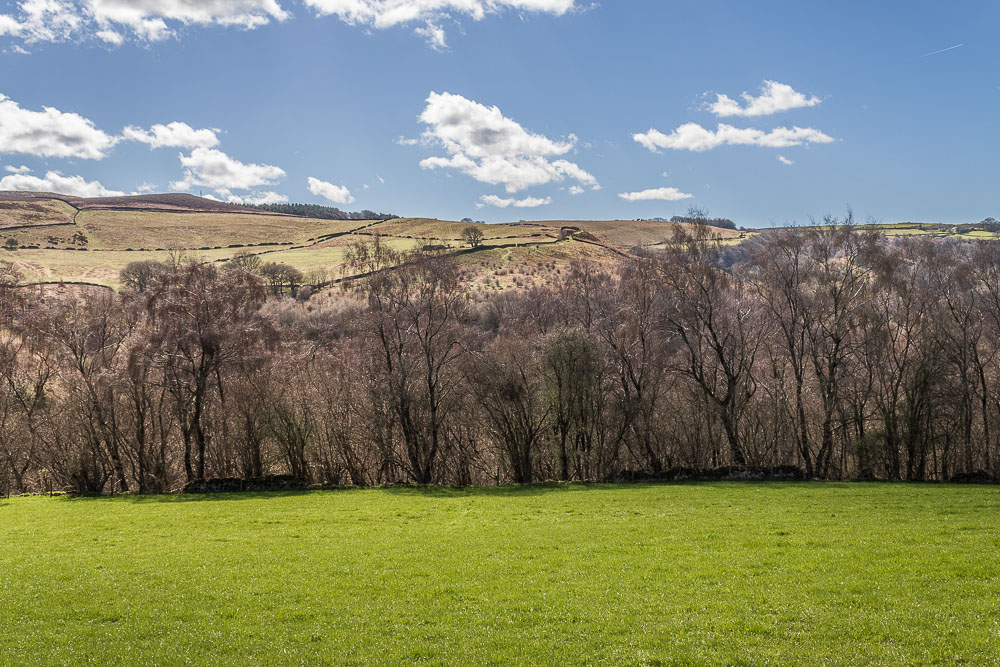
Whilst we will soon be dropping down to Stoke Ford we will also then be making the steep climb back uphill to Sir William Hill, the high point on the horizon.
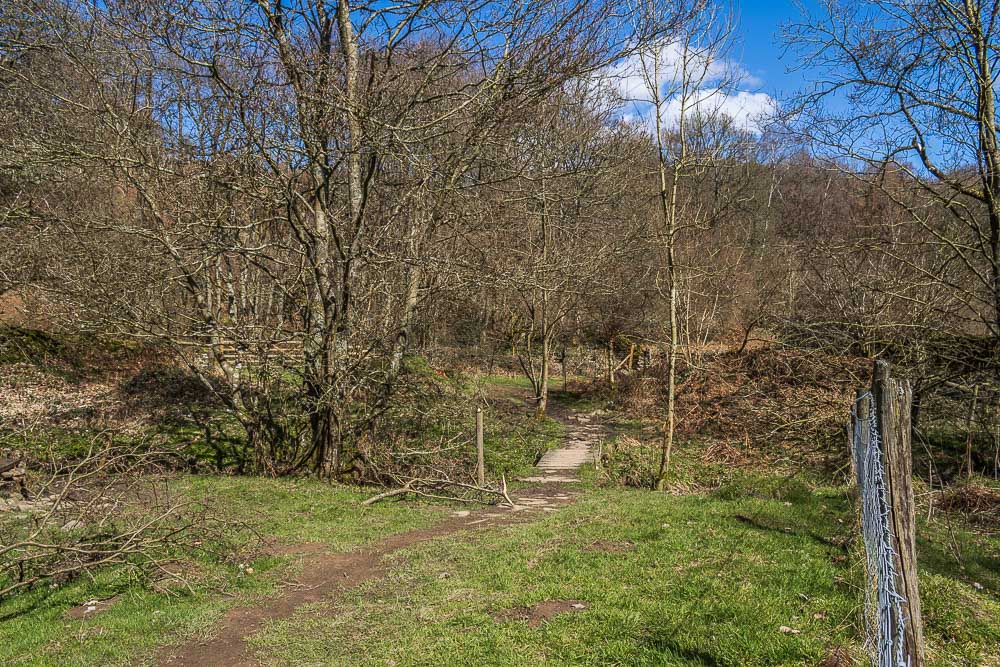
Looking back to Mill Wood as we cross the first of two bridges at Stoke Ford. Sadly the stone seats that used to be here have disappeared.
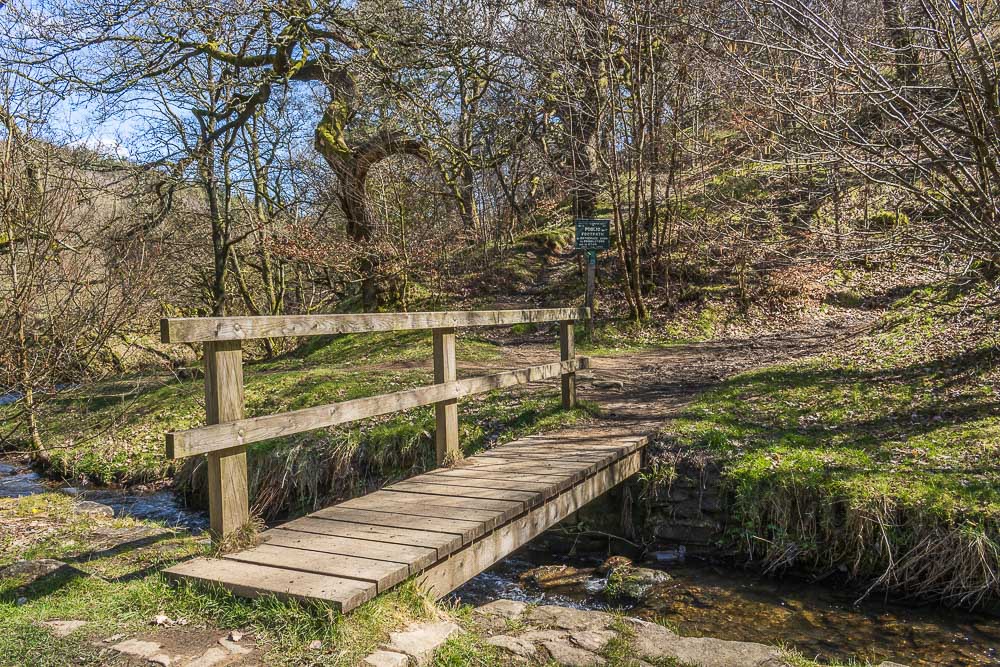
After crossing Highlow Brook we will take the path on the right uphill to Eyam Moor.
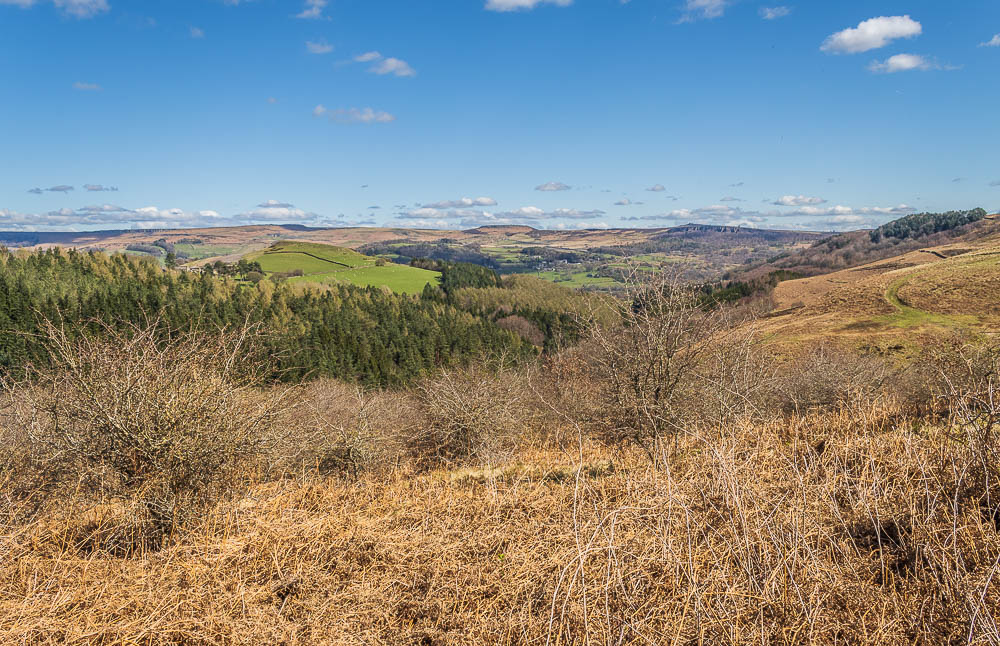
After a short, but steep climb we can once again enjoy views across High Low to Higger Tor and Stanage Edge.
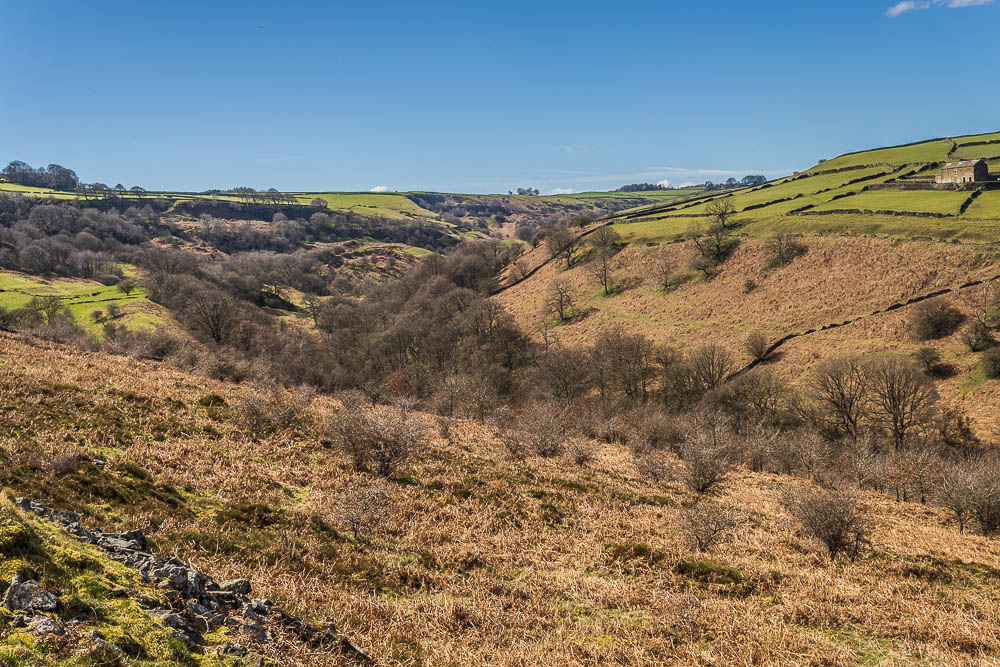
With the worst of the climbing over we opt for a lunch break with a view along Bretton Clough.
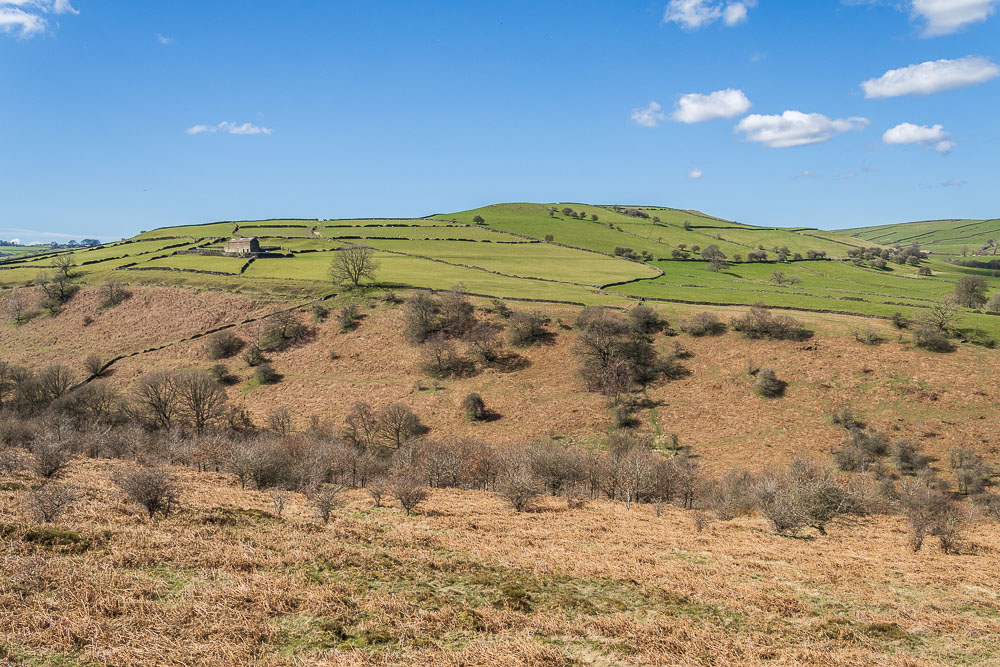
As we sat eating our lunch we saw gliders and paragliders in the sky over Abney Low.
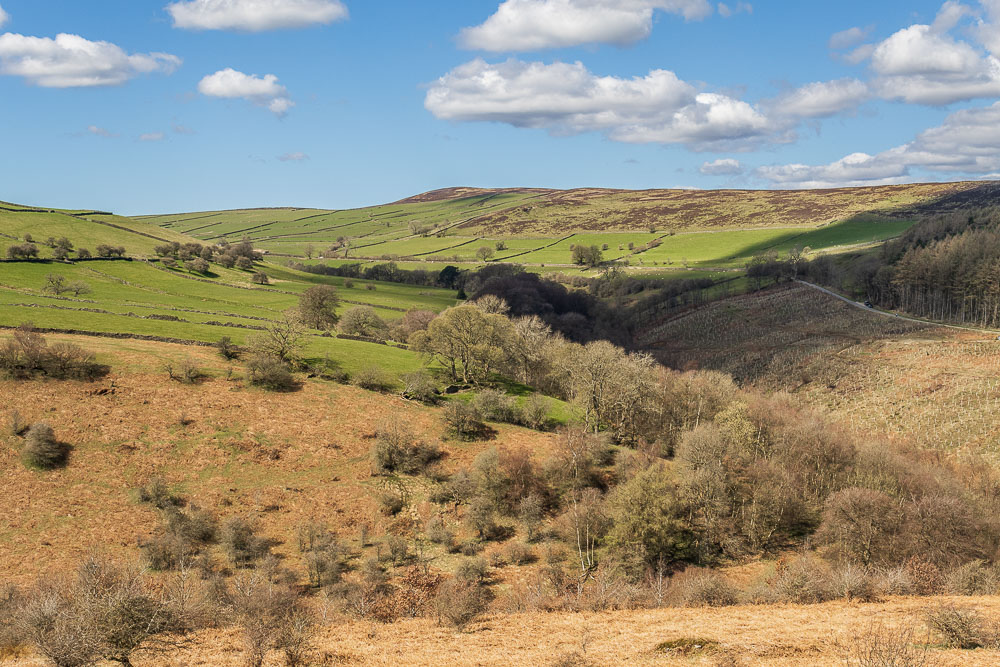
We could also look across Abney Clough to Abney Moor.
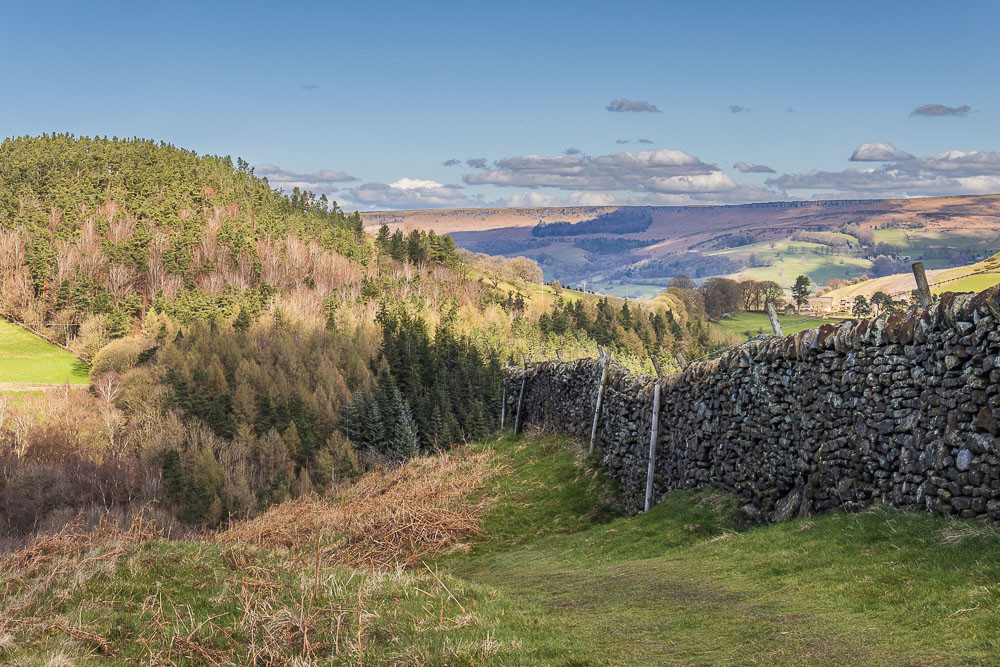
As we resume our walk up to Eyam Moor a final look across to Stanage Edge before we head uphill.
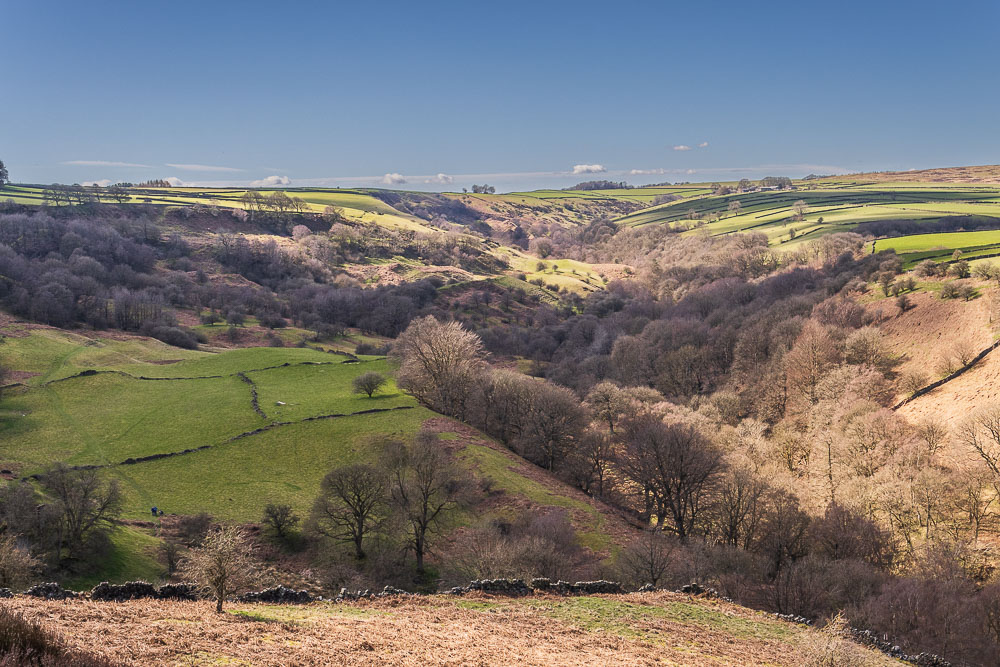
As we follow the path alongside the wall we can pick out the route through Bretton Clough we have used on previous walks in this area.
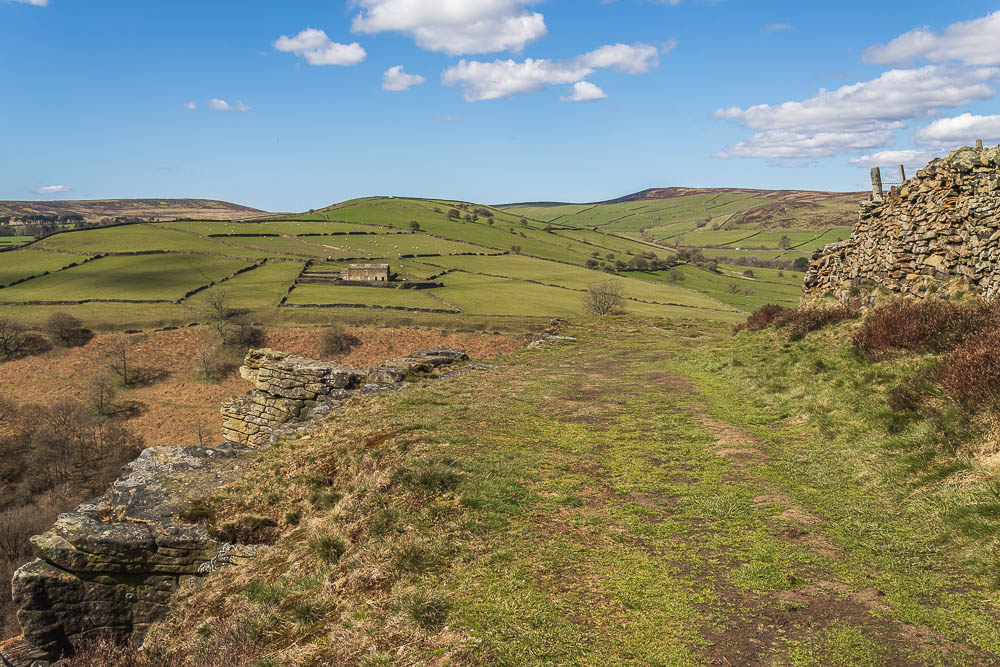
Looking back to Abney Low and Abney Moor as we approach the stone stile onto Eyam Moor.
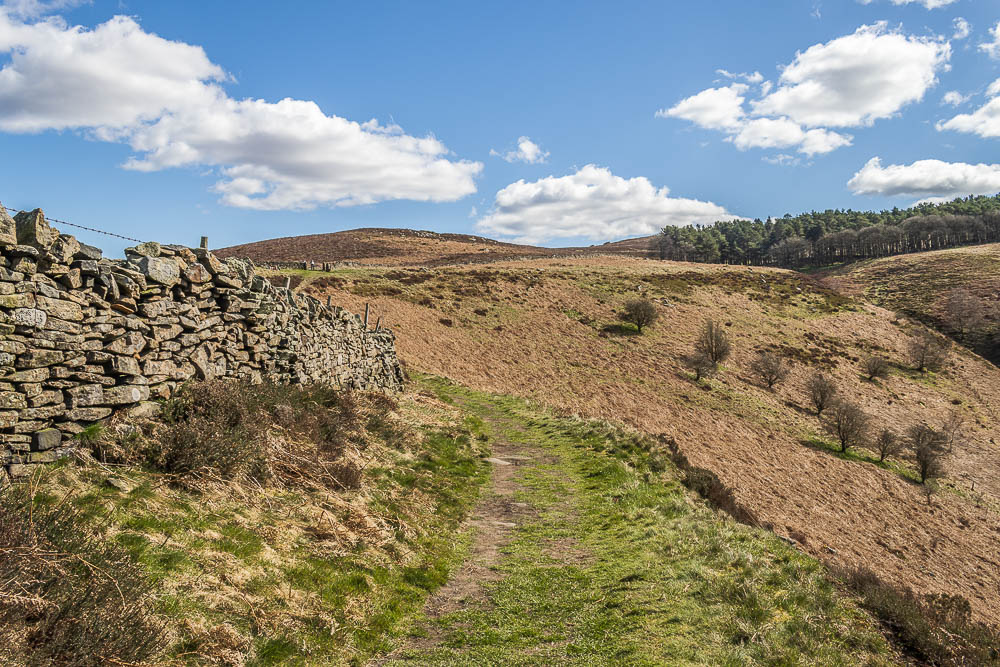
As we get closer to the stile onto Eyam Moor, there is a noticeable increase in the number of people, a sure sign that lunchtime has been and gone.
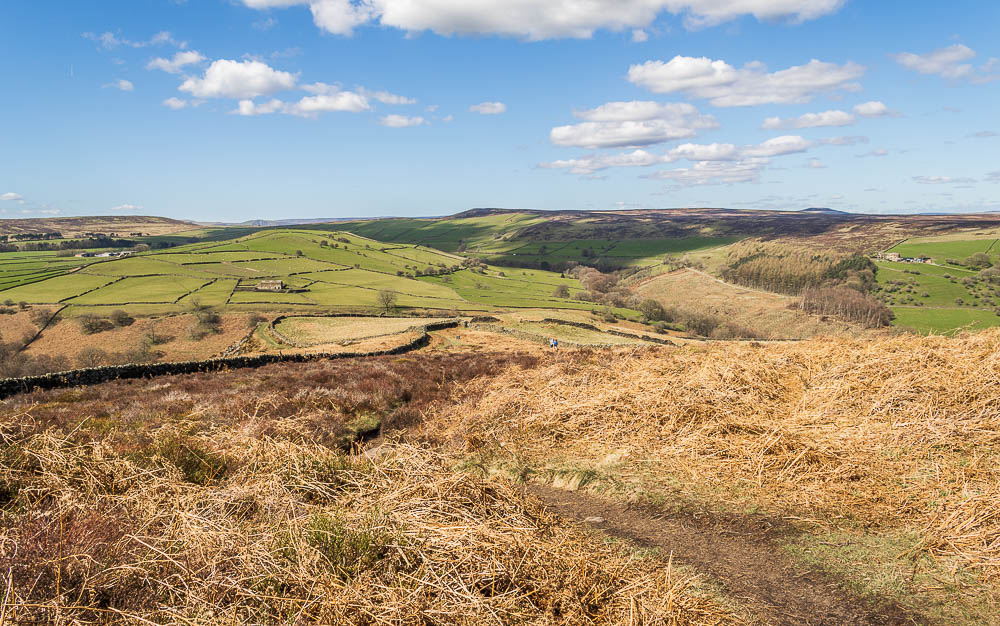
Once we are back on the moor we take the path heading uphill and are soon rewarded with views across Abney Moor to Mam Tor.
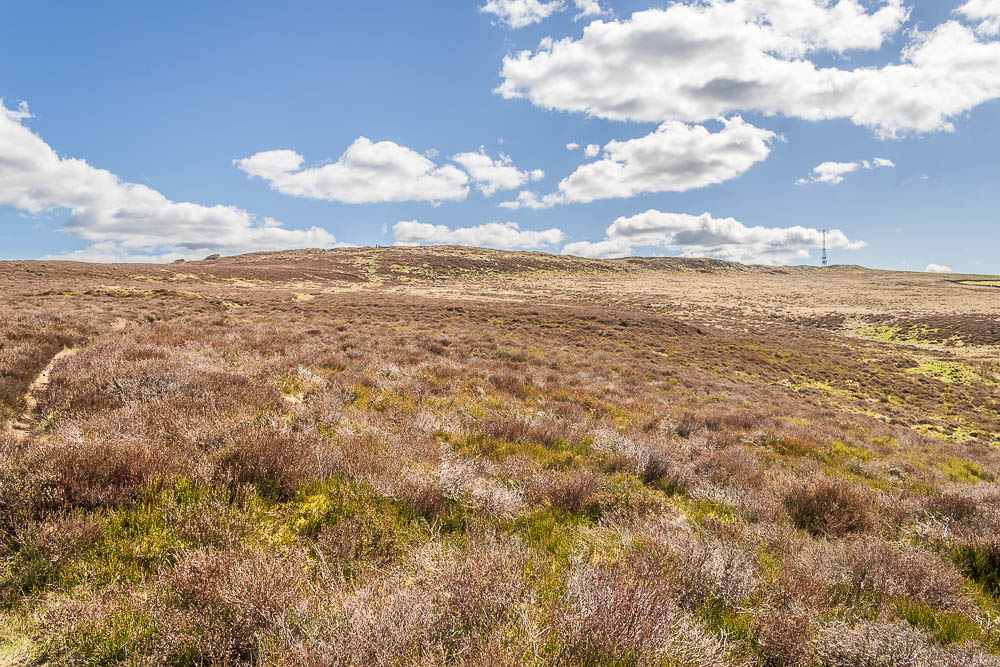
Our path takes us up onto Sir William Hill, which is always easily identified by the mast which is close to its summit.
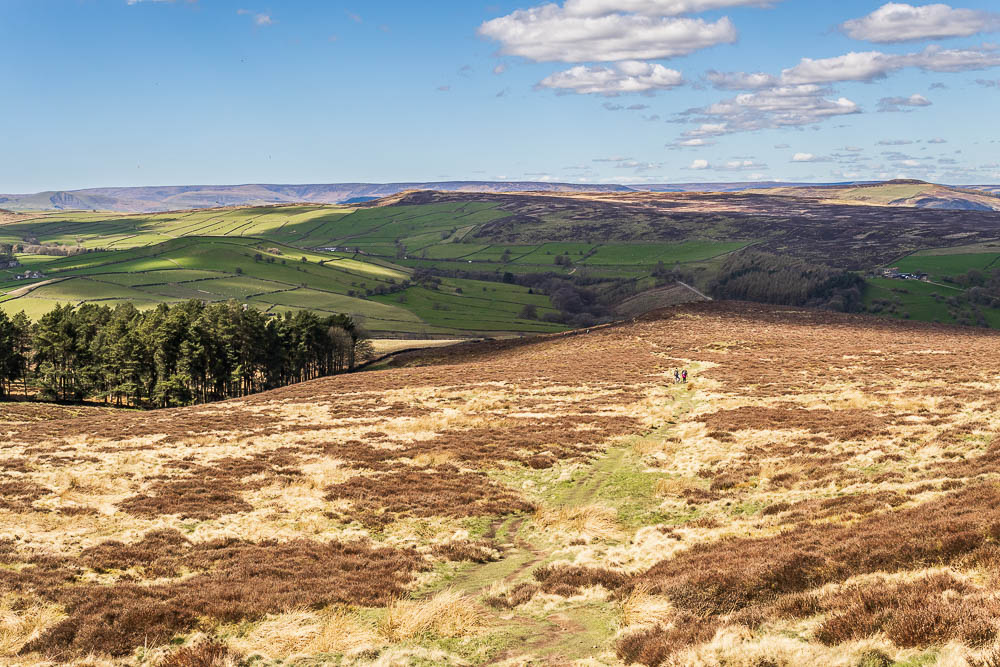
As we climb above Gotherage Plantation Kinder Plateau comes into view.
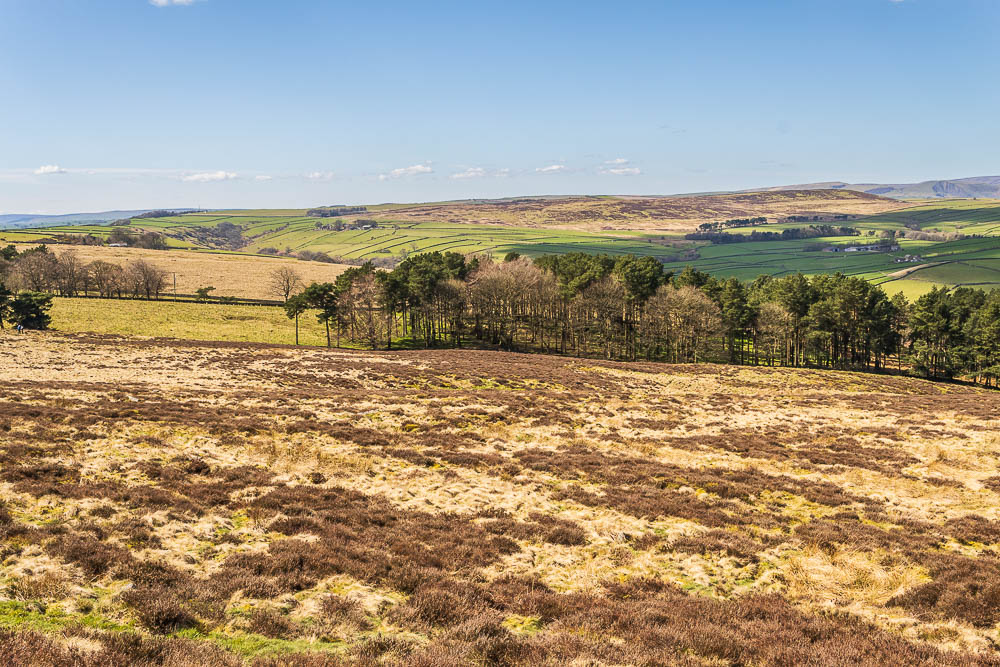
Climbing onto Sir William Hill the view across Gotherage Plantation also takes in Abney Moor.
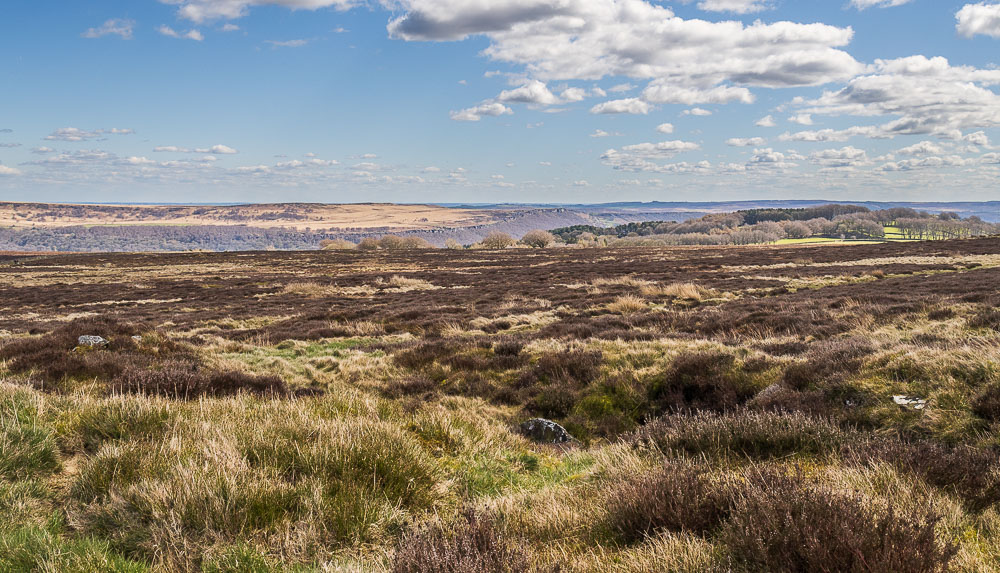
Looking the other way Froggatt Edge and White Edge are once more back in view.
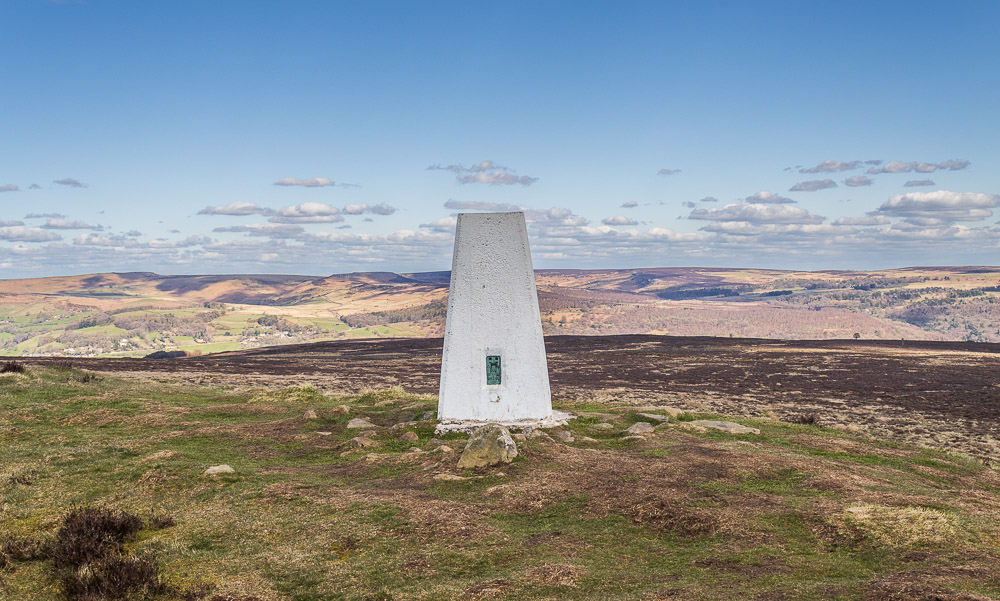
We reach the summit of Sir William Hill, the highest point of our walk today and enjoy the views, here looking across to Higger Tor.
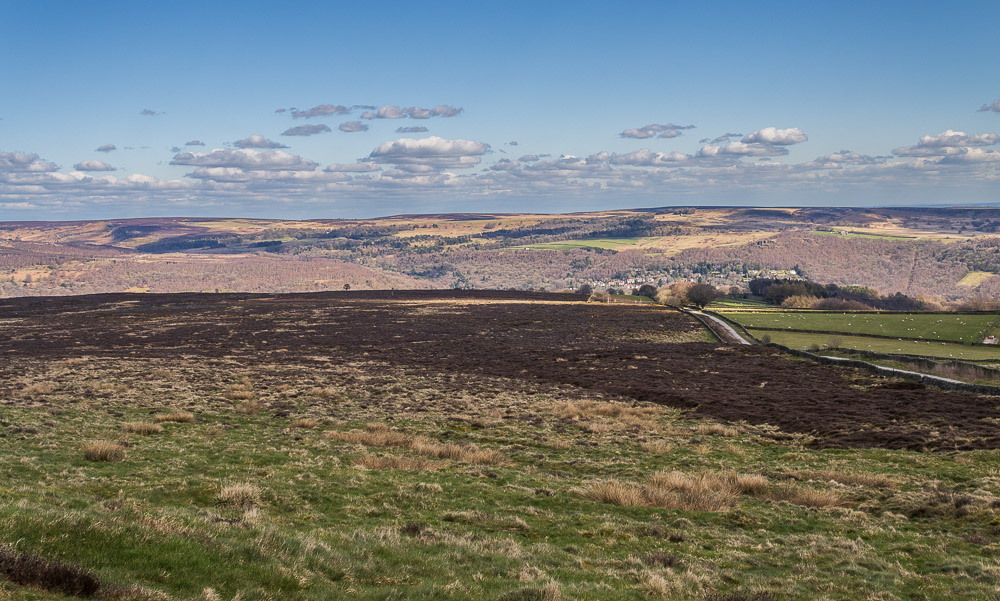
All that remains now is for us to make the short walk to the stile in the wall and head downhill along Sir William Hill Road back to the car.
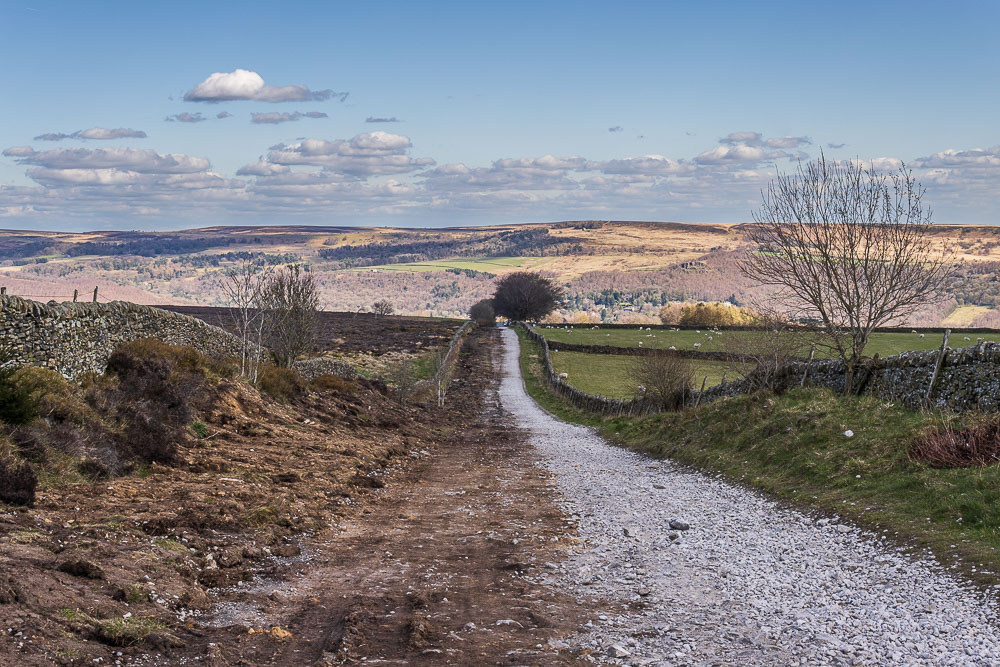
We make the ankle breaking trip along Sir William Hill Road back to the car, having at least found a walk away from the crowds. Although it was a much shorter than the walk we set out to do we still enjoyed some great views and got to enjoy time away from the crowds, which is what walking is all about for us.
All pictures copyright © Peak Walker 2006-2023