
Mount Famine - Peak District Walk
Thursday 7th September 2023
Today's route was planned in order to give John an opportunity to test how well his foot is recovering. With the predicted high temperatures we set off early and had completed all of the climbing before the heat had built up too much. What we hadn't expected was to spend most of the day looking at cloud as it was only as we reached the end of the walk that the cloud finally disappeared.
Start: Bowden Bridge car park (SK 0484 8692)
Route: Bowden Bridge car park - Elle Bank - Mount Famine - South Head - Brown Knoll - Edale Cross - Oaken Clough - Coldwell Clough - Bowden Bridge car park
Distance: 6.75 miles Ascent: 482 metres Time Taken: 4 hrs 20 mins
Terrain: Clear paths
Weather: Cloudy, overcast and hot.
Pub Visited: The Lamb Inn, Chinley Ale Drunk: Timothy Taylor's Landlord
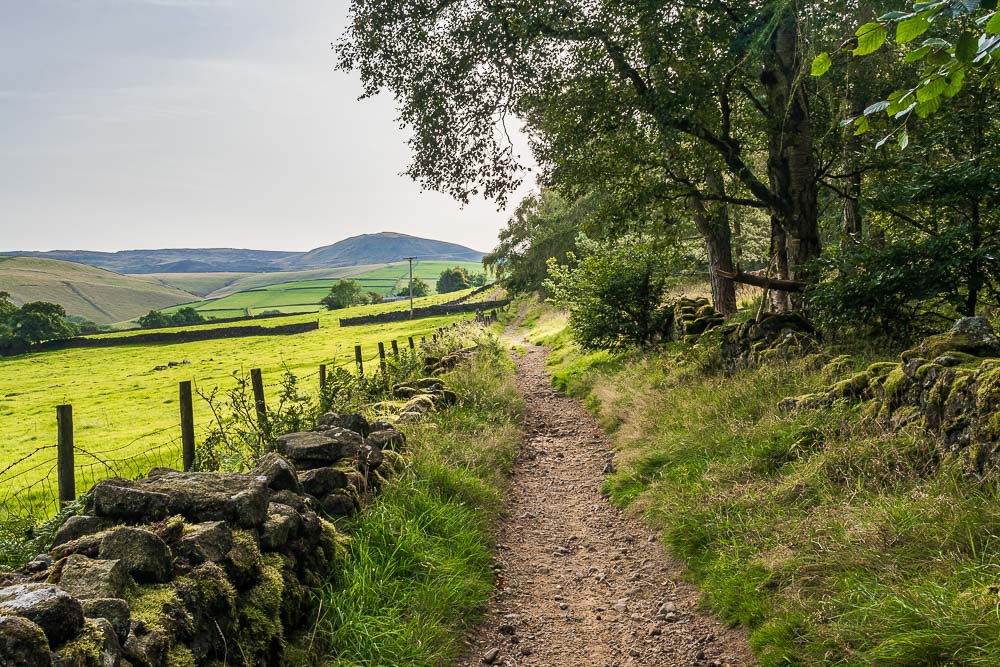
The walk started by following the footpath behind the campsite, which was in shade but still gave us some great views across to Kinder.
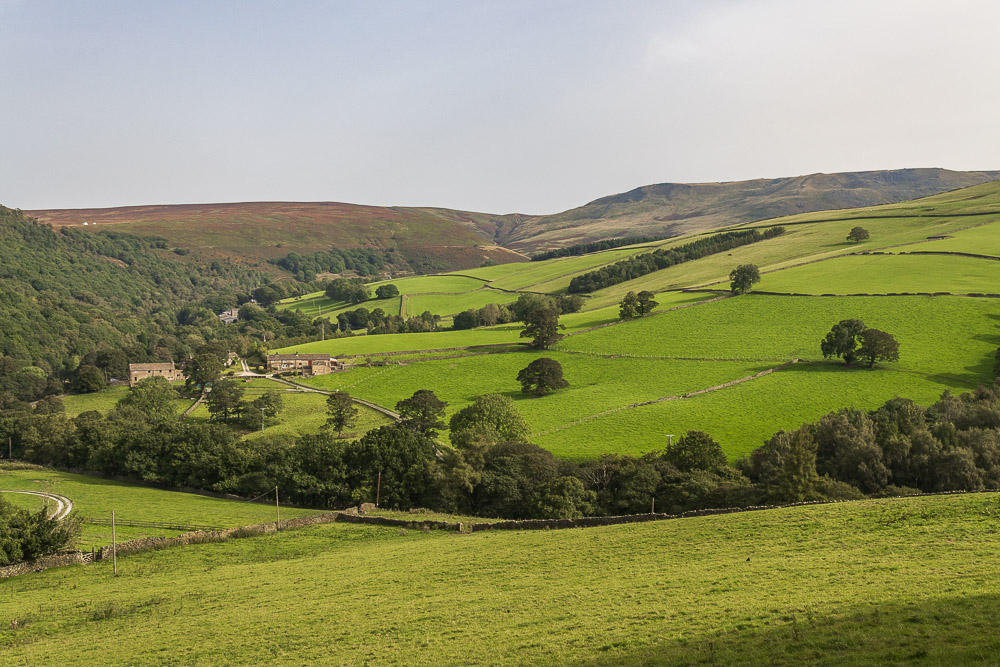
Here looking across to Mill Hill and Ashop Head at the top of William Clough.
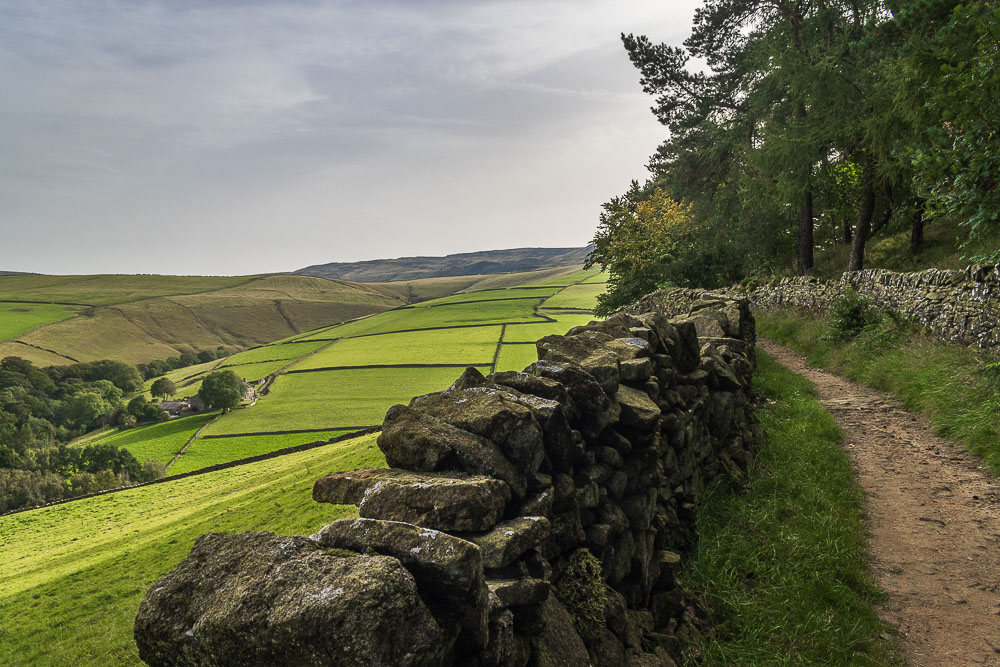
The path climbs steadily and we make the most of the shade it is offering us.
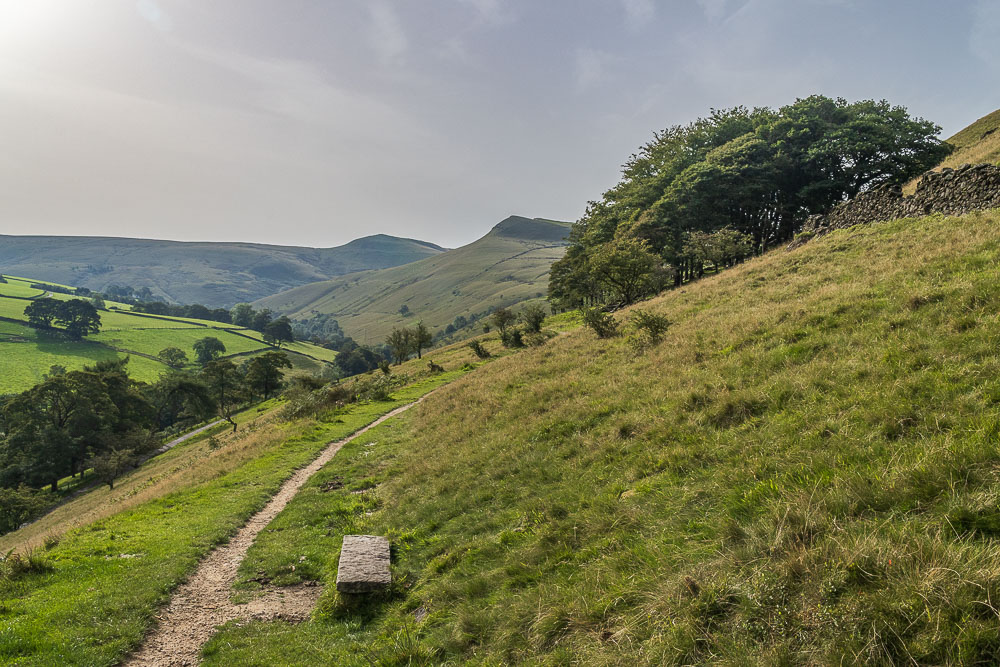
We leave the wood and get our first view of Mount Famine and South Head.

Kinderlow End from the path, as we exit the wood.
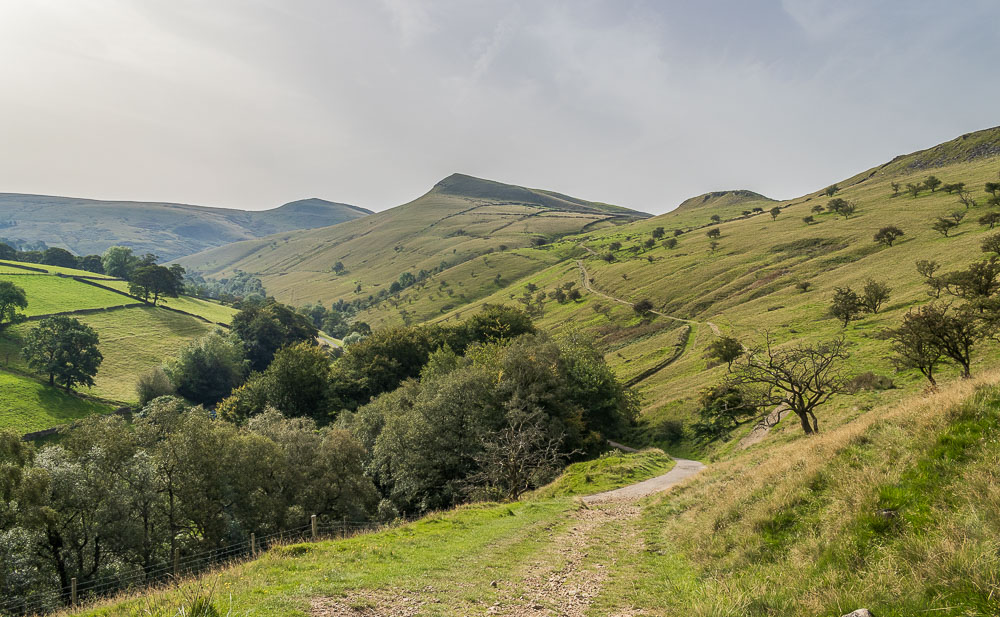
We briefly divert off the main path to follow the track along the edge that avoids the need to descend and then immediately climb up again.

Looking back towards White Brow as we follow the track to Mount Famine.
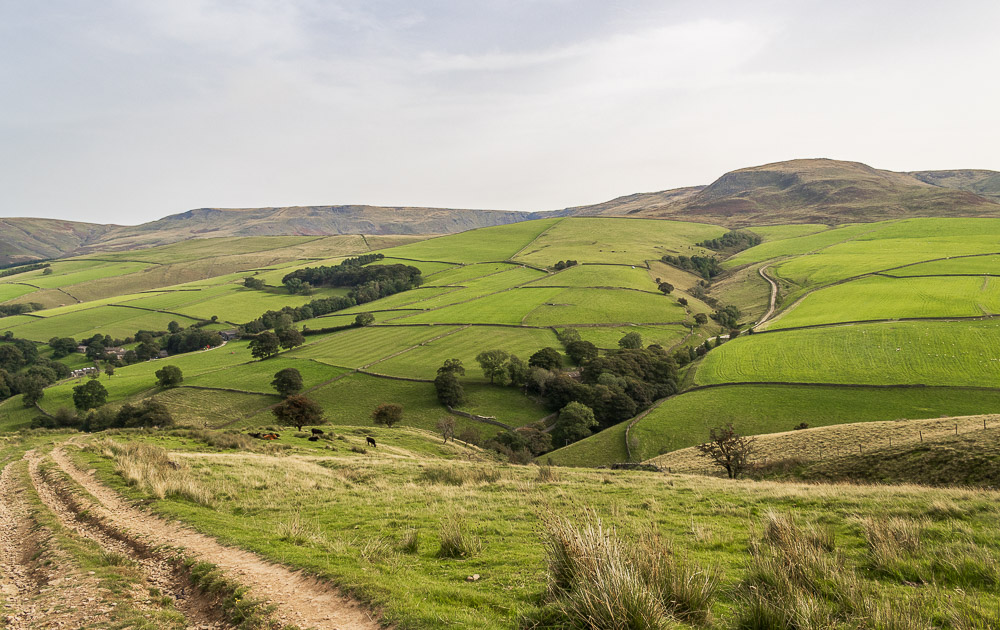
Although the sun never broke through the cloud it was hot, so there were plenty of stops on the way up to admire the view.
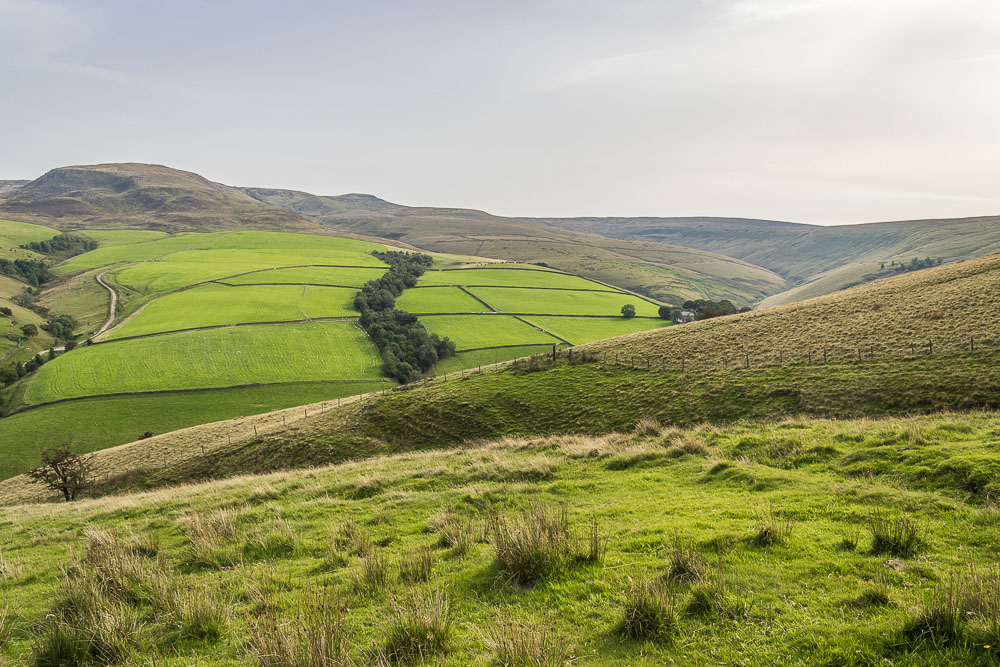
We continue up and Swine's Back appears behind Kinderlow End.
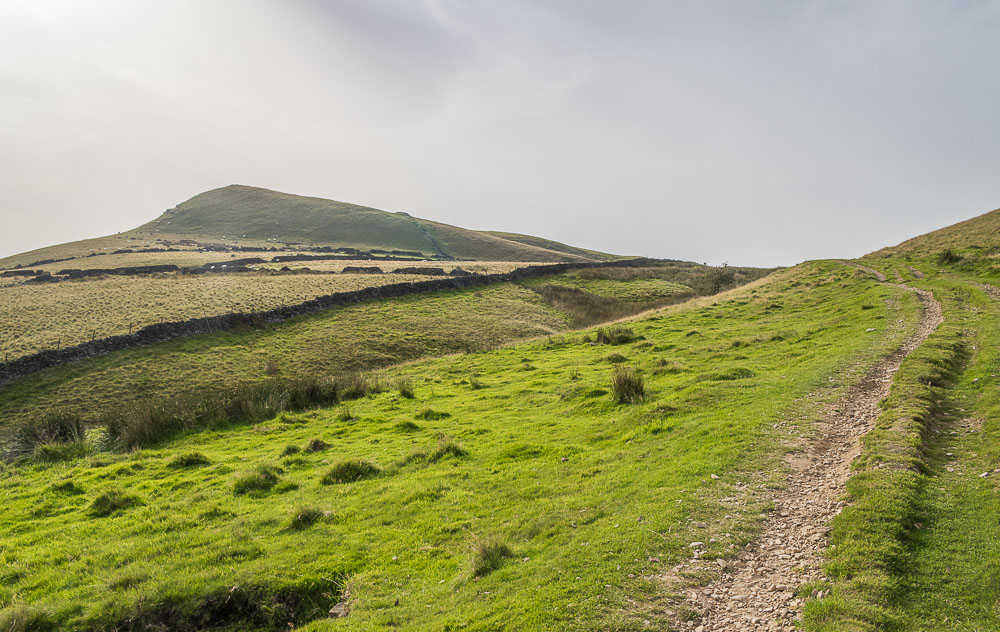
As we near the top of the path the final climb we will have to do to reach the summit comes into view.
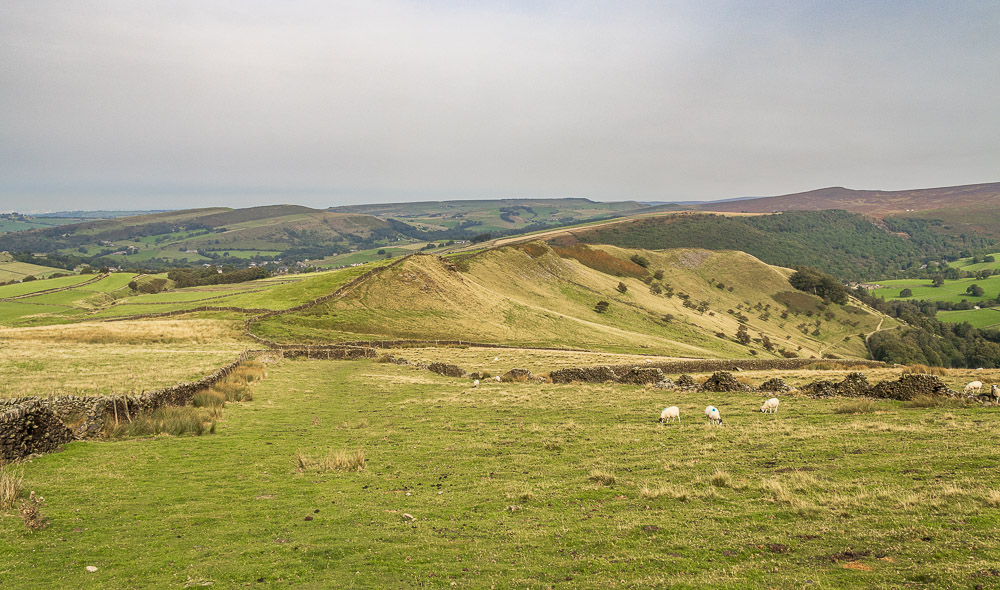
We leave the track and head across the fields to Mount Famine and Middle Moor and Lantern Pike come into view.
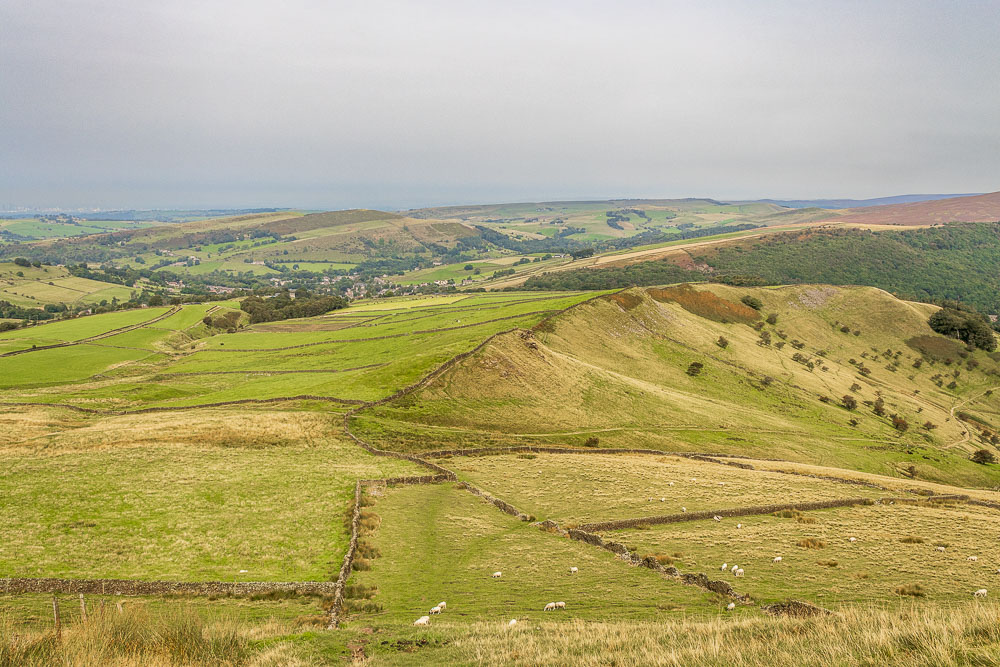
Having completed the steepest section of the ascent we can make out the distant Cown Edge.
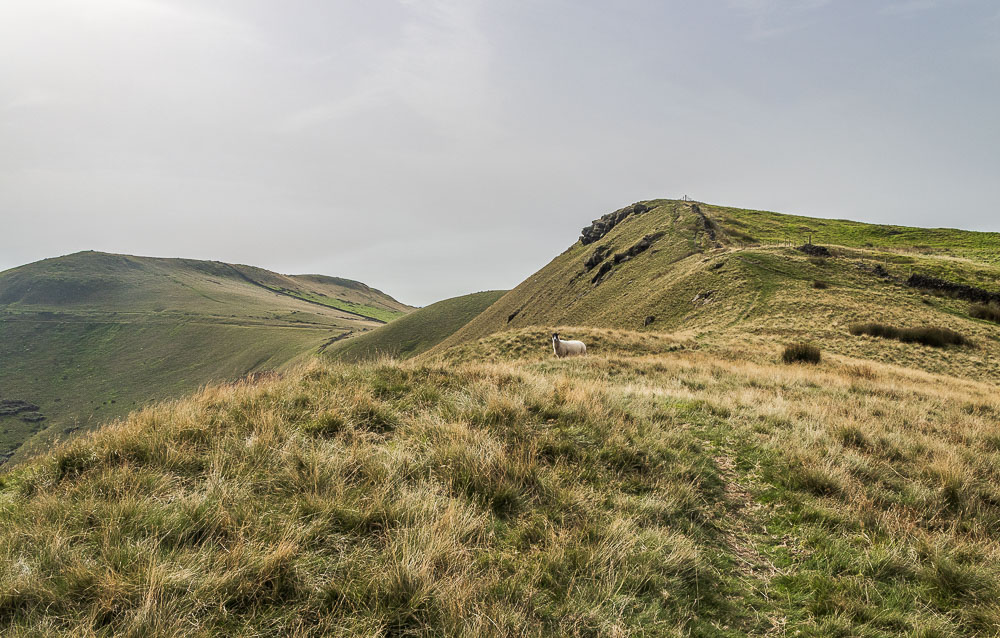
Looking up to the summit of Mount Famine as South Head comes back into view.
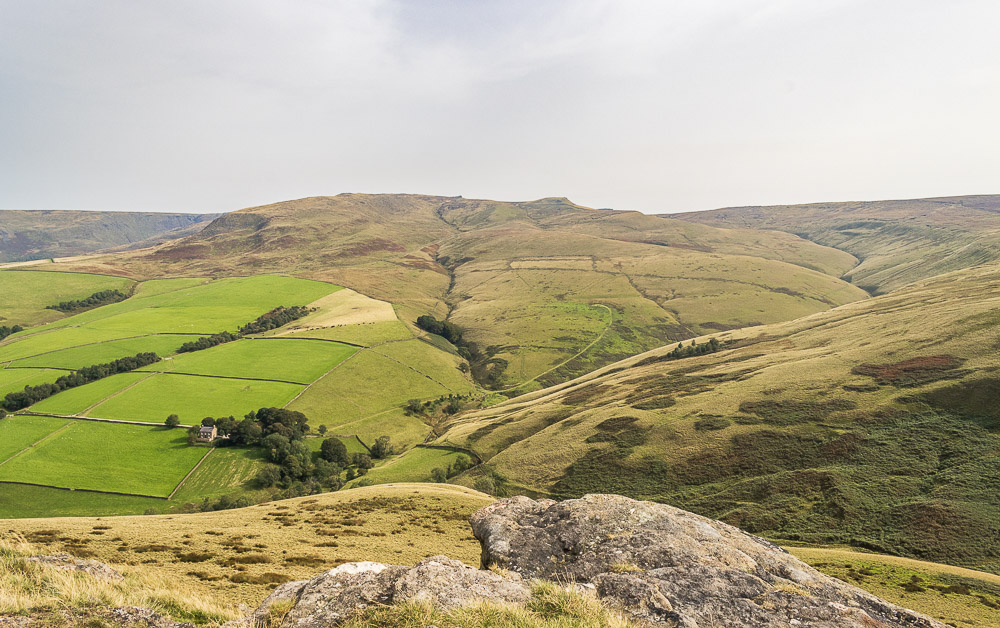
Looking across to Kinderlow End from Mount Famine's summit.
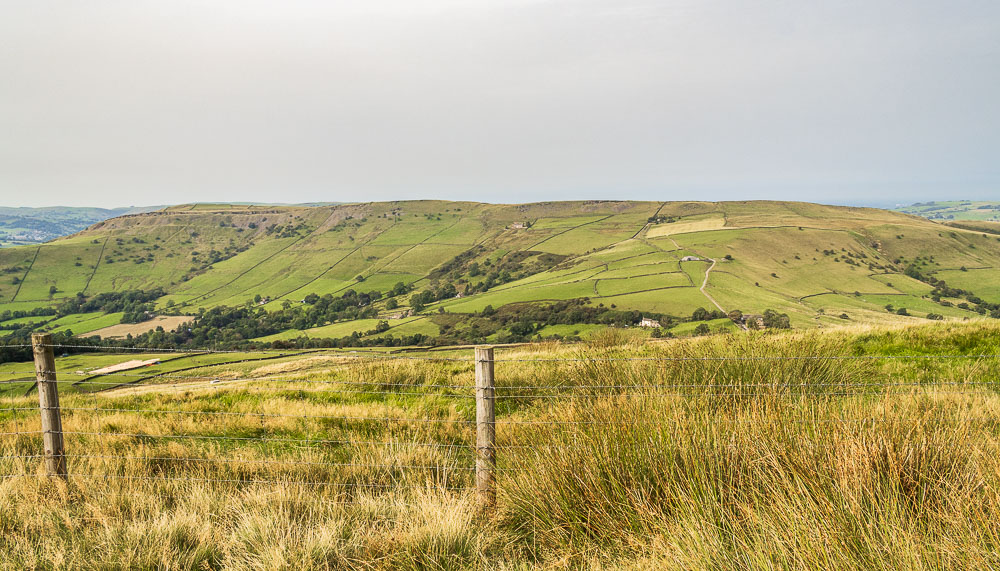
Chinley Churn from the summit of Mount Famine.
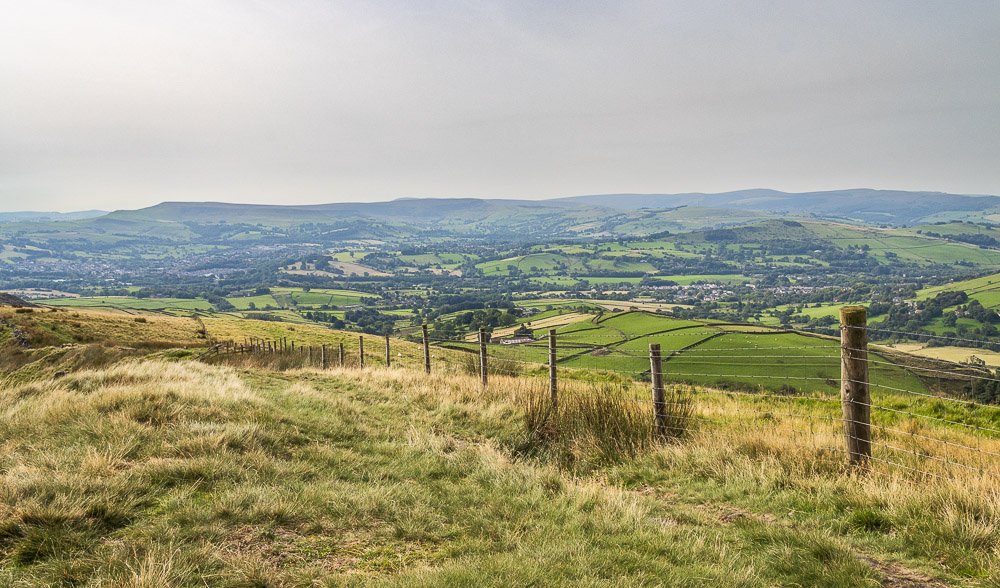
It is surprisingly hazy as we look across towards Combs Moss.
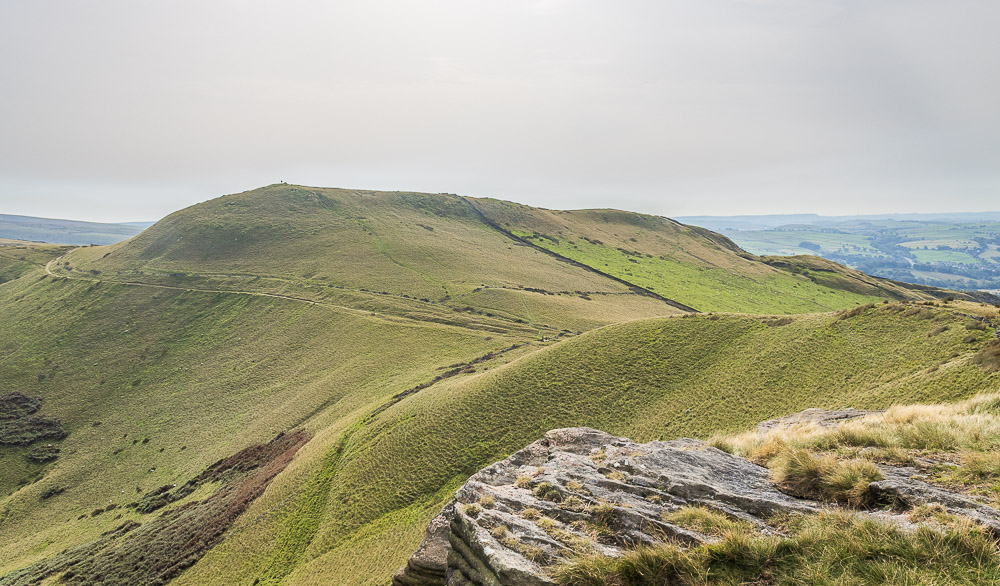
We had an enjoyable 15 minutes taking in the views from Mount Famine before we decided to carry on and head for South Head.
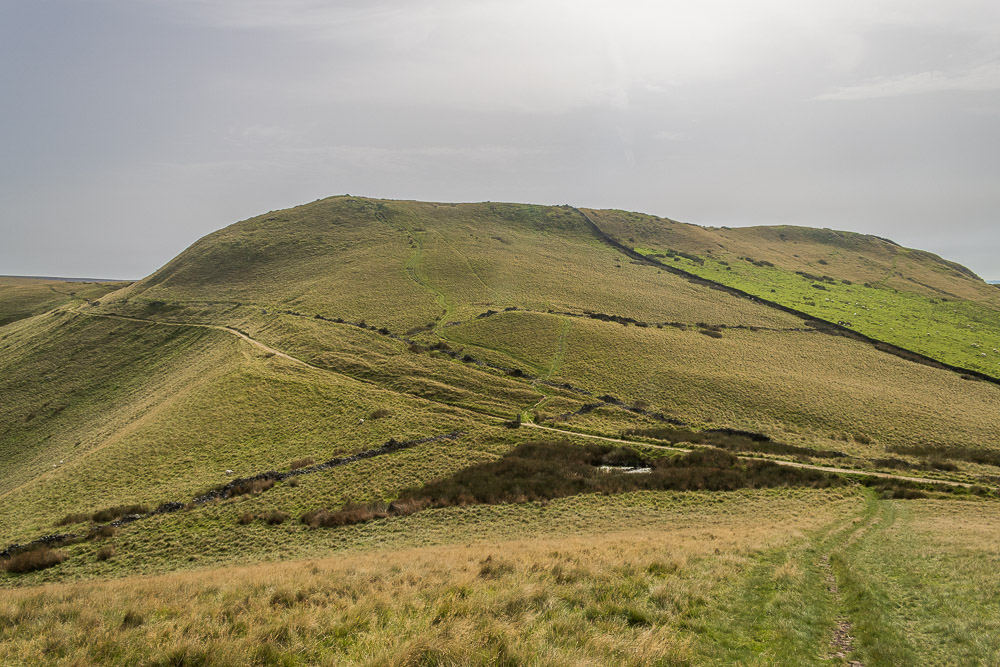
It is usually at this point of the descent from Mount Famine that we begin debating if we are doing South Head or not, but as I want to count it towards my round of Ethels it isn't up for debate today.
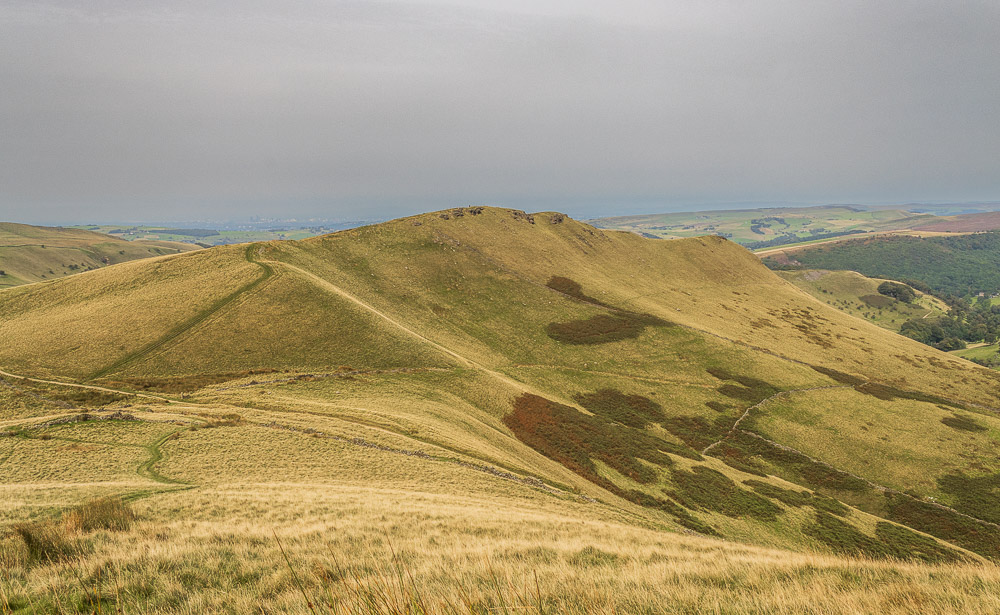
In no time at all we are approaching the summit of South Head and looking back to Mount Famine.
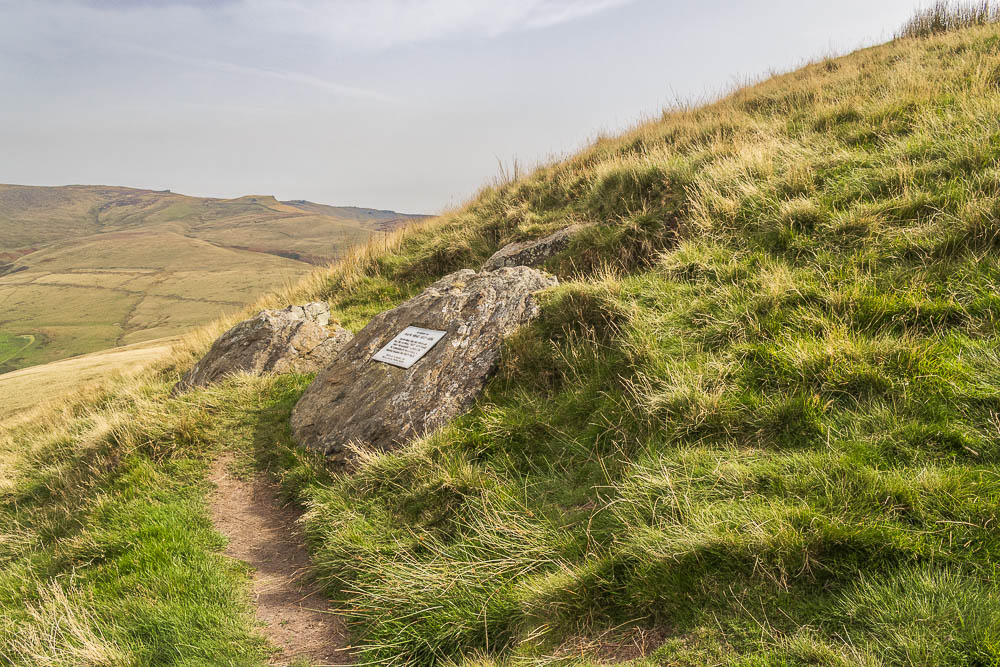
The memorial to Frank Head, which is located just below the summit of South Head.
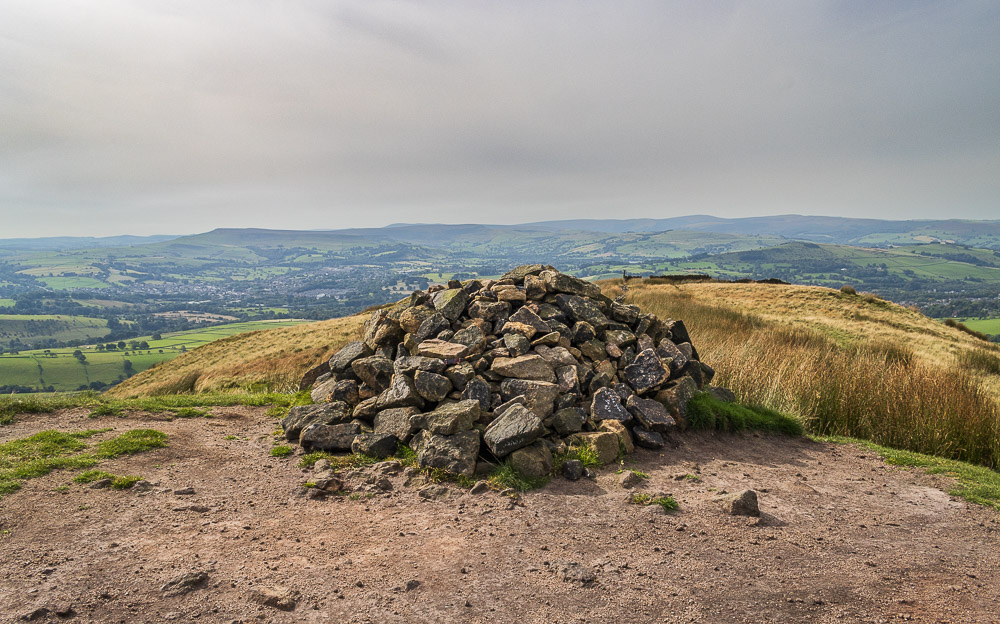
The summit of South Head is surprisingly windy, enough to mean the hats which had been protecting us from the sun had to be removed before we had to chase them down the hillside.
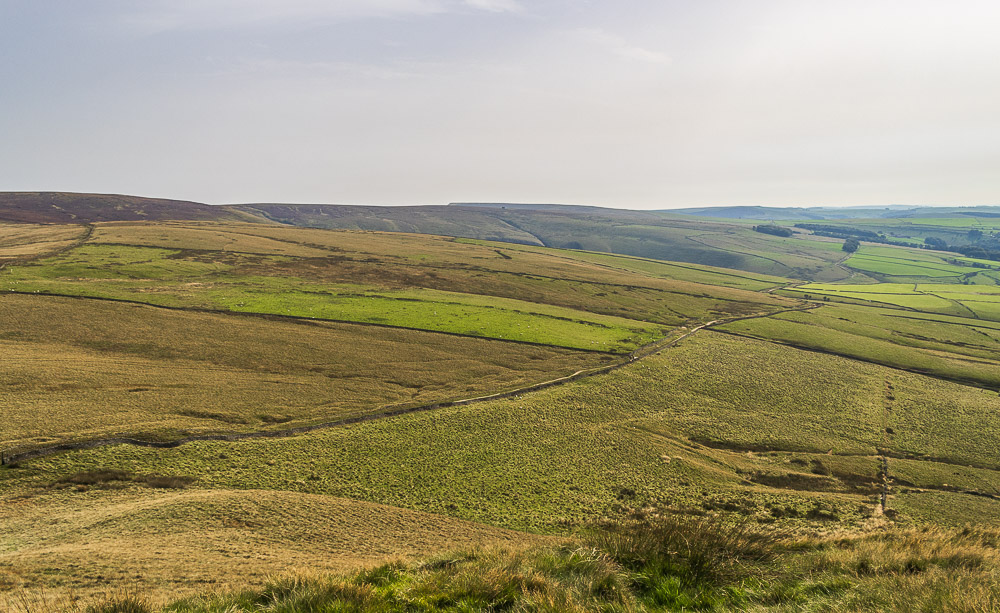
From the summit we can look across Toot Hill to the air shaft and Lord's Seat, which is just about visible.
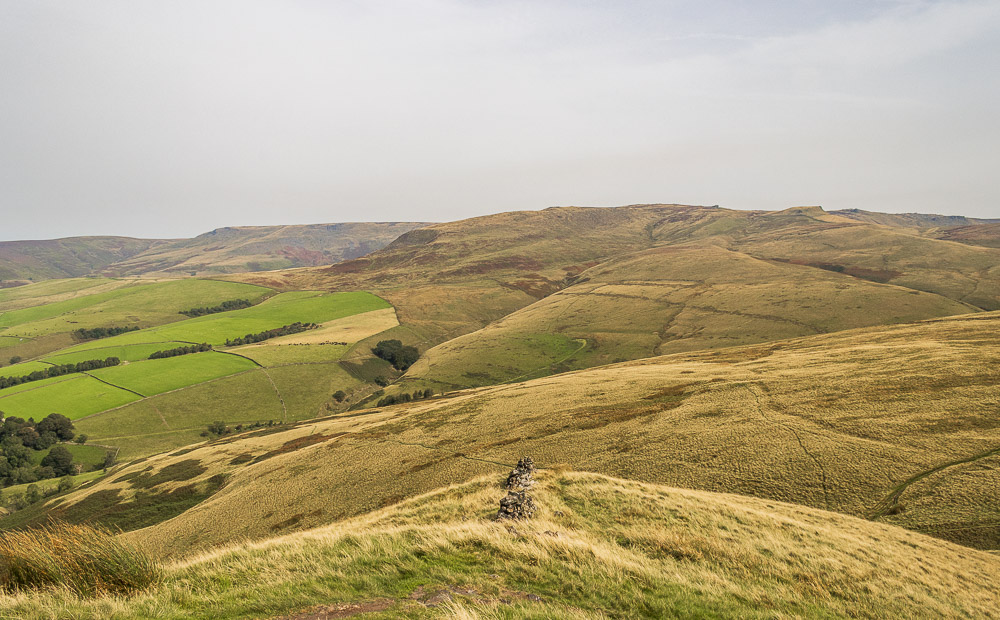
Despite the wind we take some time to admire the views, here looking across to the Kinder Plateau.
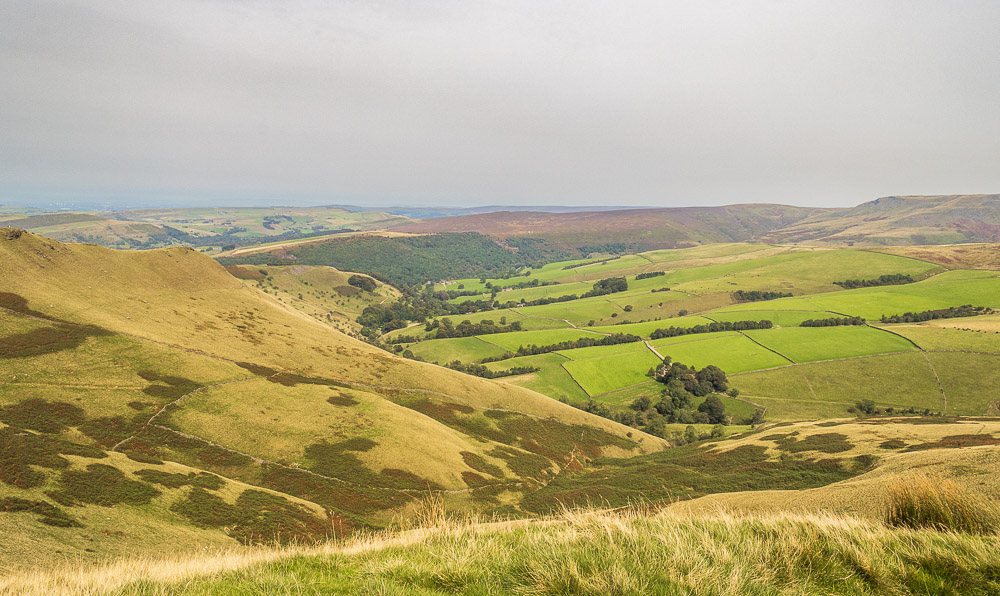
Now we are that little bit higher we can also see more of Leygatehead Moor.
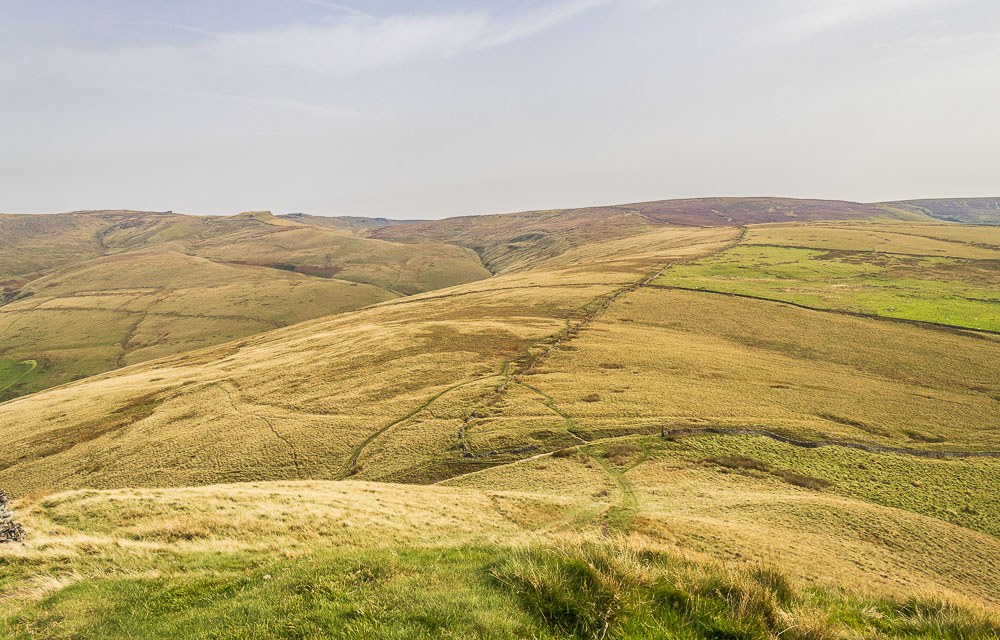
Our route from the top of South Head to Brown Knoll is easy to spot from here.
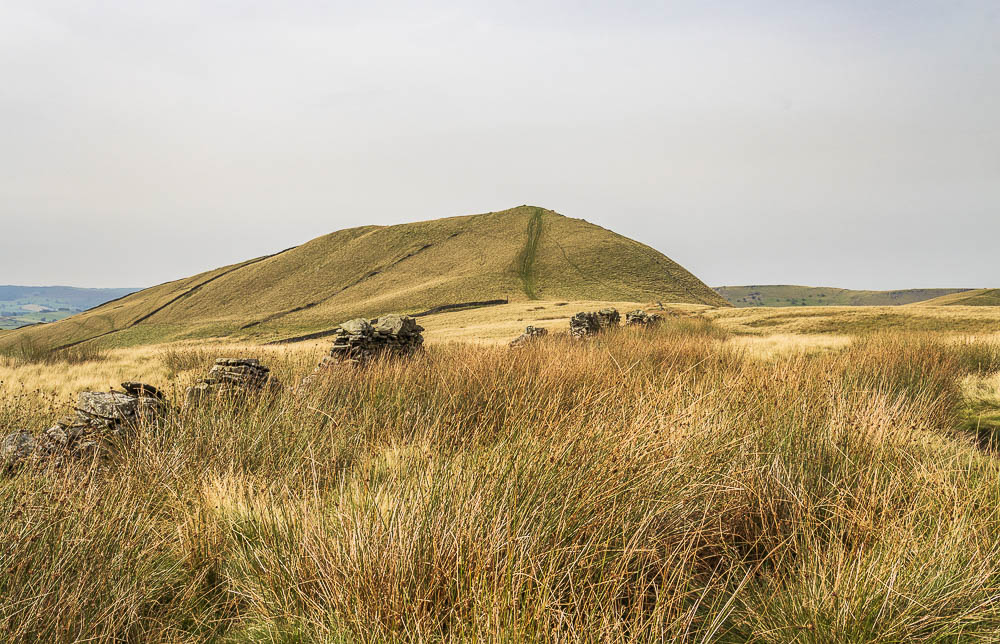
Having descended South Head we cross the bridleway and follow the line of the wall.

We make rapid progress across the moor, which is very dry, and are soon looking back at South Head and Mount Famine.
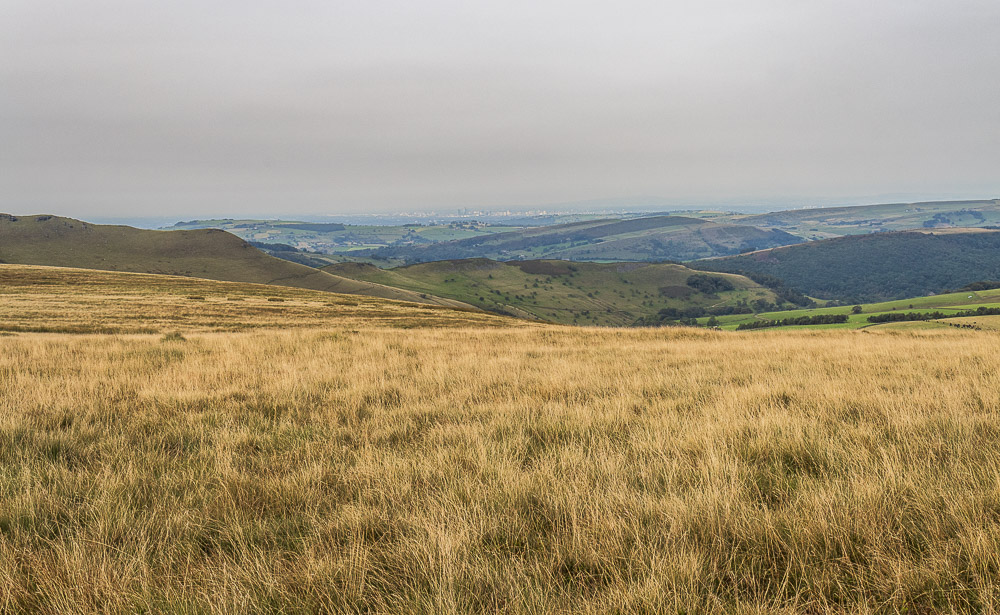
Although the cloud hasn't disappeared and it seems quite hazy to us we are surprised to be able to see Manchester so clearly. Checking back on previous visits here it has never been as clear as it was today.
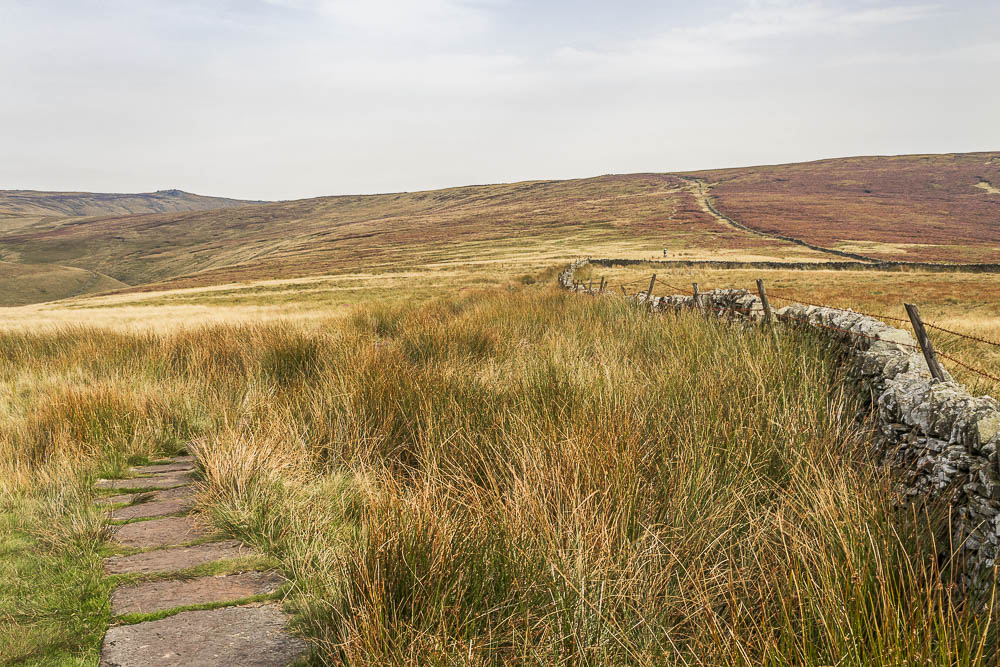
As we follow the flagstones to Brown Knoll one of four cyclists we see today passes us. It looks like such hard work that I can never understand the appeal.
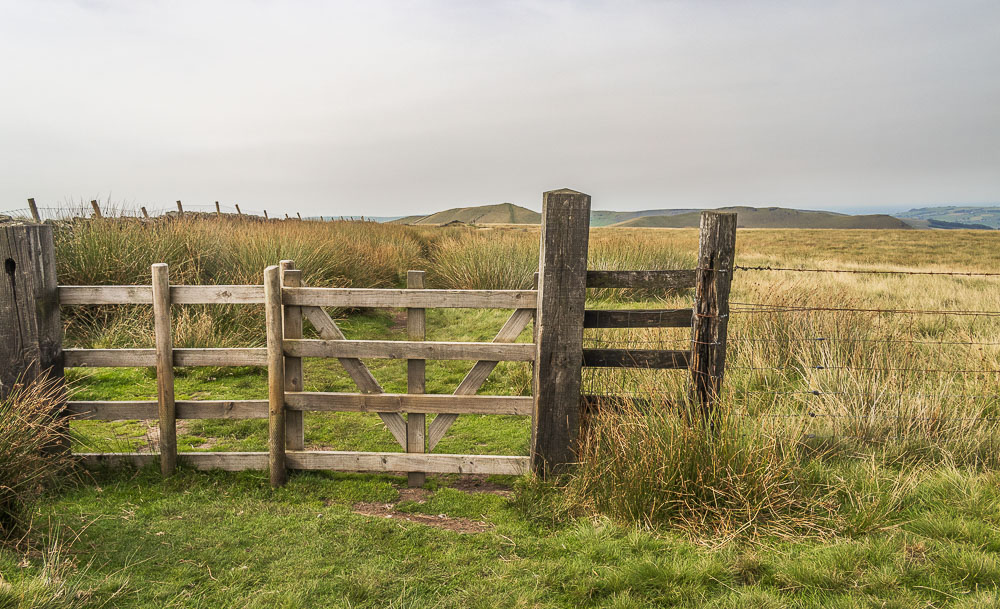
It was nice to see that the gate that had been in pieces the last time we were here had been replaced and was still in one piece.
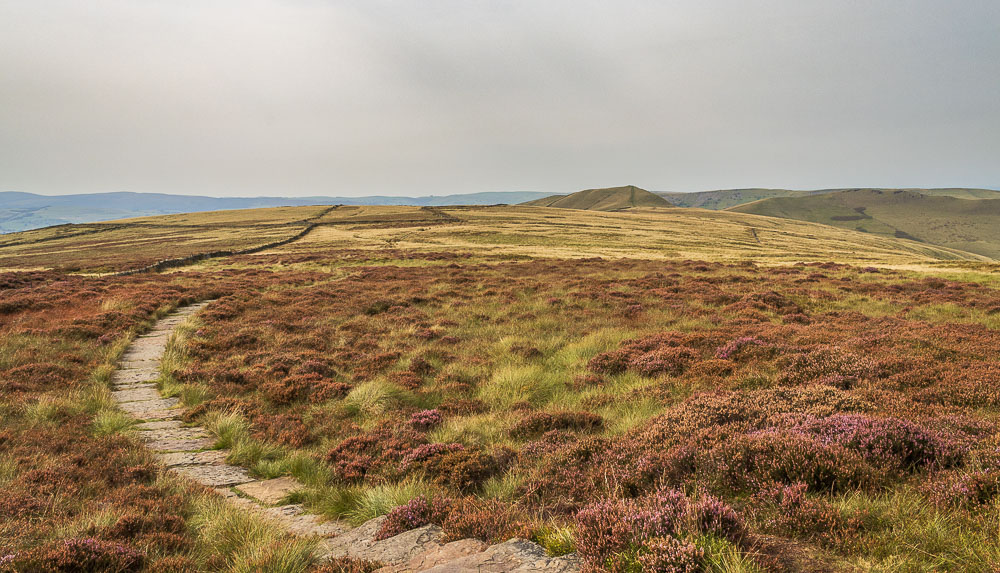
Looking back to Mount Famine and South Head as we reach the top of the path.
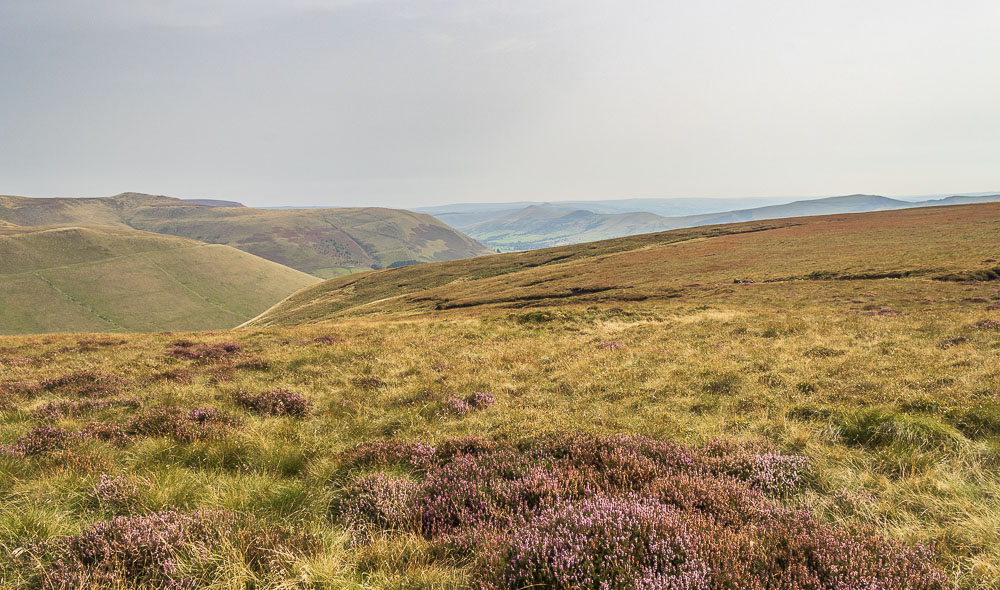
As we make our way towards the top of the Jacob's Ladder path we briefly get to enjoy a view of the Great Ridge and Grindslow Knoll.
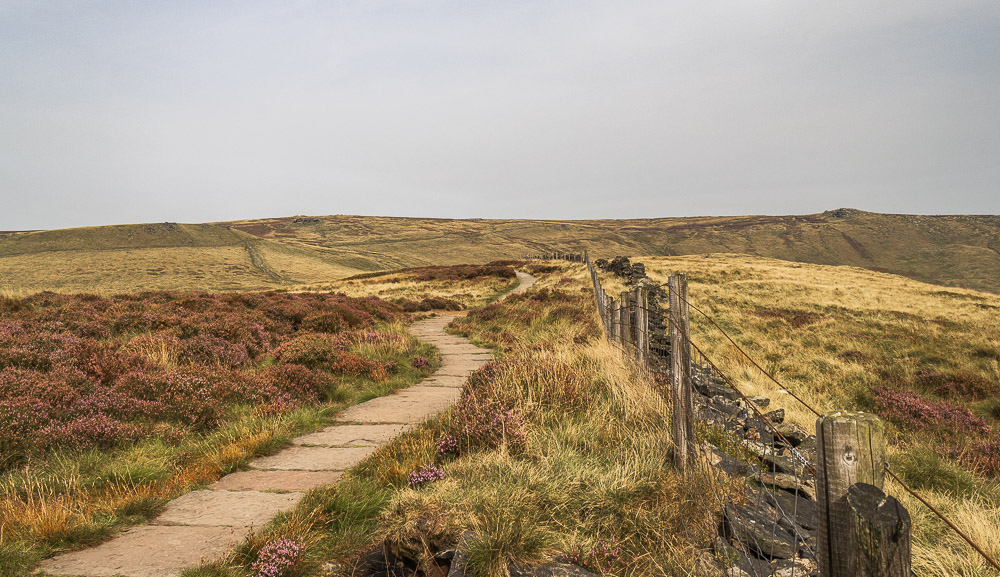
Looking across to the rocky outcrops on this side of Kinder, which includes Noe Stool and the more easily identified (in this image) Pym Chair.

Mount Famine, South Head and Chinley Churn from the same location where I took a similar shot in April. The heather has started to go over, which at least means on this walk we haven't been plagued by the heather flies that were such a nuisance when I was in the Goyt Valley a few weeks ago.
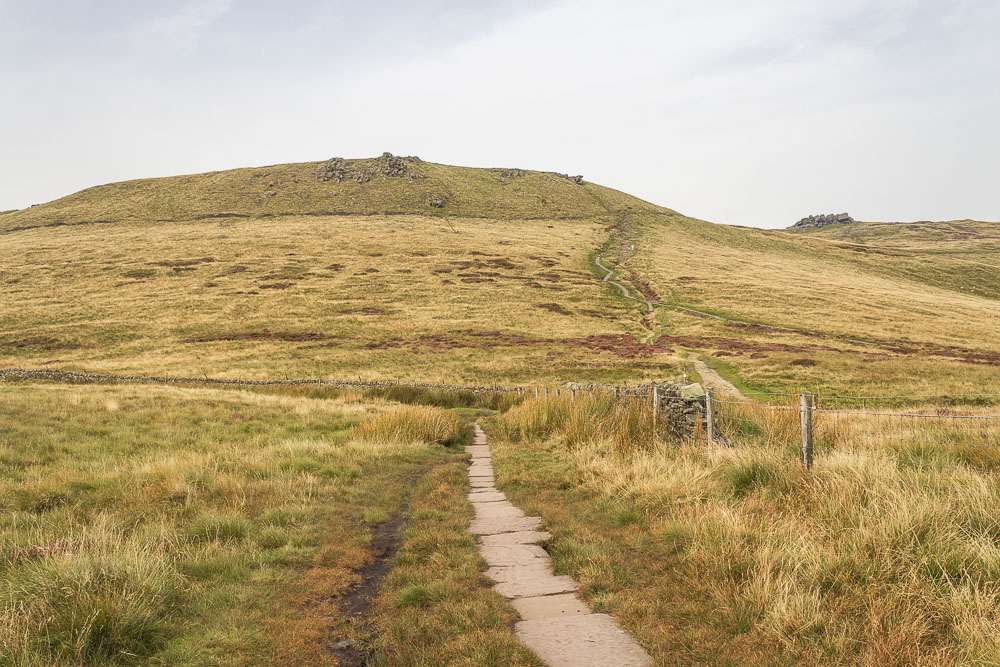
As we approach Swine's Back we are quite surprised by how few people we have seen so far and also by the lack of people on Kinder, perhaps the promised high temperatures have put them off.

Our route will take us below Swine's Back towards Edale Cross.
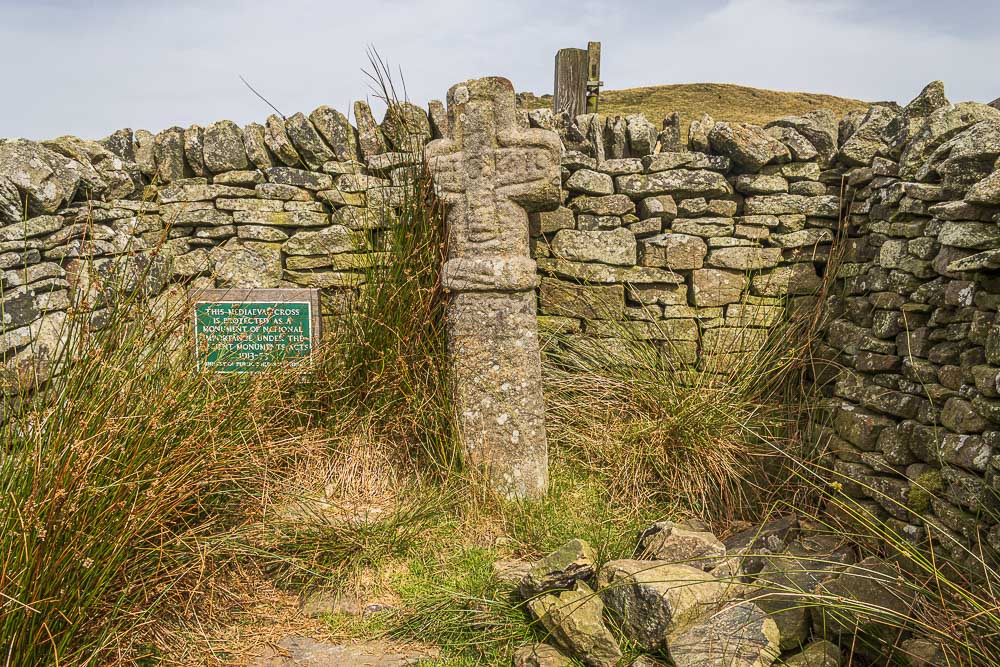
Having reached Edale Cross we start to look for a suitable spot for lunch.
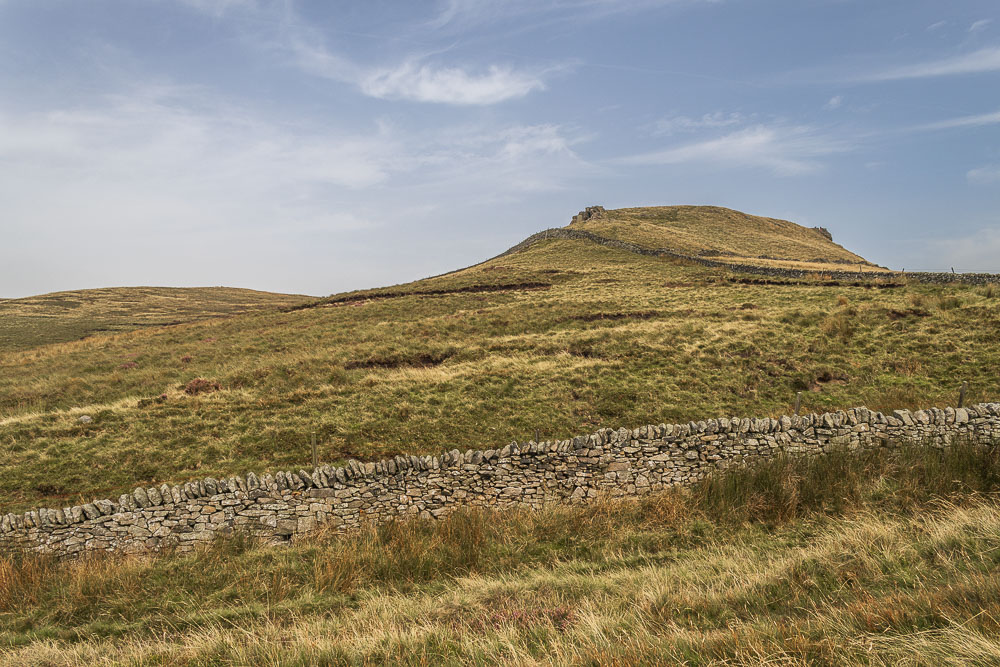
As we sat having lunch the sun finally broke through the cloud behind us.
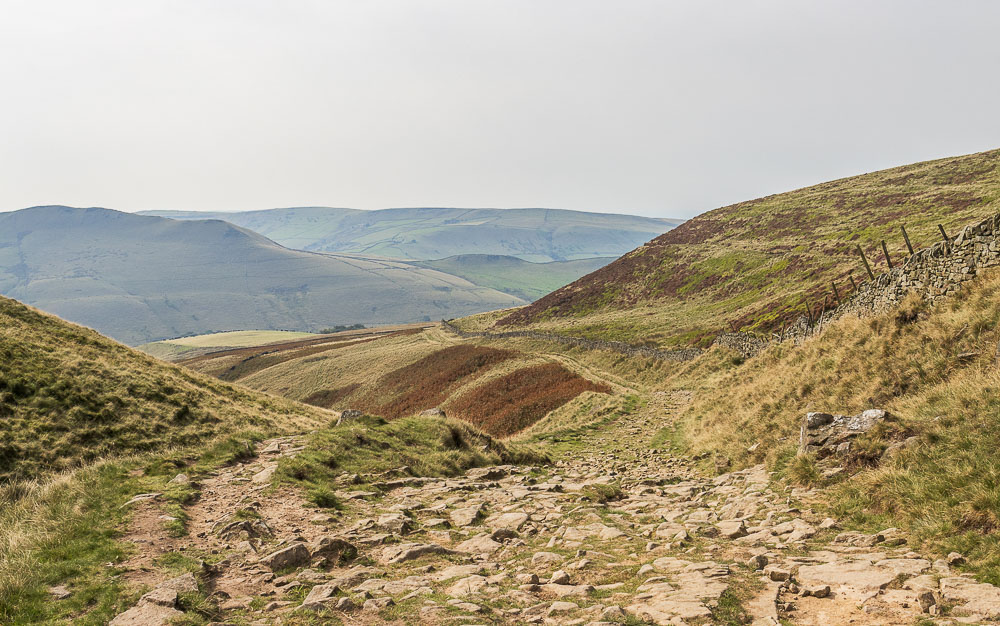
Our route would take us down Oaken Clough, which is still covered in cloud.
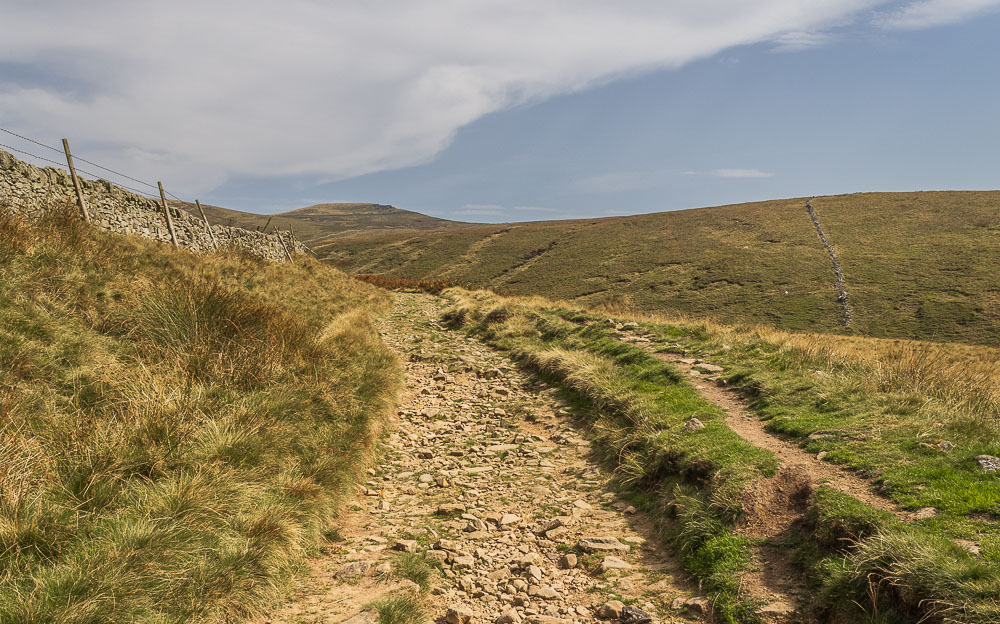
As we make our way down Oaken Clough the blue sky finally reaches us and the temperature is noticeably warmer.

By the time we reach Coldwell Clough we are very grateful that we are going down rather than up.
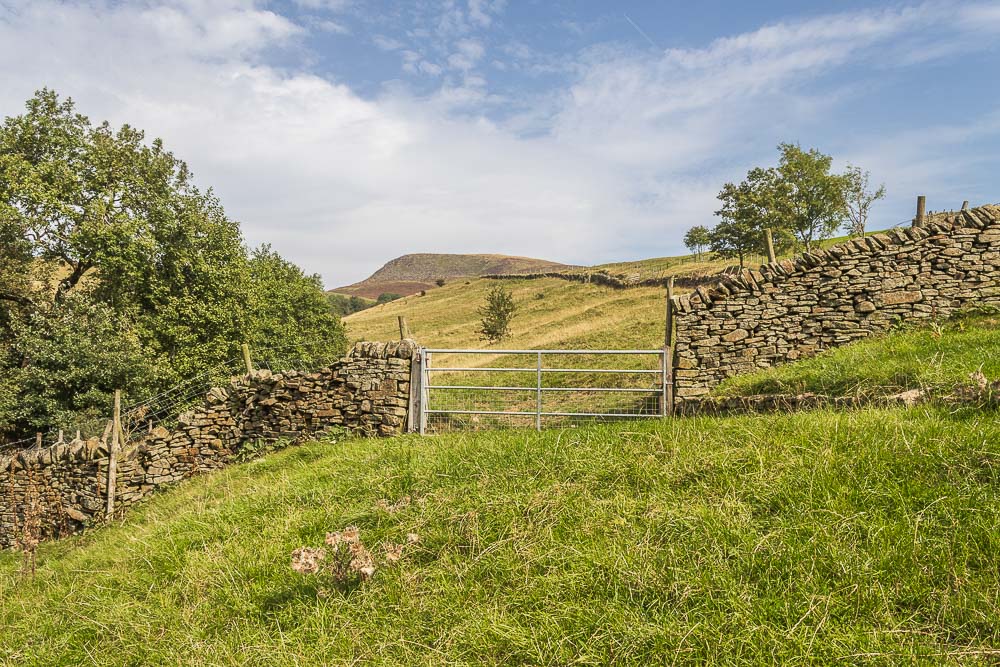
A final view of Kinderlow End before we turn and make a very warm walk down Coldwell Clough.
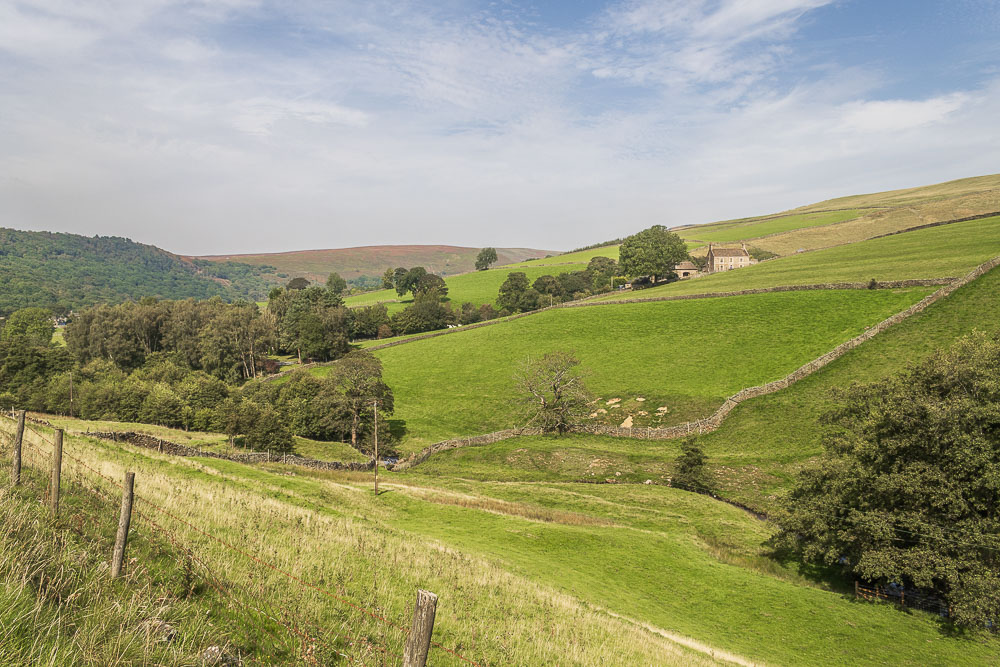
Looking across to White Brow from Coldwell Clough.

Even though we are virtually finished and walking on the level, now the sun has come out we are grateful to reach a bit of shade.
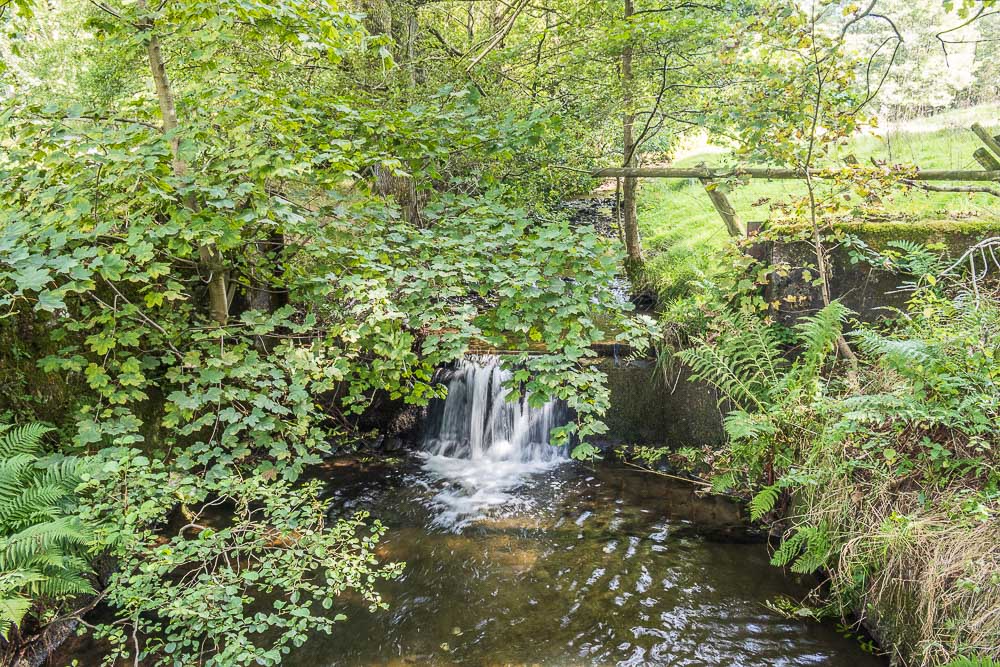
As we reach the small waterfall on the River Kinder we know we are nearly back at the car.
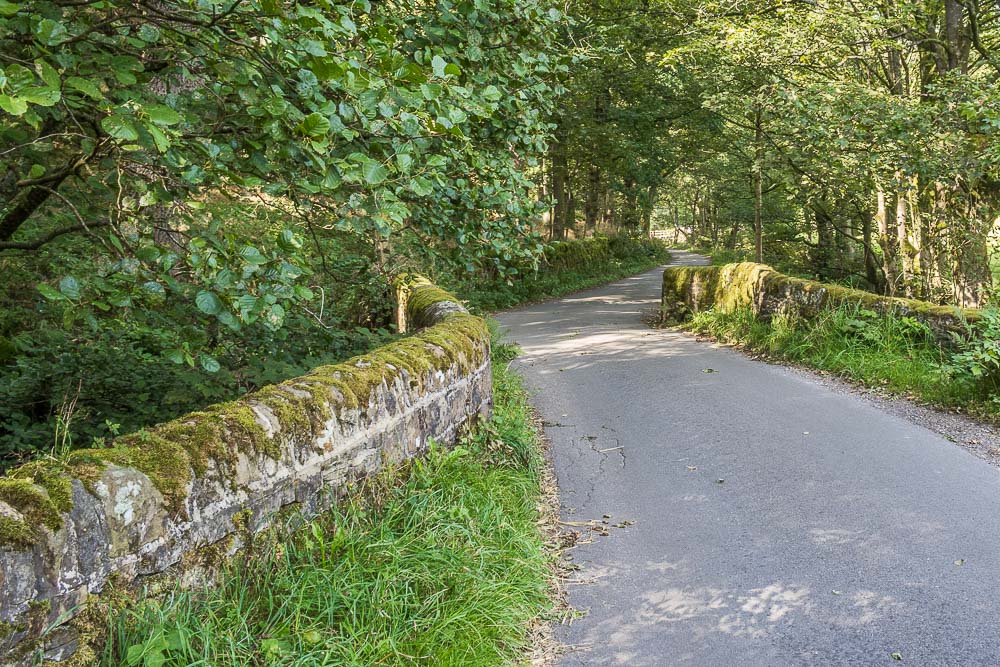
Crossing Bowden Bridge our thoughts turn to a pint in Hayfield, although we were to be disappointed as the Royal Oak is currently up for sale. Instead we had to carry on to the Lamb Inn, which was doing a roaring trade on such a hot day.
All pictures copyright © Peak Walker 2006-2023