
Arthur's Pike - Lake District Walk
Friday 10th November 2023
Thursday had been a complete washout which combined with the cold temperature had left the tops of the higher fells with a white topping. In order to take advantage of the brilliant conditions we opted to do a favourite walk along the High Street Roman Road with no set plan as to how far we would get. As we had a meal booked for that evening in Pooley Bridge we decided to save our legs and some time by making the short drive to Roehead from our cottage.
Start: Roehead (NY 4788 2360)
Route: Roehead - The Cockpit - Nesgillhow Beck - High Street Roman Road - Arthur's Pike - Barton Fell - Roehead
Distance: 6.75 miles Ascent: 391 metres Time Taken: 4hrs 5 mins
Terrain: Good paths
Weather: Cold with a clear blue sky
Pub Visited: Crown Inn, Pooley Bridge Ale Drunk: Thwaites Original Best Bitter
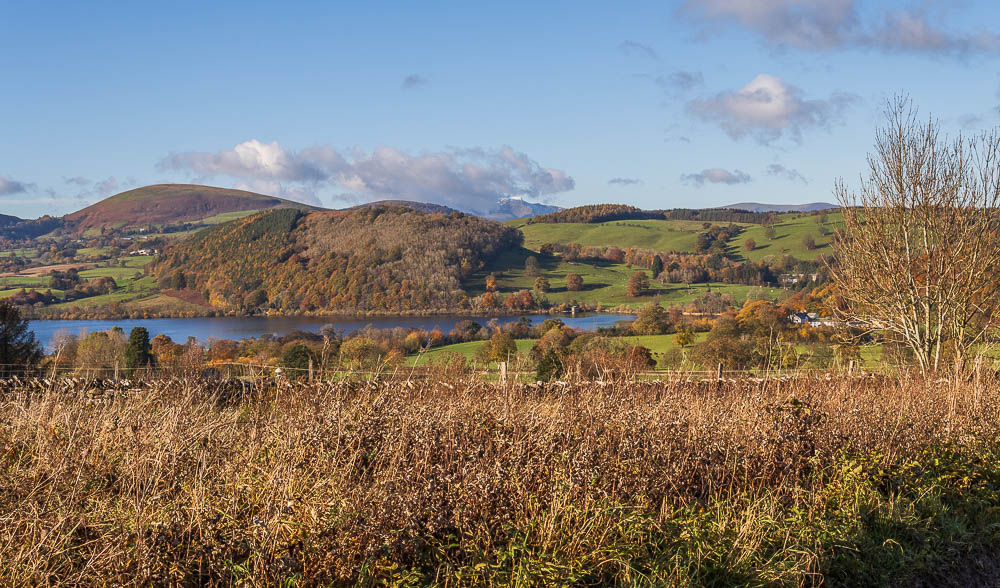
From the cottage we couldn't see that there was snow on the top of the high fells so it was a nice surprise to spot it as we booted up at Roehead.
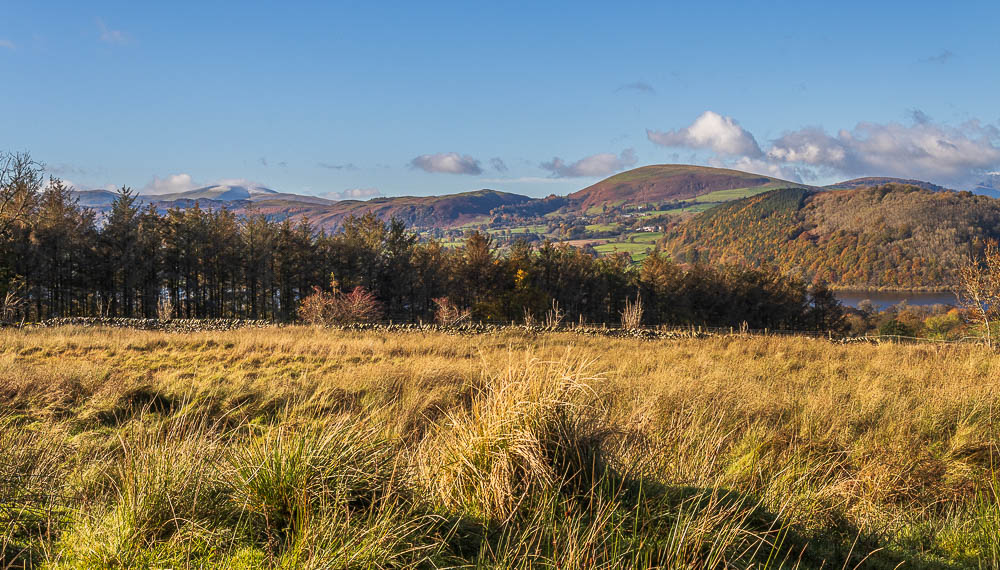
Looking along Ullswater, although the Dodds are just emerging from the cloud we can see snow up there as well.
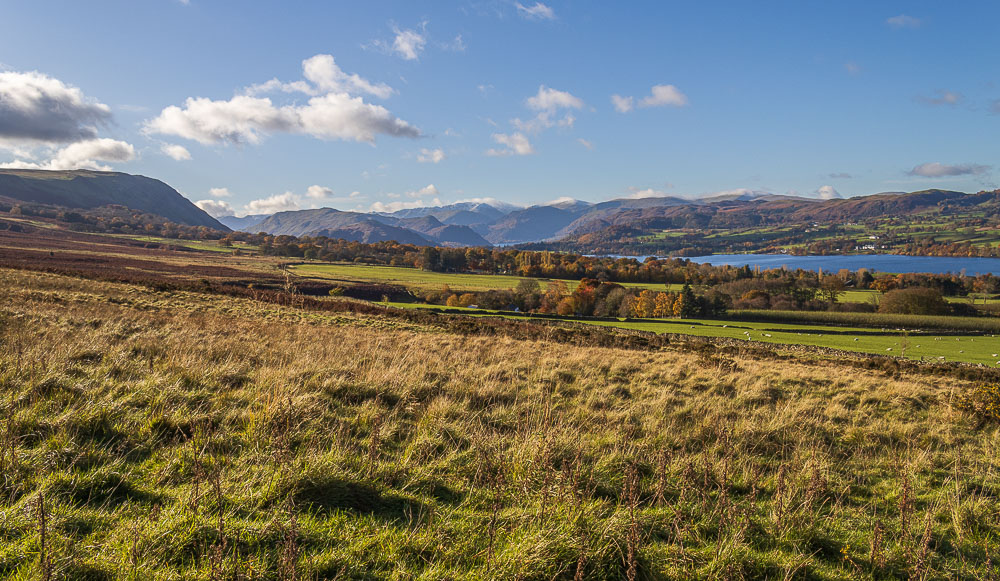
Helvellyn's summit is still in cloud but with conditions like this we should be in for some good views today.
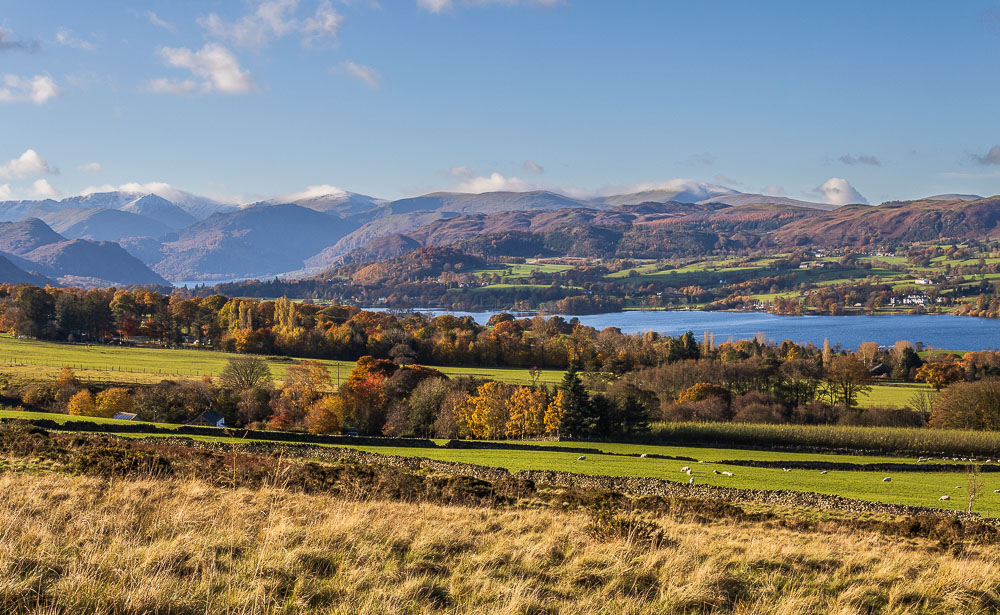
Heading along the path towards The Cockpit the views just keep improving, even with a modest increase in height.
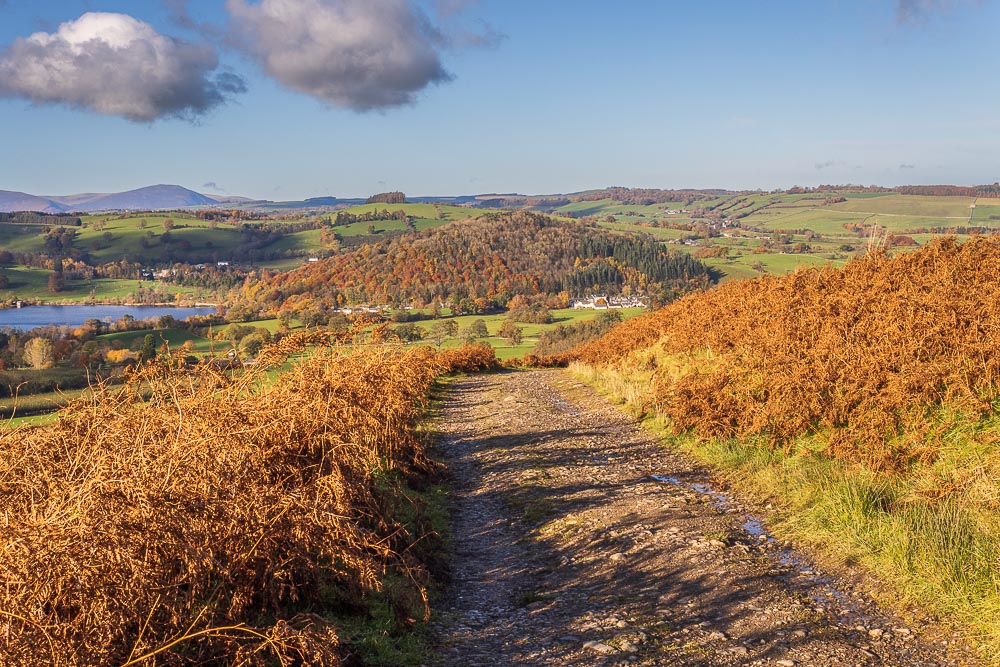
Looking back across Dunmallard Hill to Souther Fell.
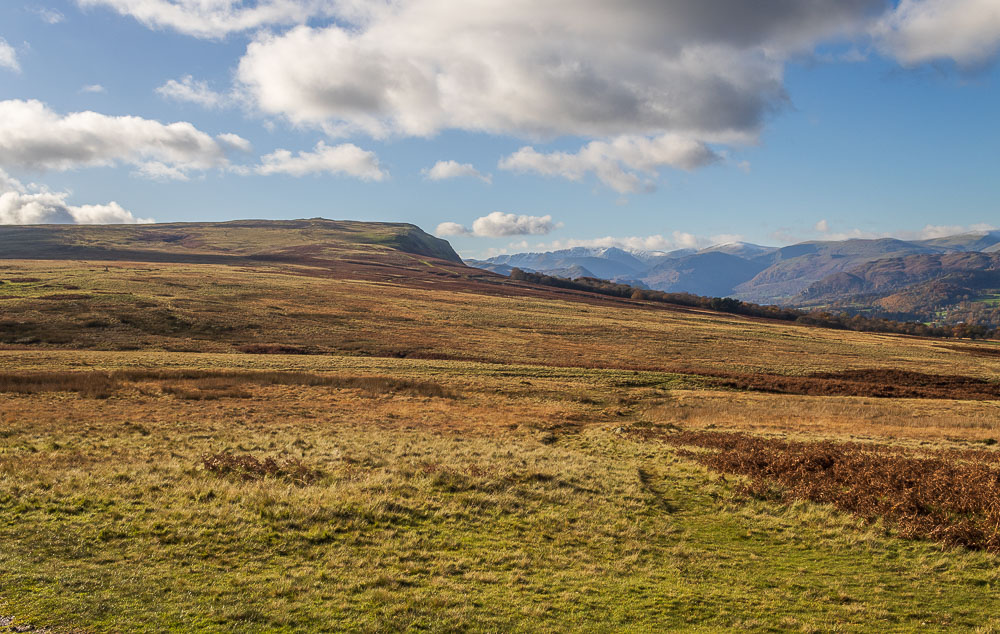
Looking across to Barton Fell from the point where we left the path the last time we visited Arthur's Pike.
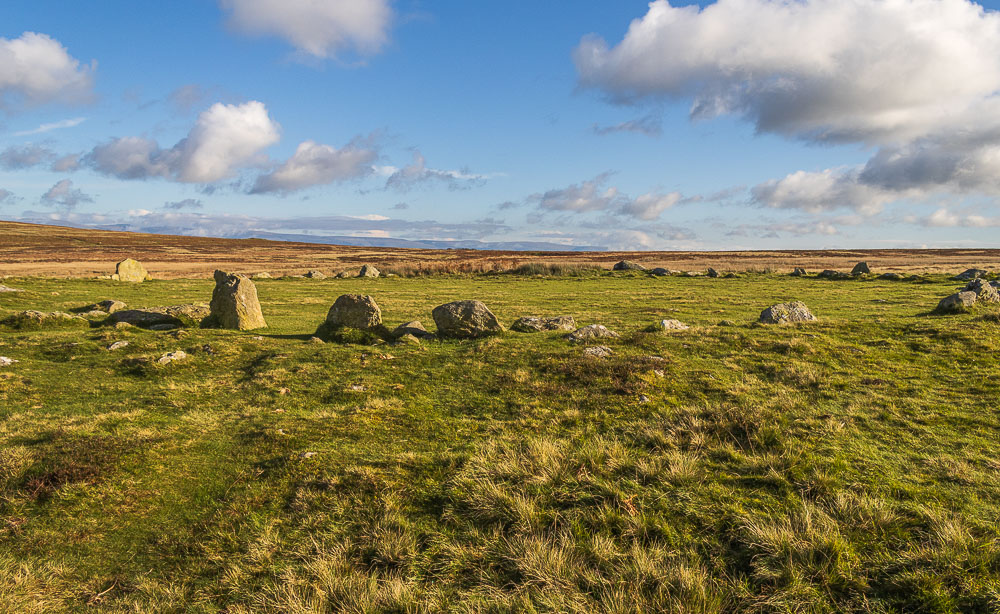
We stick to the stone track and soon reach The Cockpit stone circle, which for once was devoid of people.
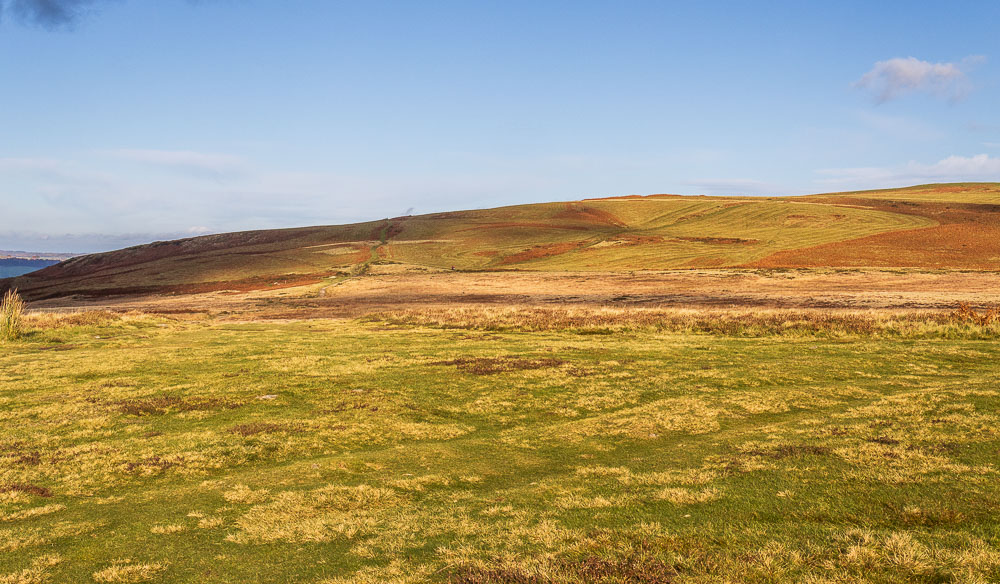
Looking across to Heughscar Hill from the stone circle.
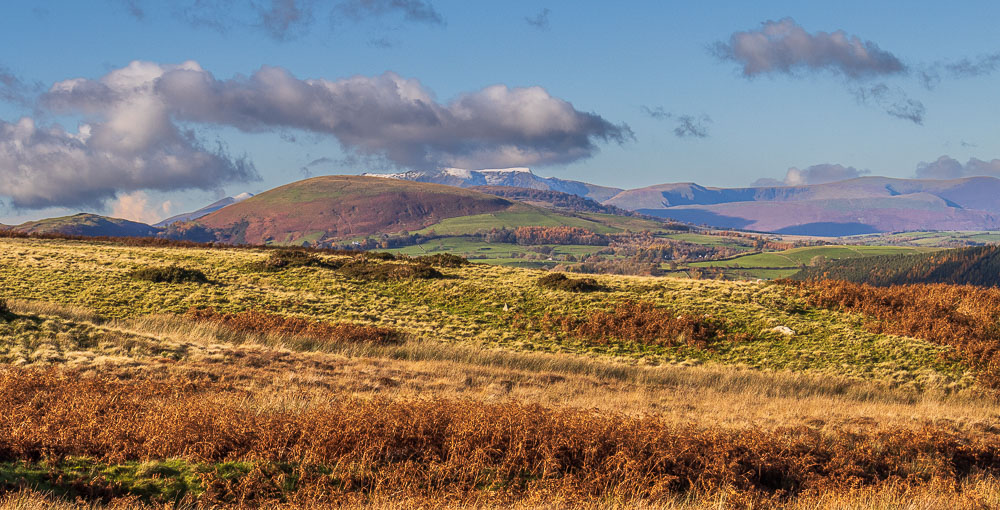
Rather than follow the main track from The Cockpit that goes below Arthur's Pike we follow a vague track heading in the direction of Helton Fell. It rises slowly and as we ascend the views across to Blencathra and Sharp Edge improve.
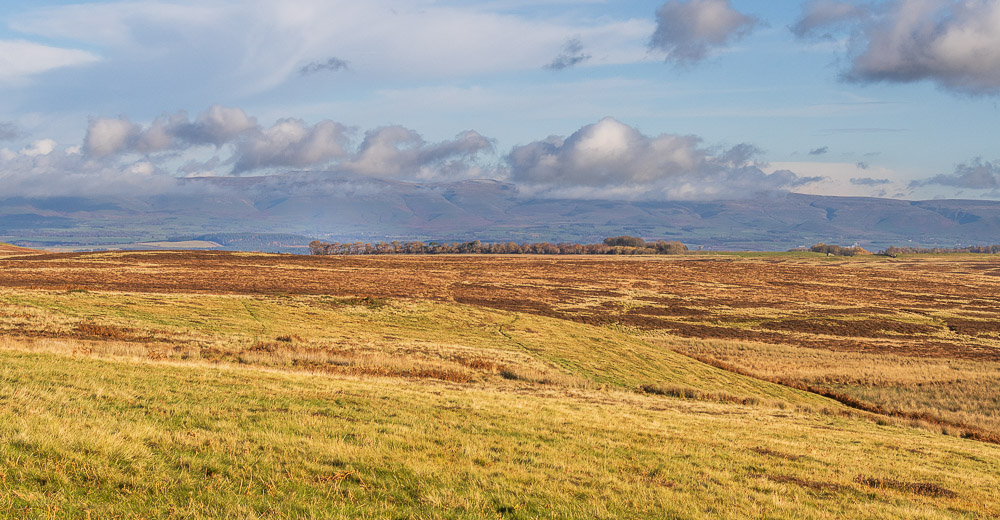
In the distance The Pennines are just starting to emerge from the cloud.
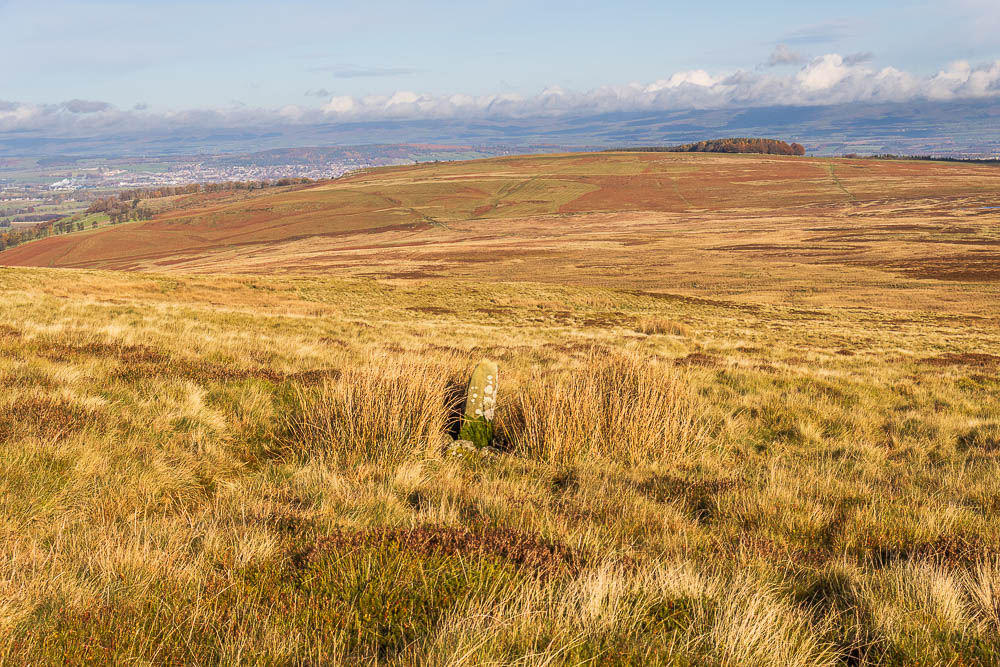
As we cross the moor we come across this marker and pause to look back at Heughscar Hill.
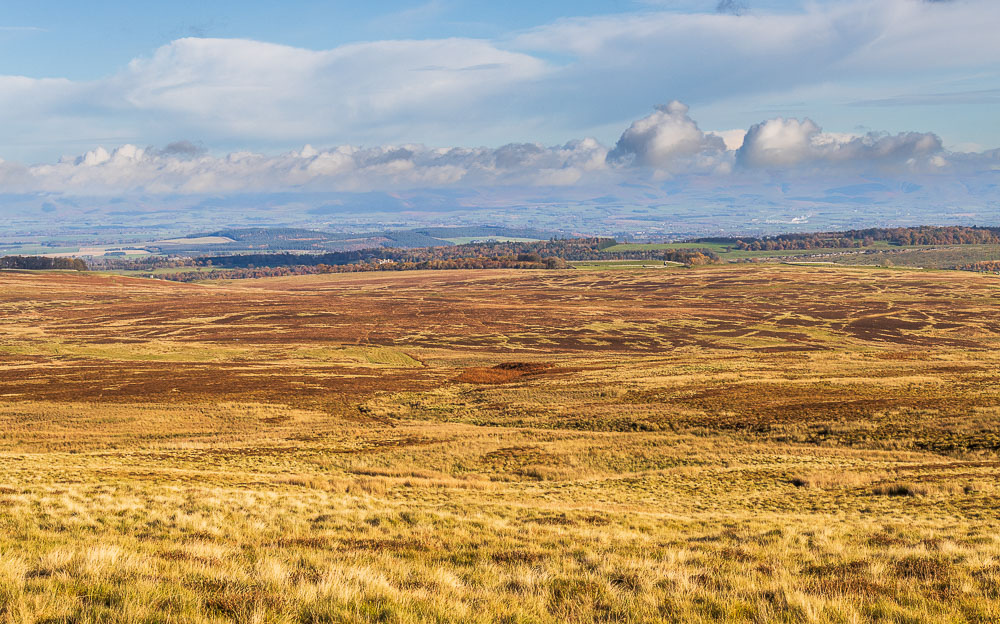
Looking across Moor Divock we can make out Lowther Castle below us.
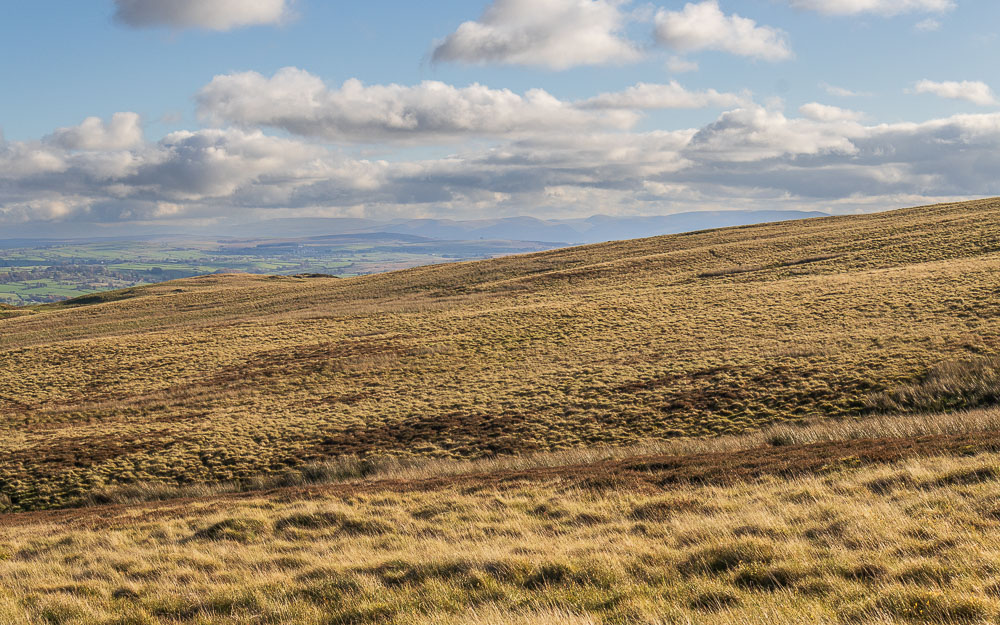
We soon reach Nesgillhow Beck and decide to follow the track alongside it uphill to make our way back onto the path heading for Loadpot Hill.
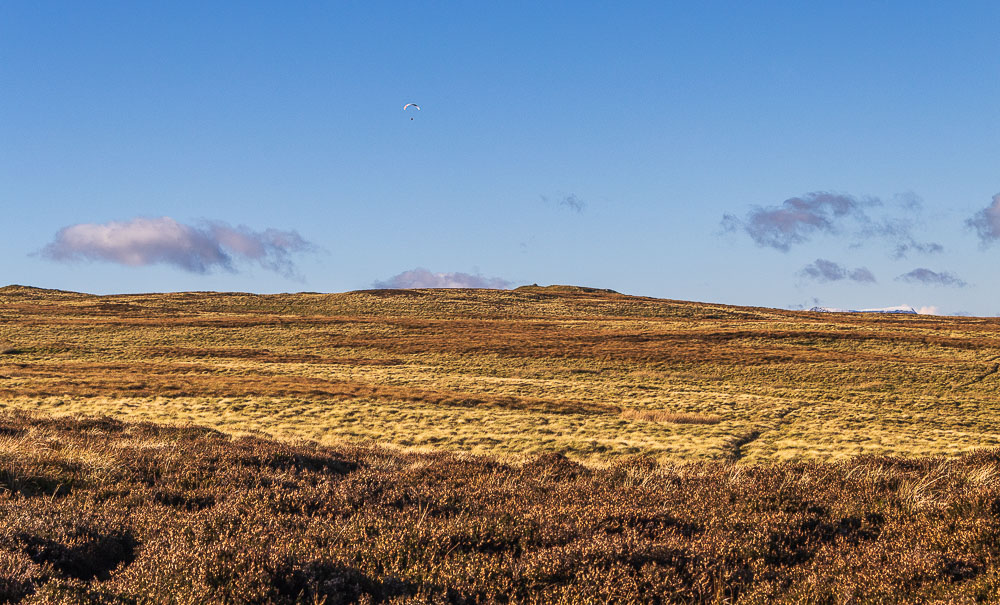
As Arthur's Pike comes into view so does a paraglider. He was the only one we saw in the sky but later we chatted to a couple who had headed up the fell only to find the conditions had changed and they couldn't fly safely.
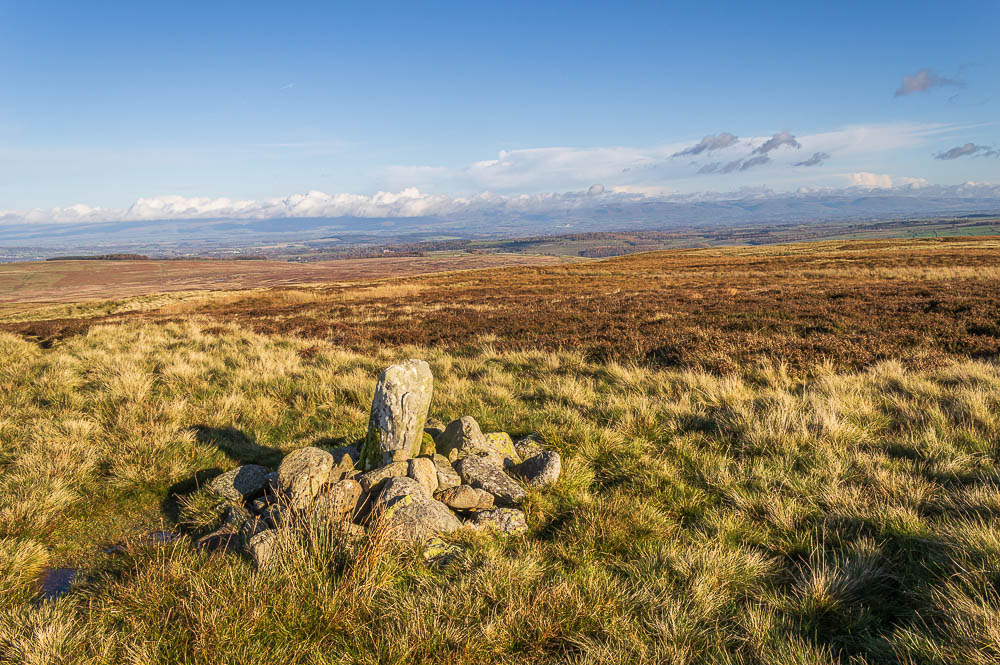
We reach a familiar boundary stone and know that we are back on the High Street Roman Road, which we follow for a short distance until we need to turn off it to reach Arthur's Pike.
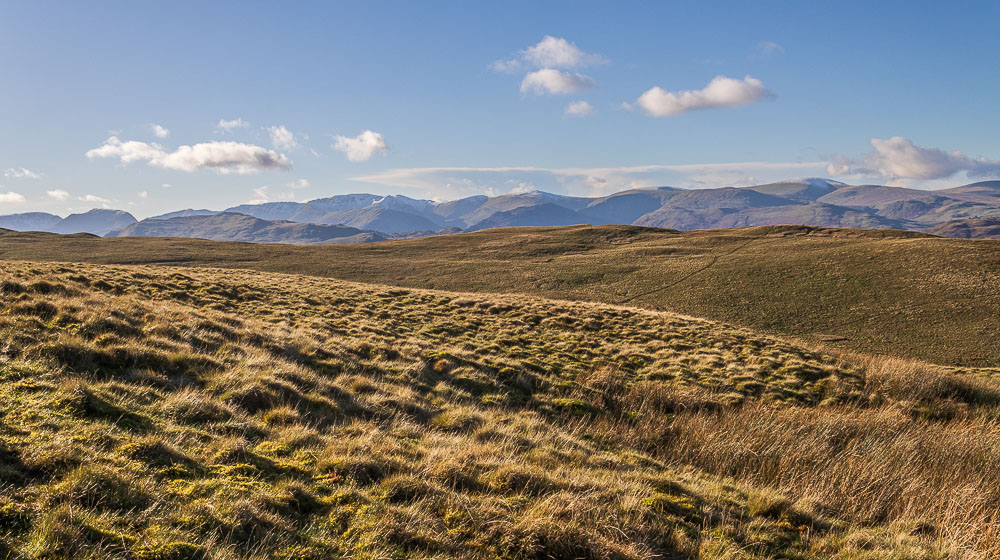
As we follow the track in the direction of Arthur's Pike thoughts turn to lunch and we try to find a spot out of the bitingly cold wind.
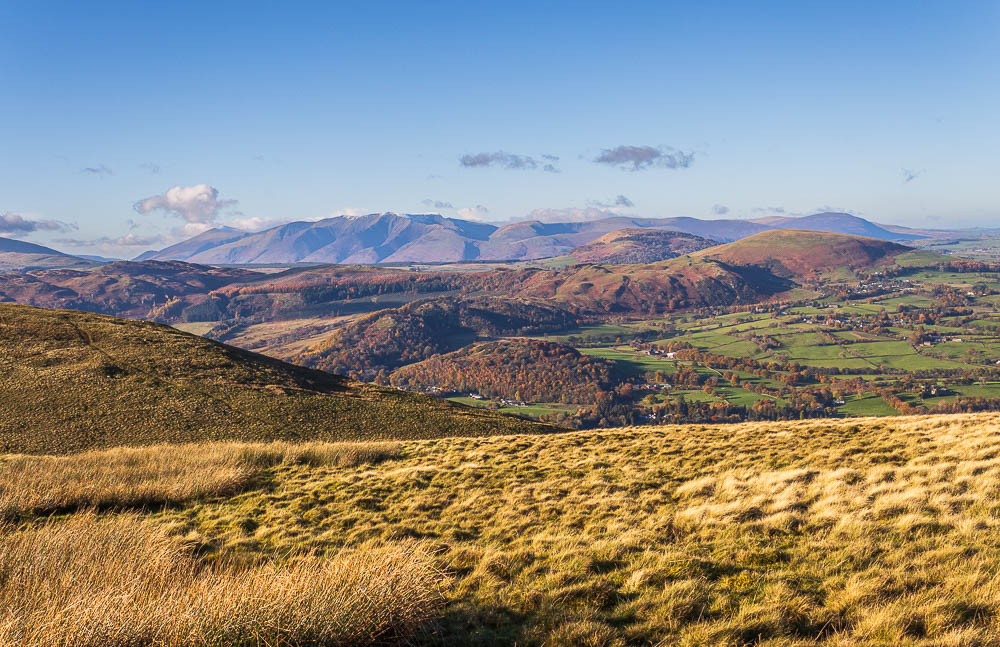
We find a spot that offers us some protection from the wind whilst also giving us a great view across to the Northern Fells, which are now clear of cloud.
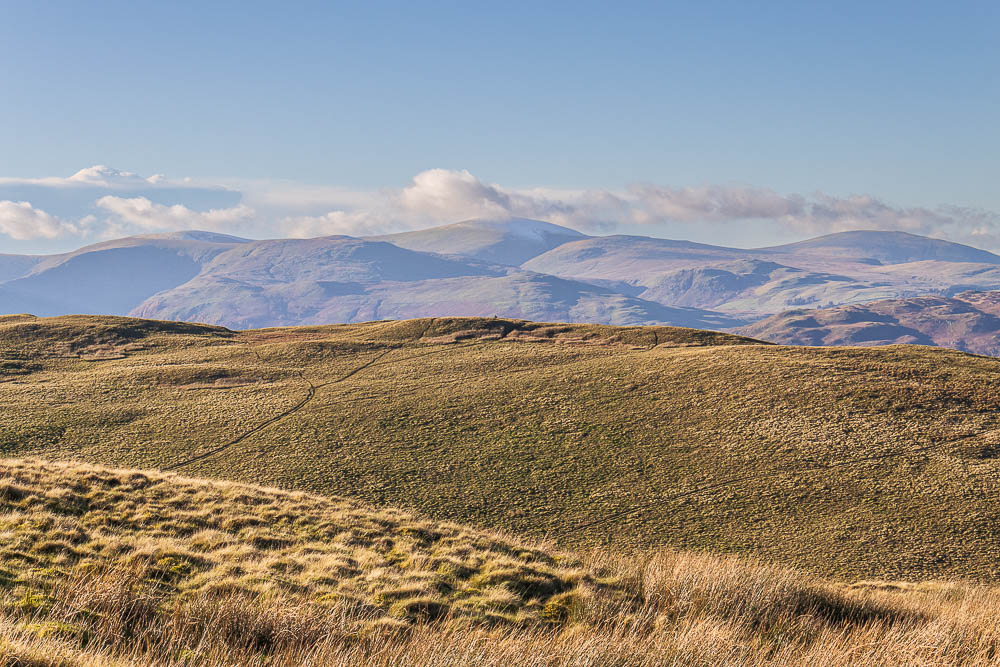
As we eat lunch we debate heading over to Swarth Fell but decide not to bother.
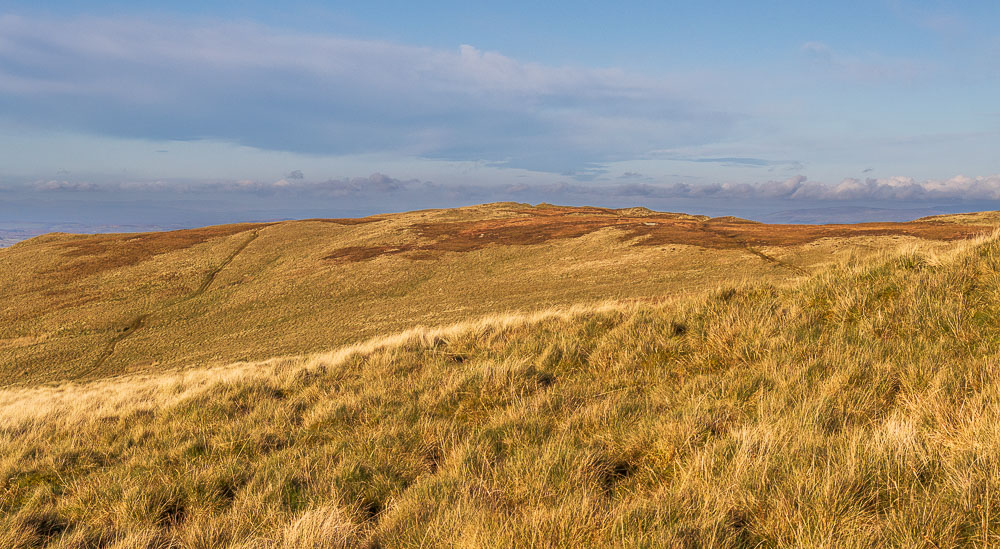
Given how cold the wind is lunch doesn't last long and we are soon heading over towards Arthur's Pike.
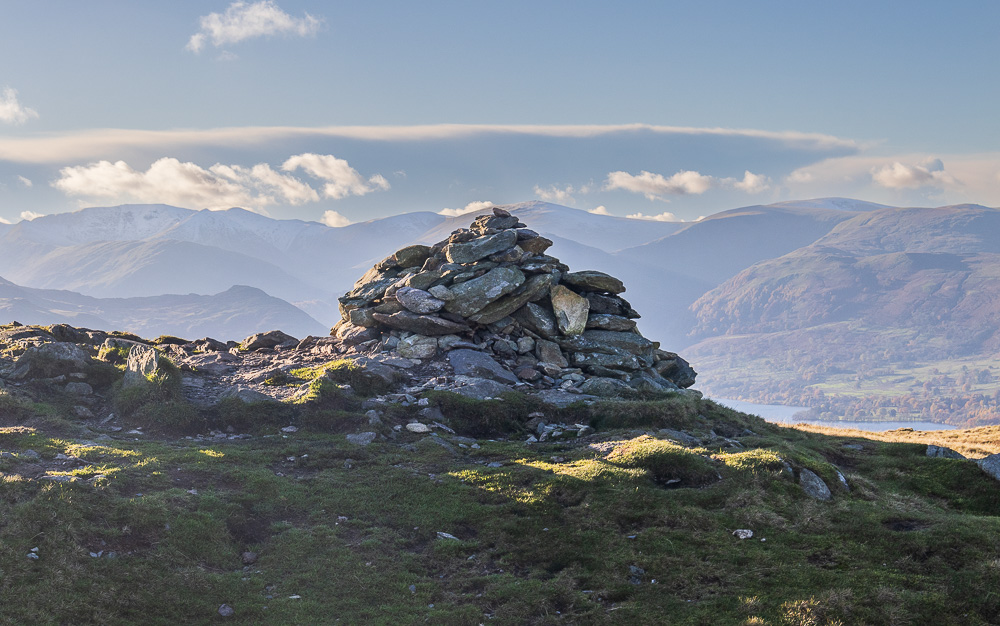
We soon reach the summit cairn, although we still haven't warmed up much.
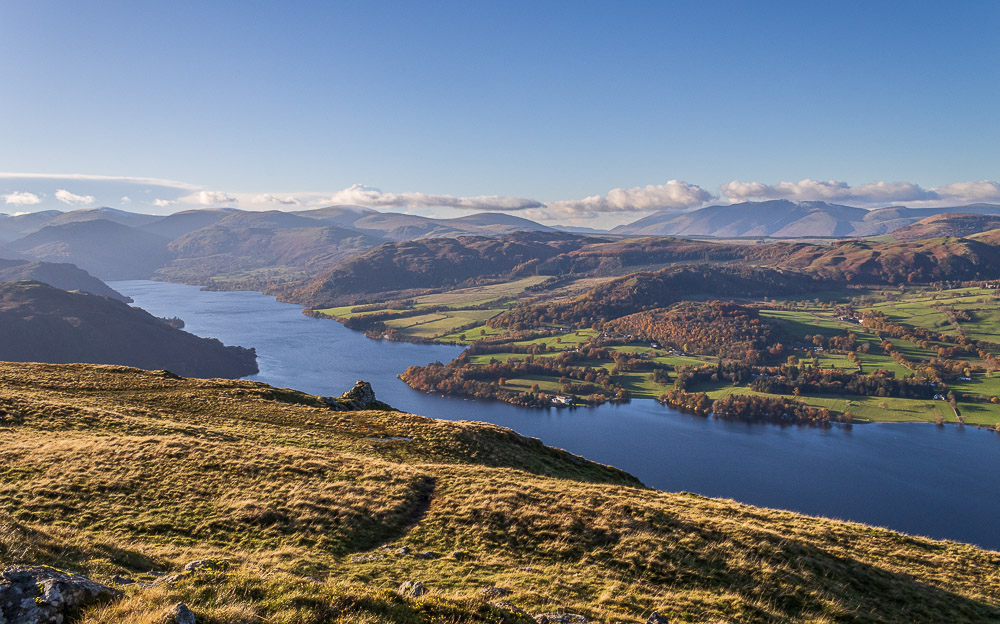
Rather then head straight back to the path we drop down to Whinny Crag for a view along Ullswater.
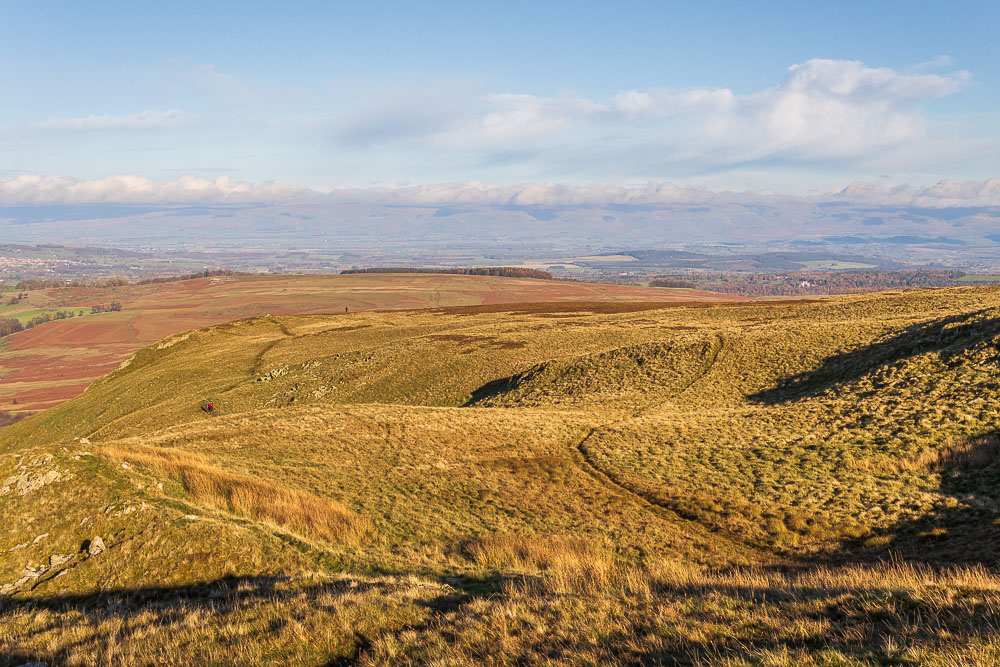
Rather then head back to the summit cairn we follow the lower track which will take us across Barton Fell before it joins up with the main track from the summit.
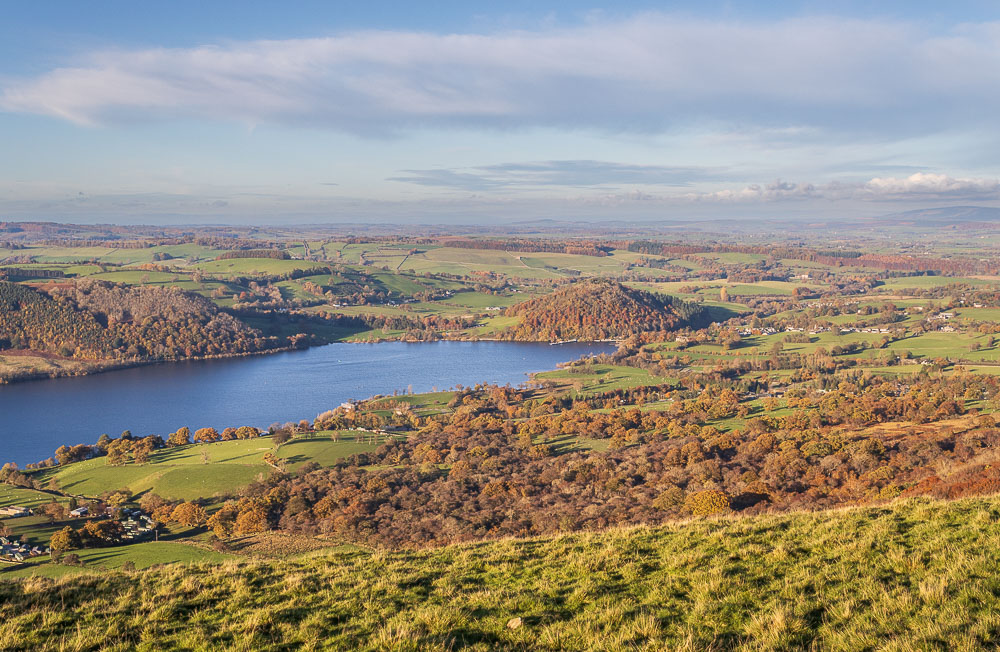
As we descend it is clear that it is starting to cloud over and any hope of getting some reflections in Ullswater have gone.
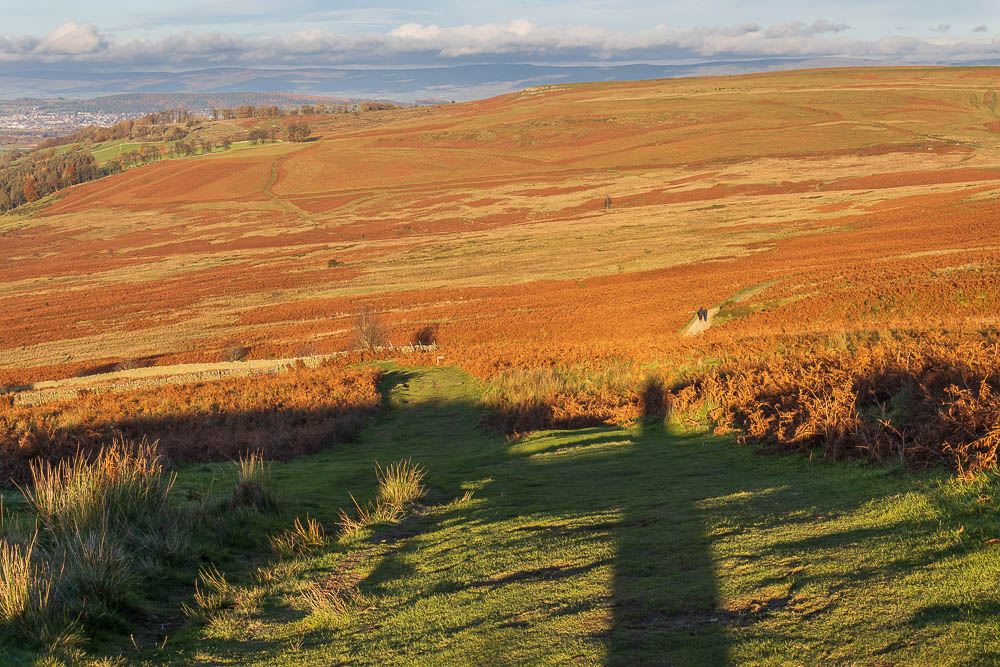
We soon find ourselves looking down at the track that the Ullswater Way follows and the number of walkers increase.
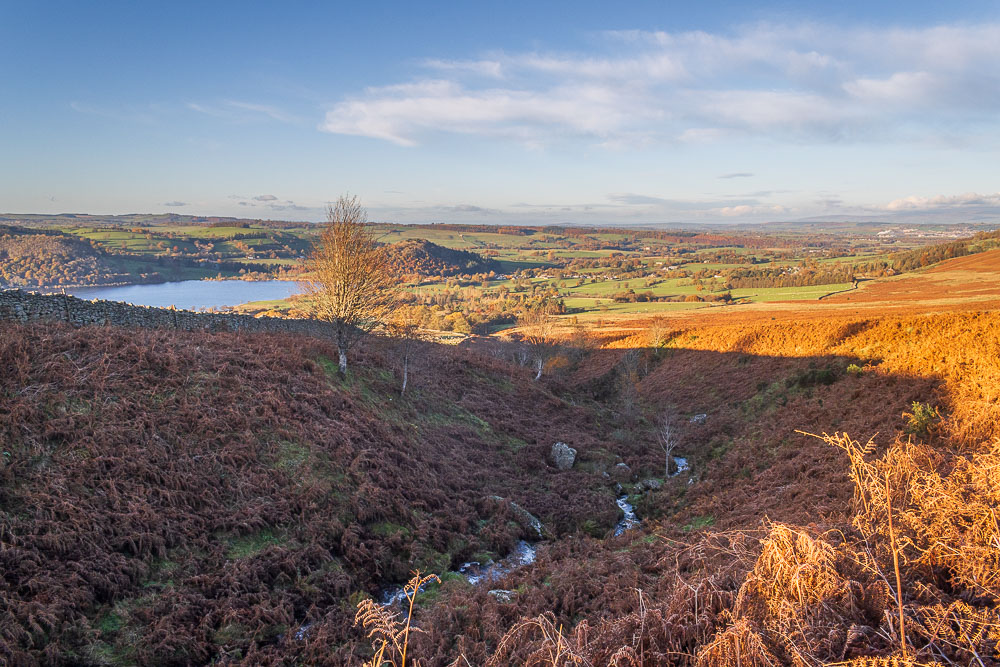
Aik Beck is soon reached and crossed.
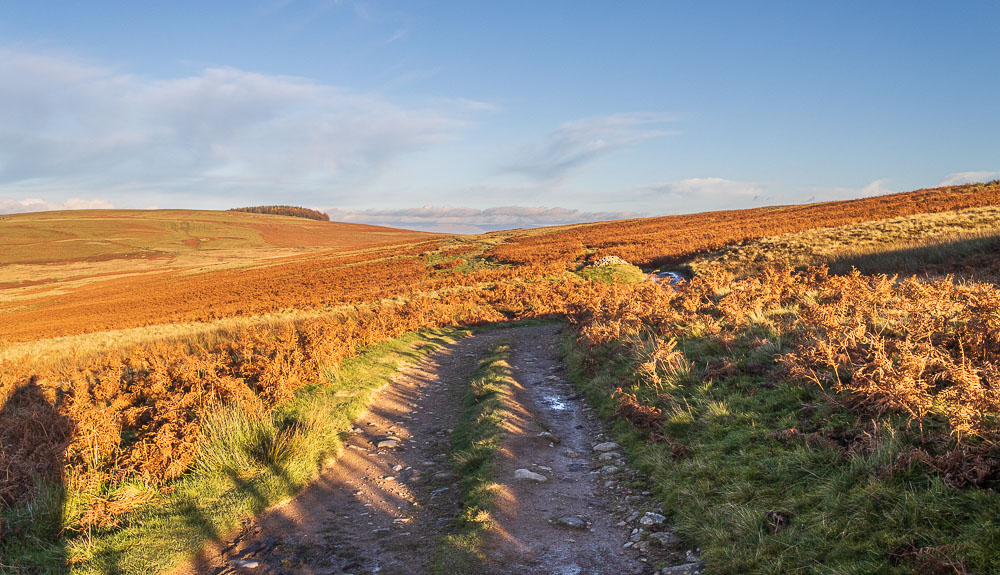
It is very easy going now we are off the moors and on a good track.
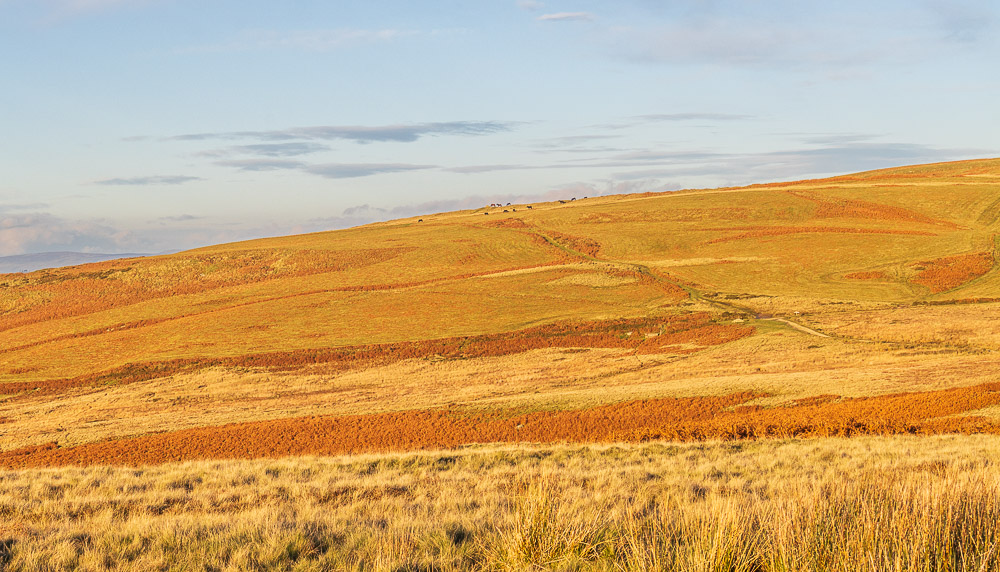
Looking across to Heughscar Hill we can see the fell ponies have moved onto the summit.
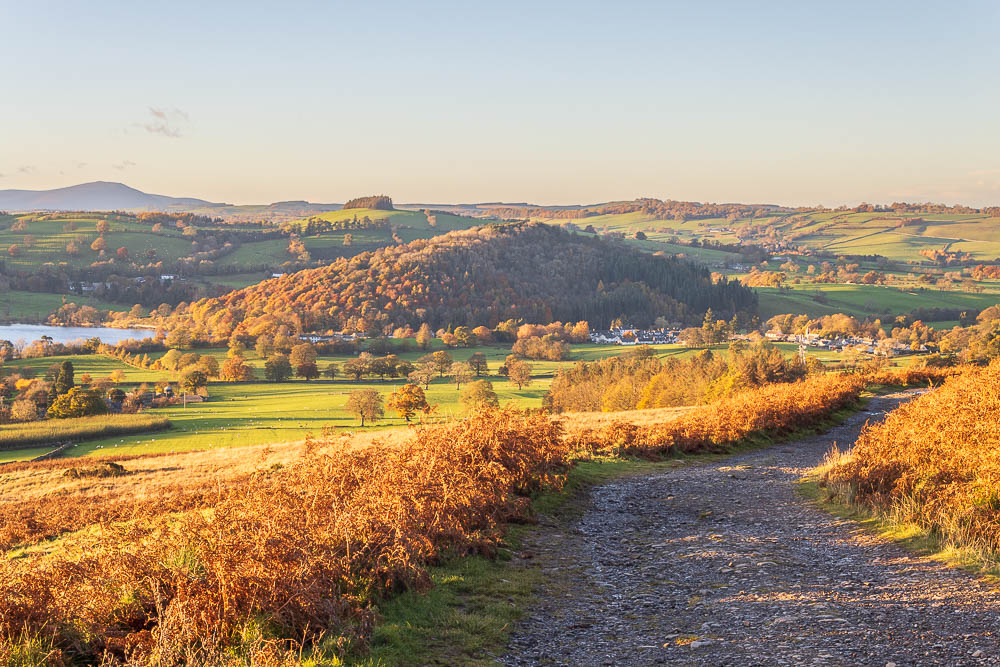
As we head back down to the car the temperature is starting to drop as the sun starts to disappear.
All pictures copyright © Peak Walker 2006-2024